Wongster's Production
Share it on
  • Home
  • Blog
  • My Old Blog
  • My Shop
  • Resources
  • About Me...
  • Contact Wongster

Printing... Mess

17/10/2013

0 Comments


I know I'm supposed to continue with testing and calibrating the printer before playing with it. But I can't help but to try out printing more interesting but useful things. Allow me to indulge myself ok? Just for today...

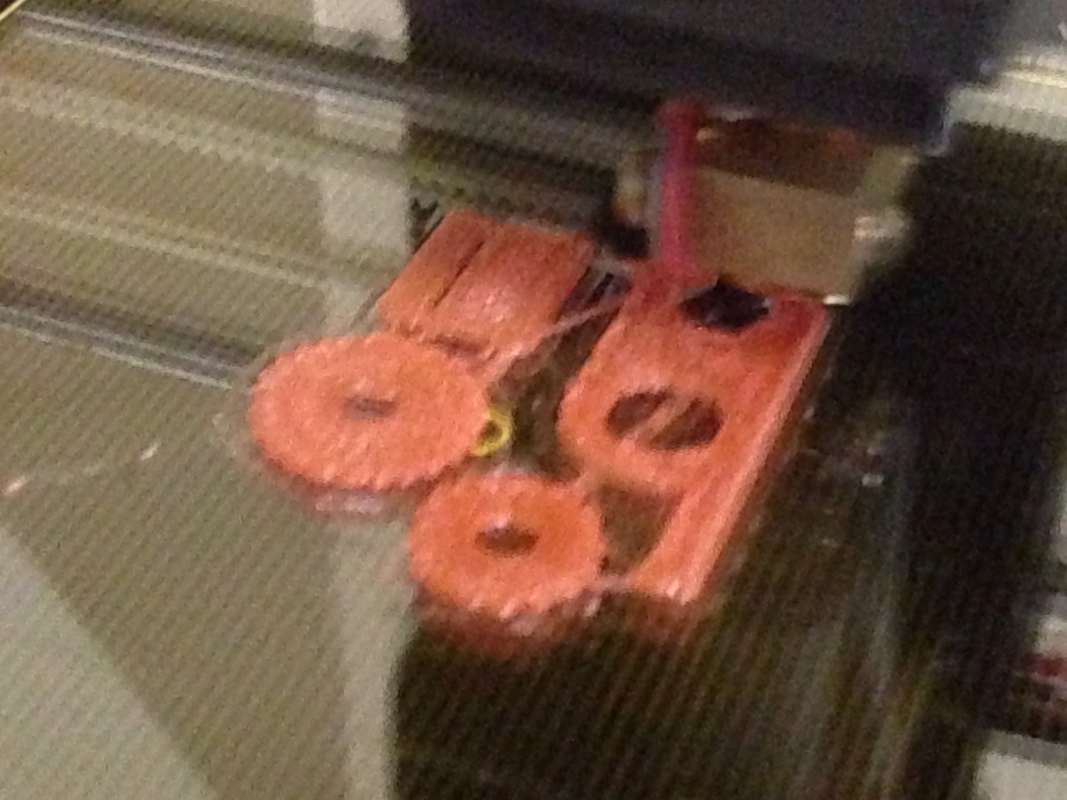
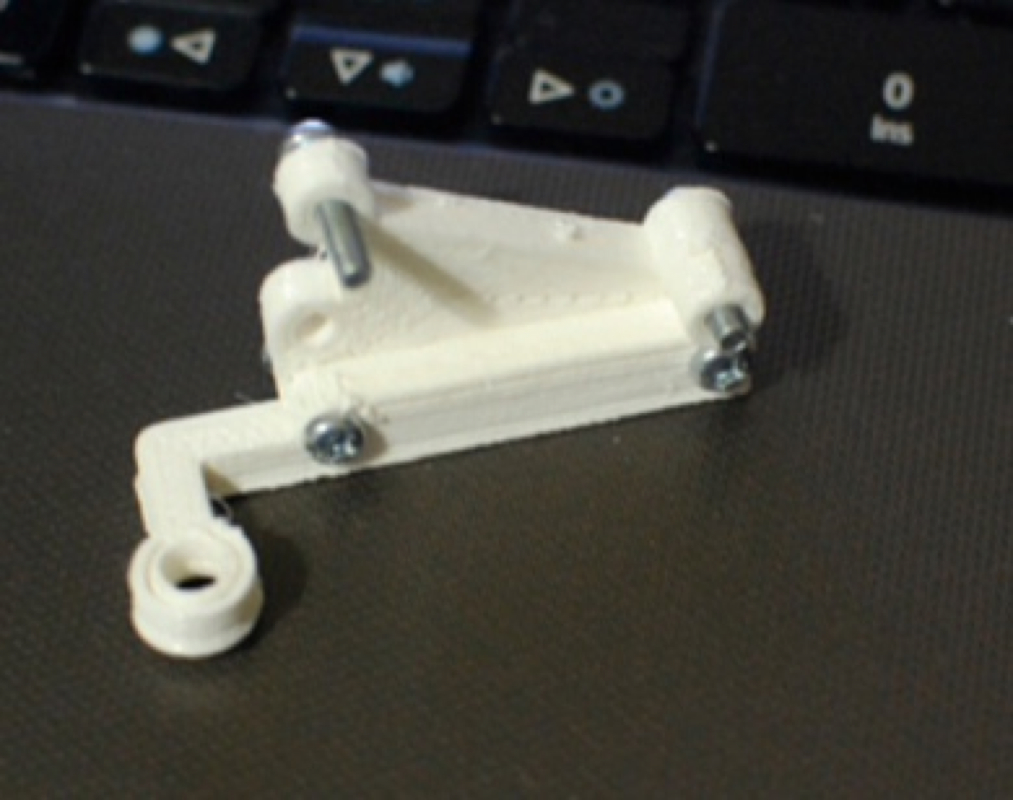
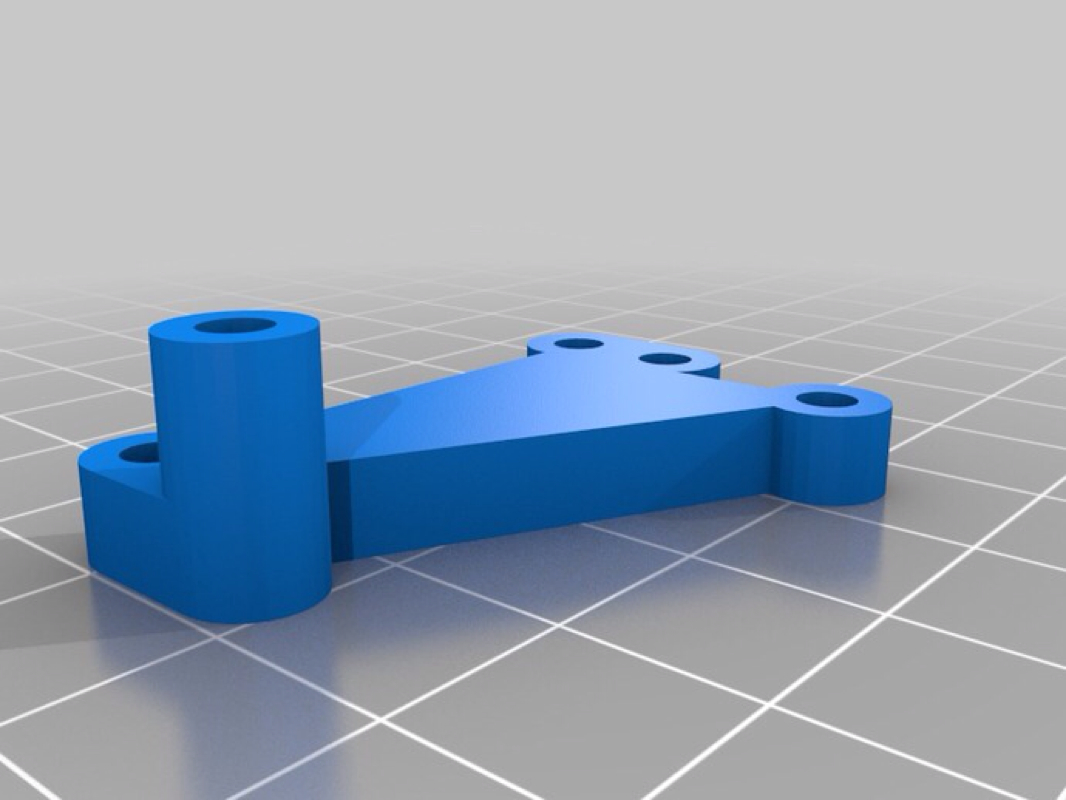
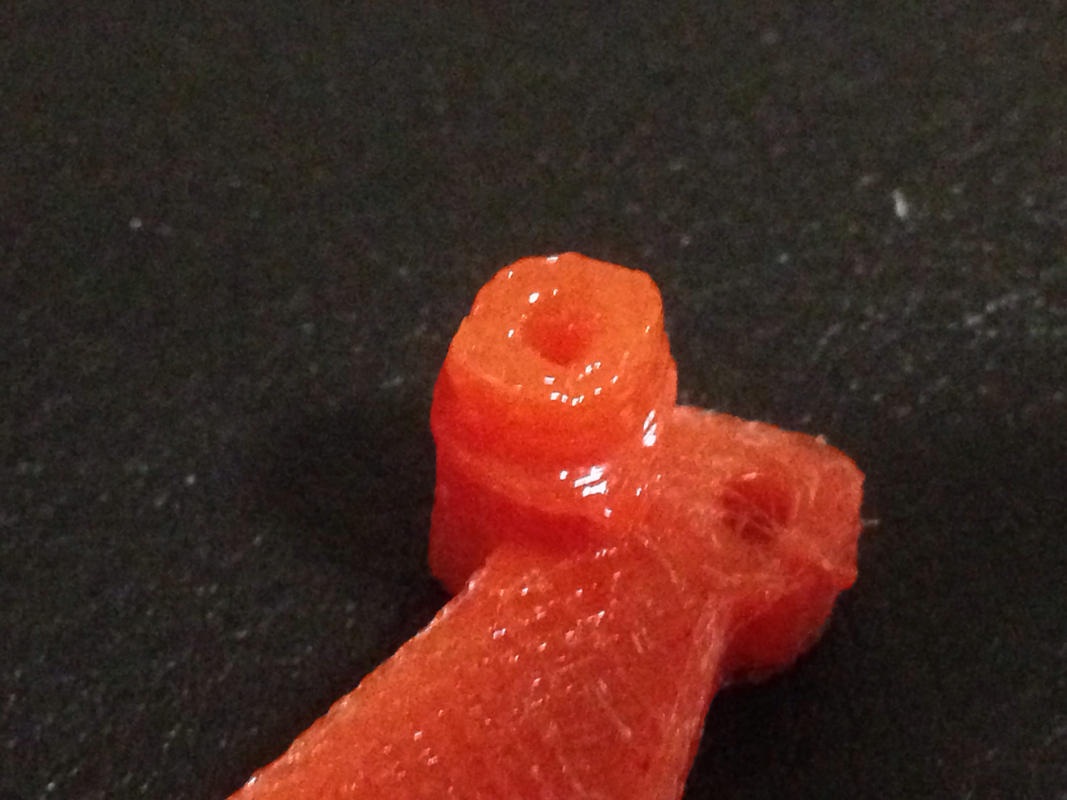
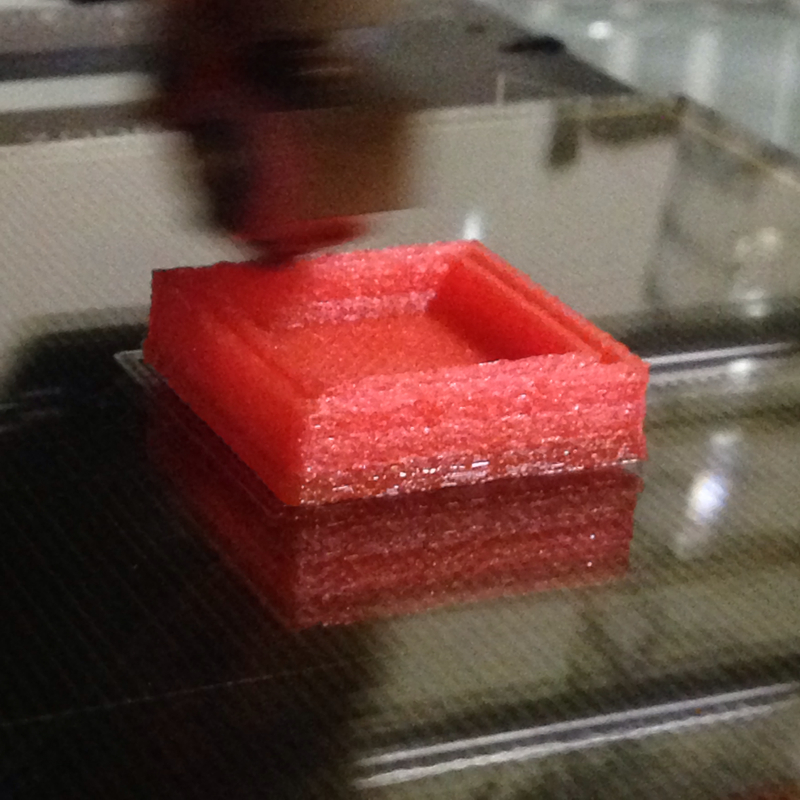
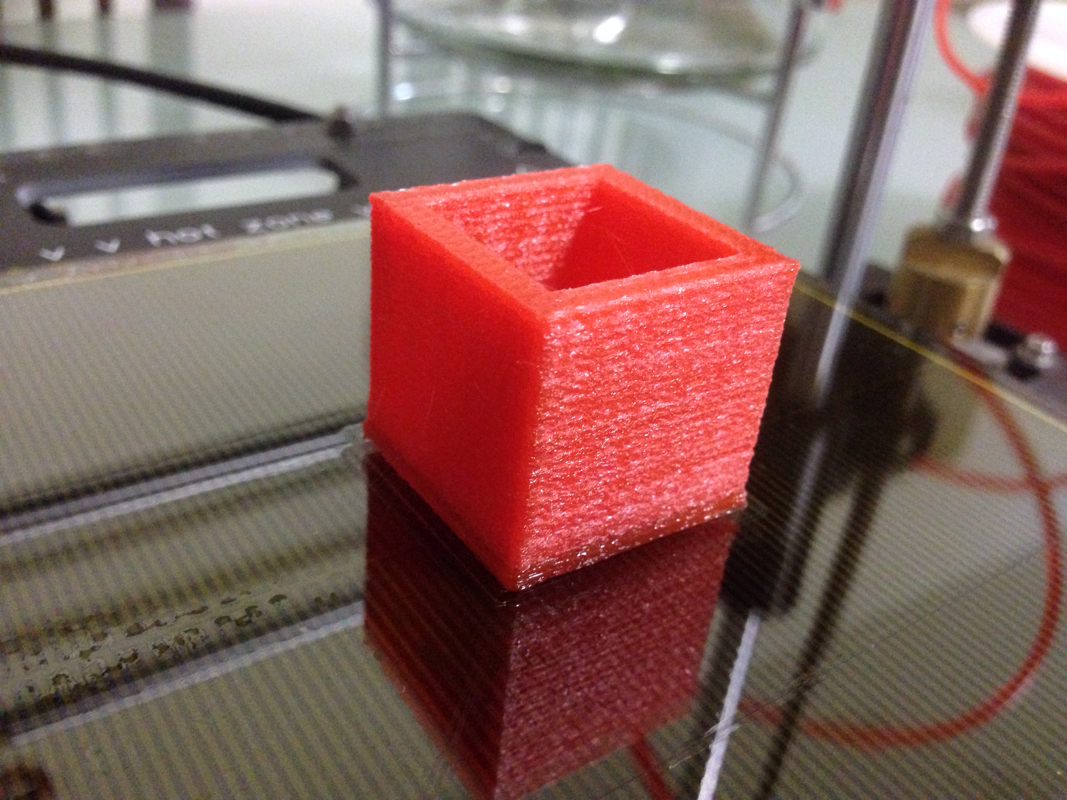
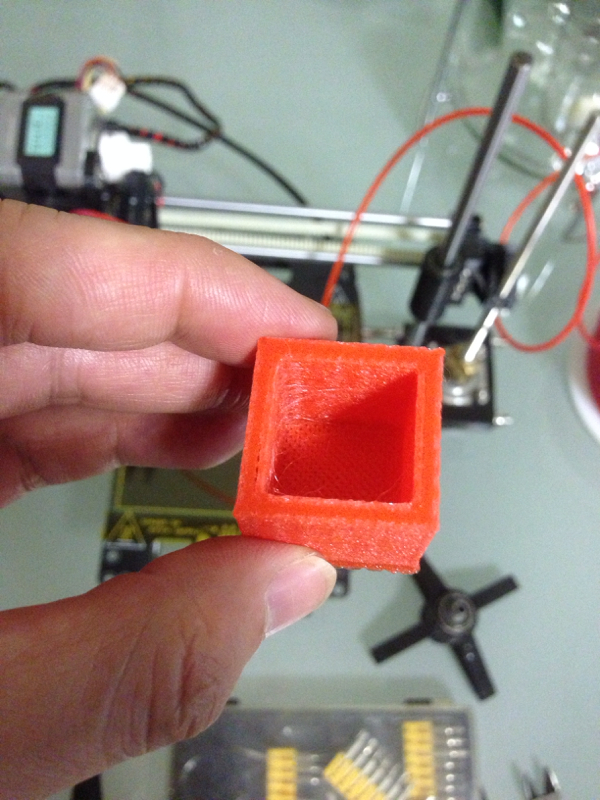
After being able to print out the calibration cube with decent result, I was wondering if I can successfully print the adjustable endstop adjuster.

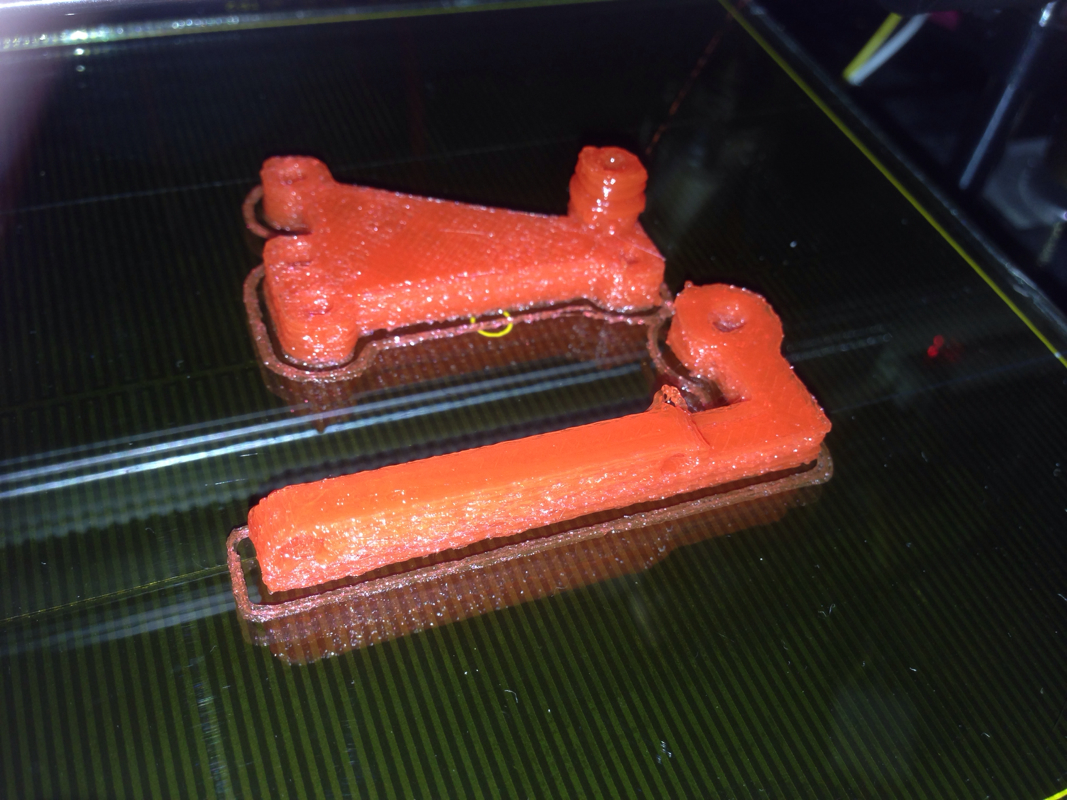
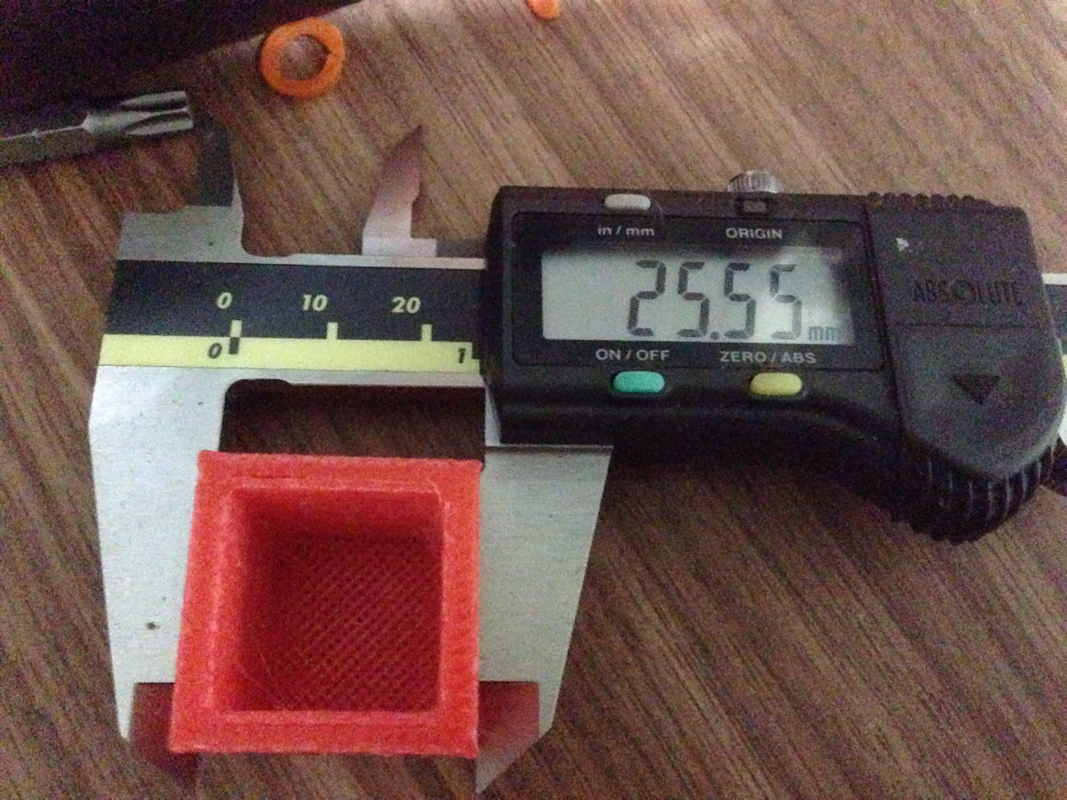
See for yourself what came out...

Picture
Started well.
Picture
Ended crappy...
Picture
Picture
Total mess...

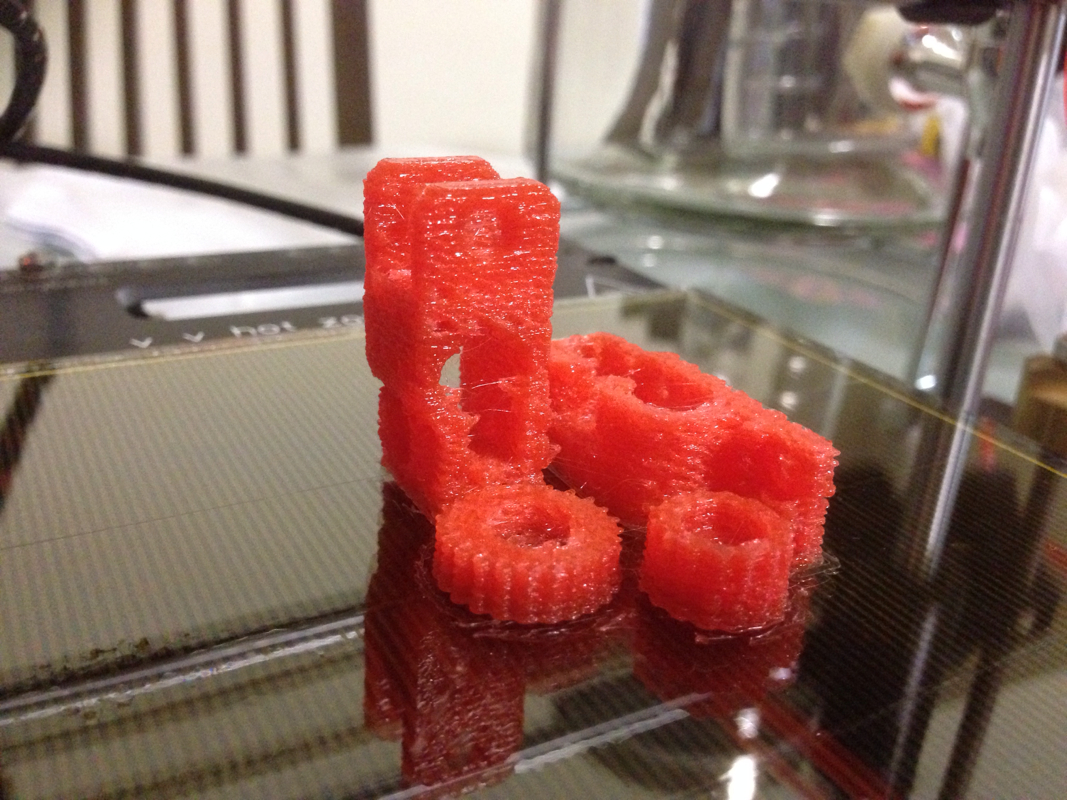
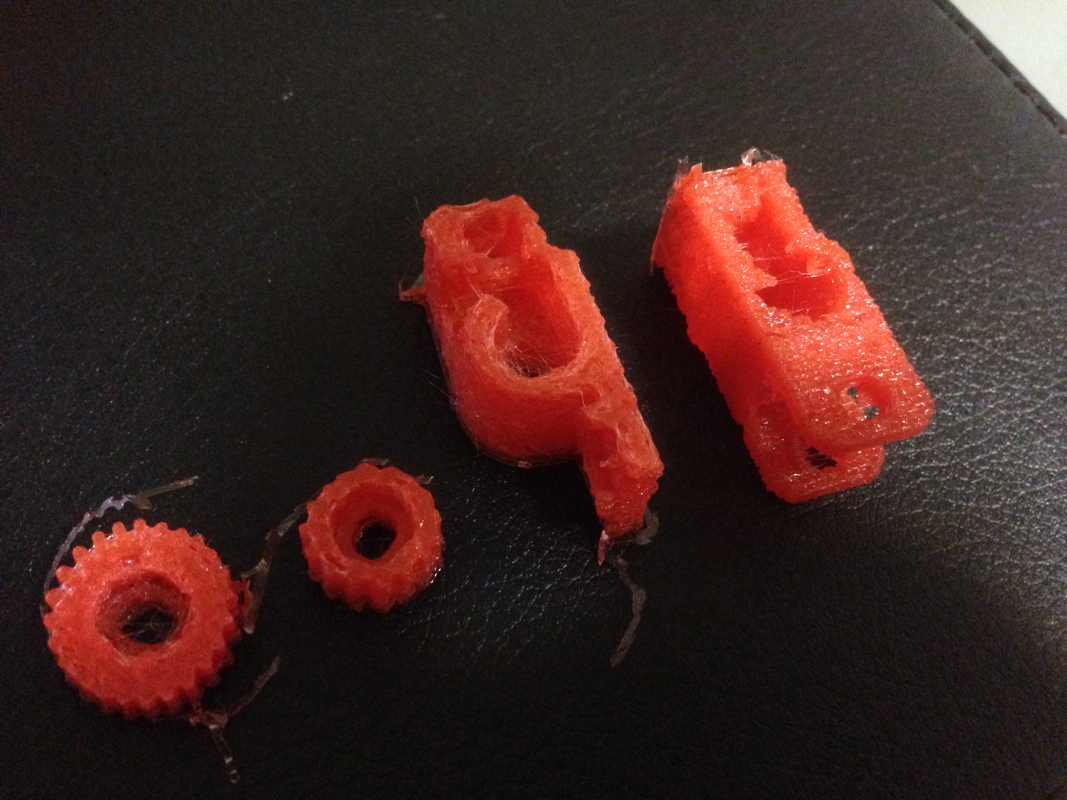
On the positive, at least the gear like knobs are rounder than the first print. In fact, that's all the positive I get...

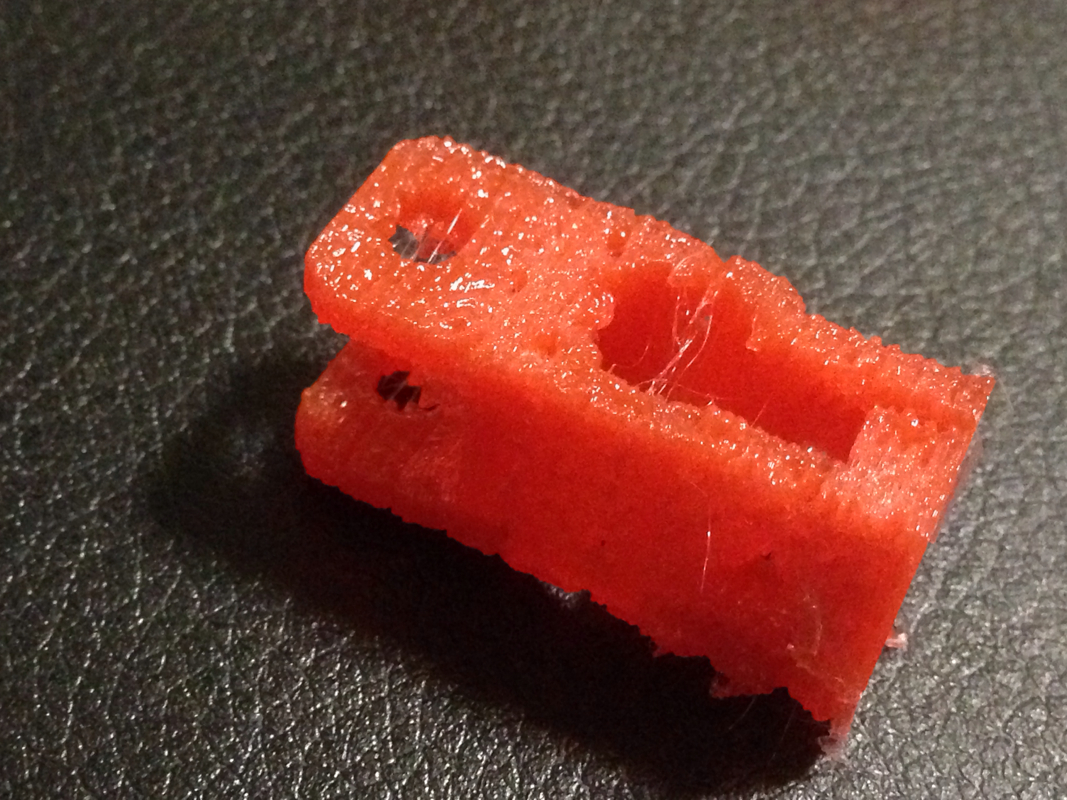
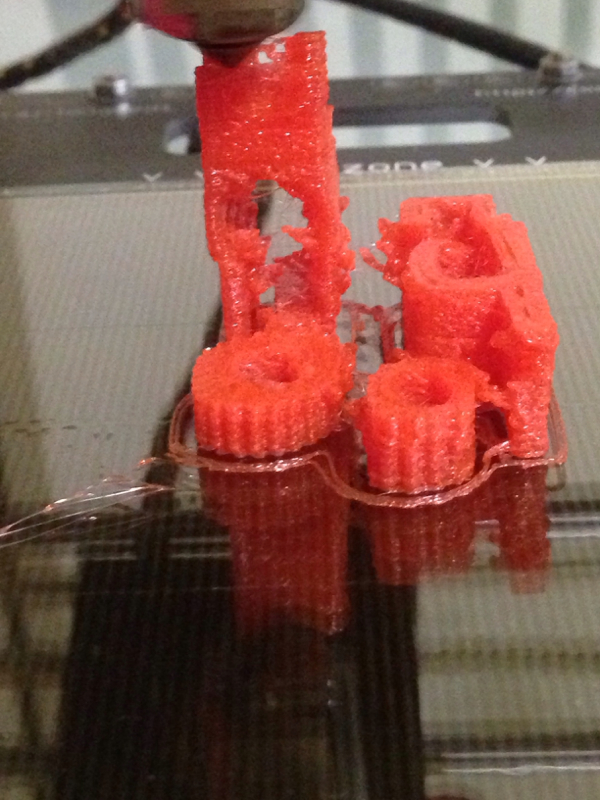
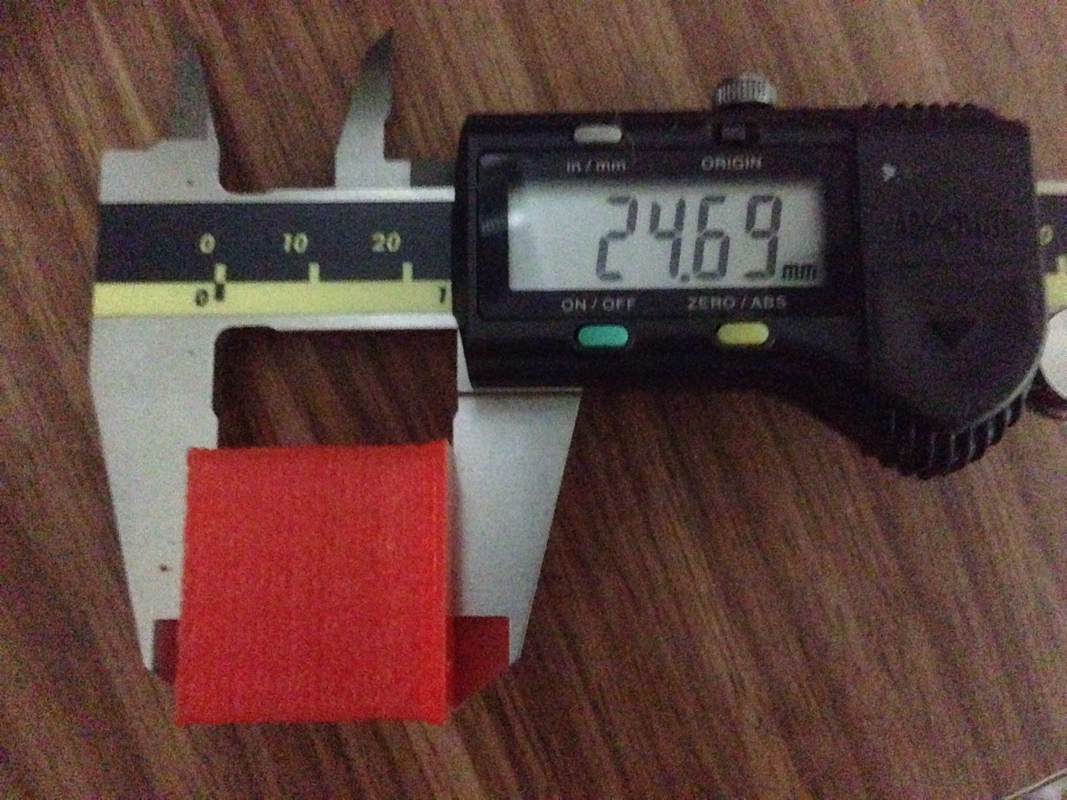
The next print I'd in mind is to replace the missing upper portion of the spool holder. This SHOULD be easier as everything is round. But...

Picture
Looks good?
Picture
Look again. Round?
Picture
It fits the bearing but the other end refused to go into the spool hole...

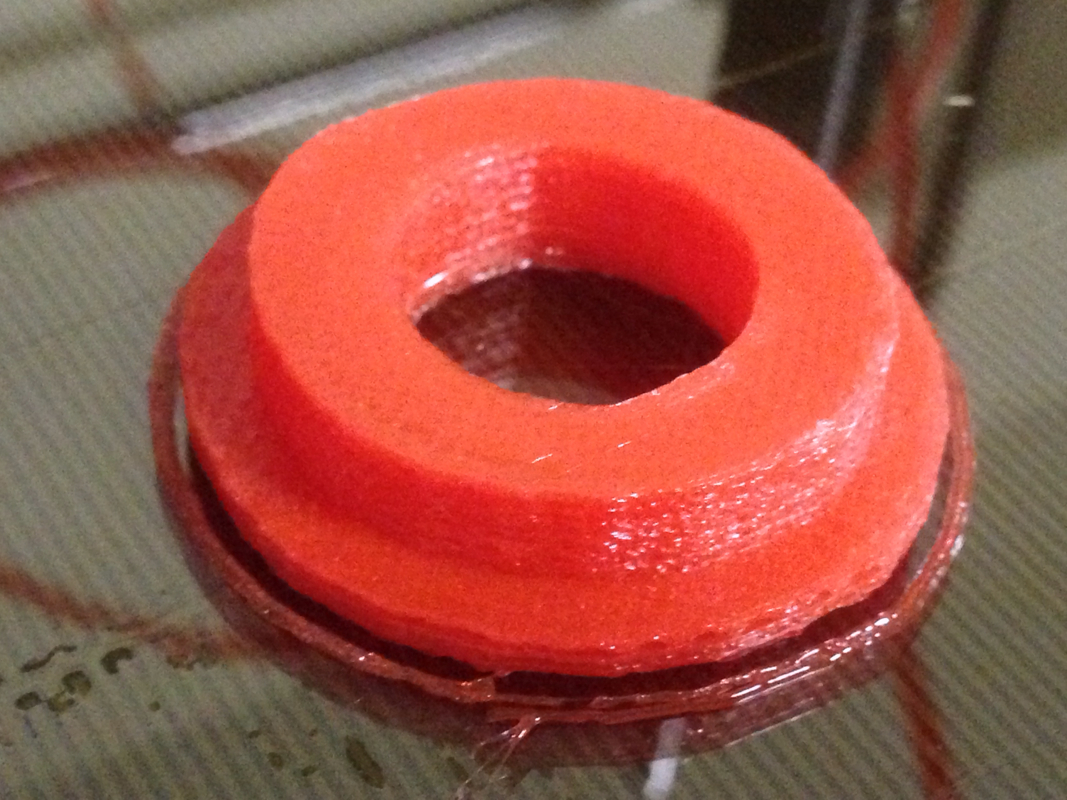
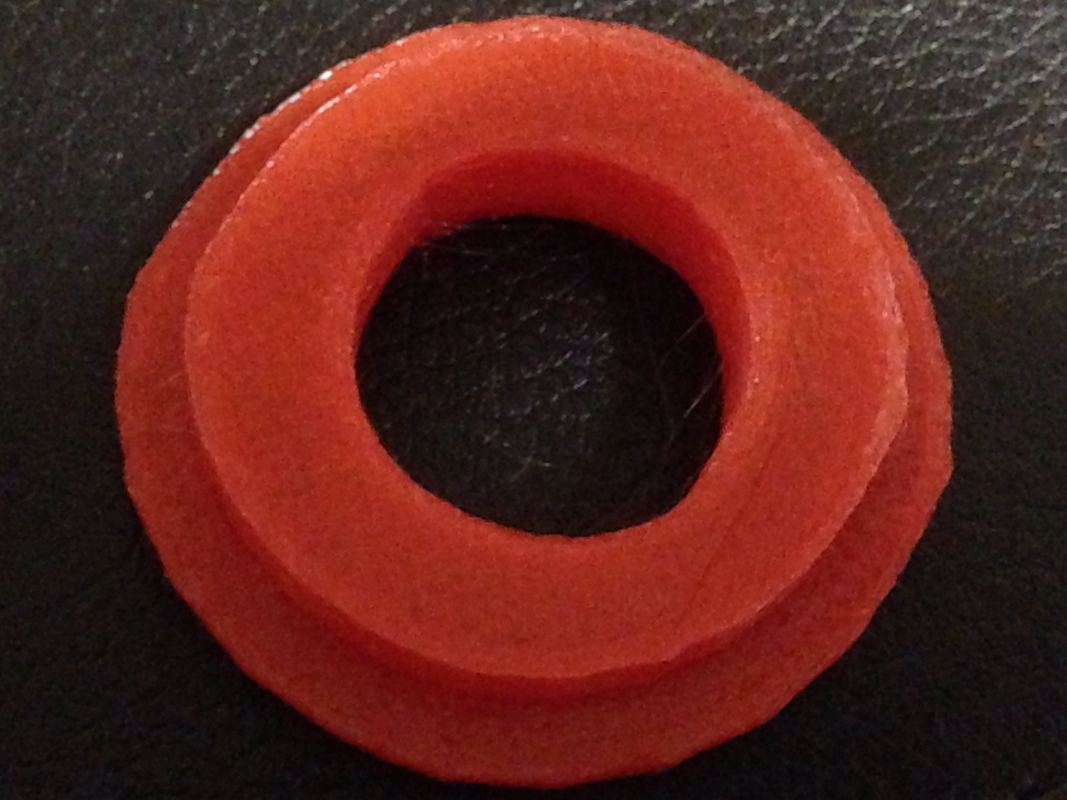
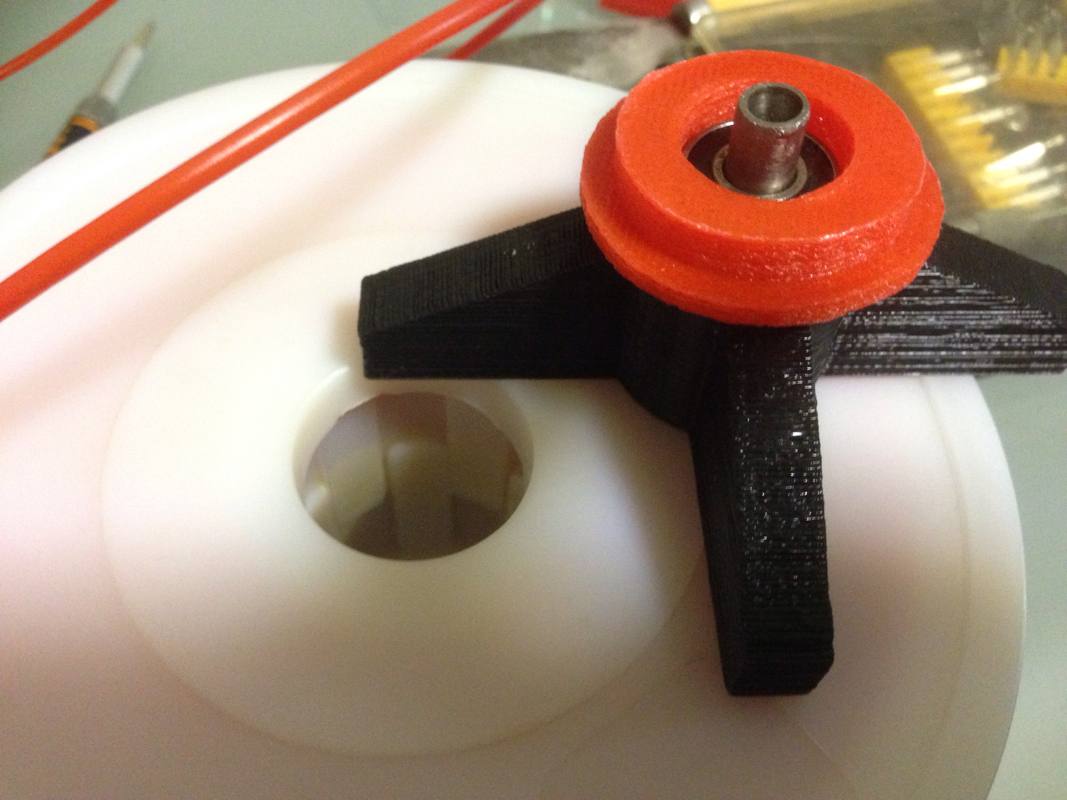
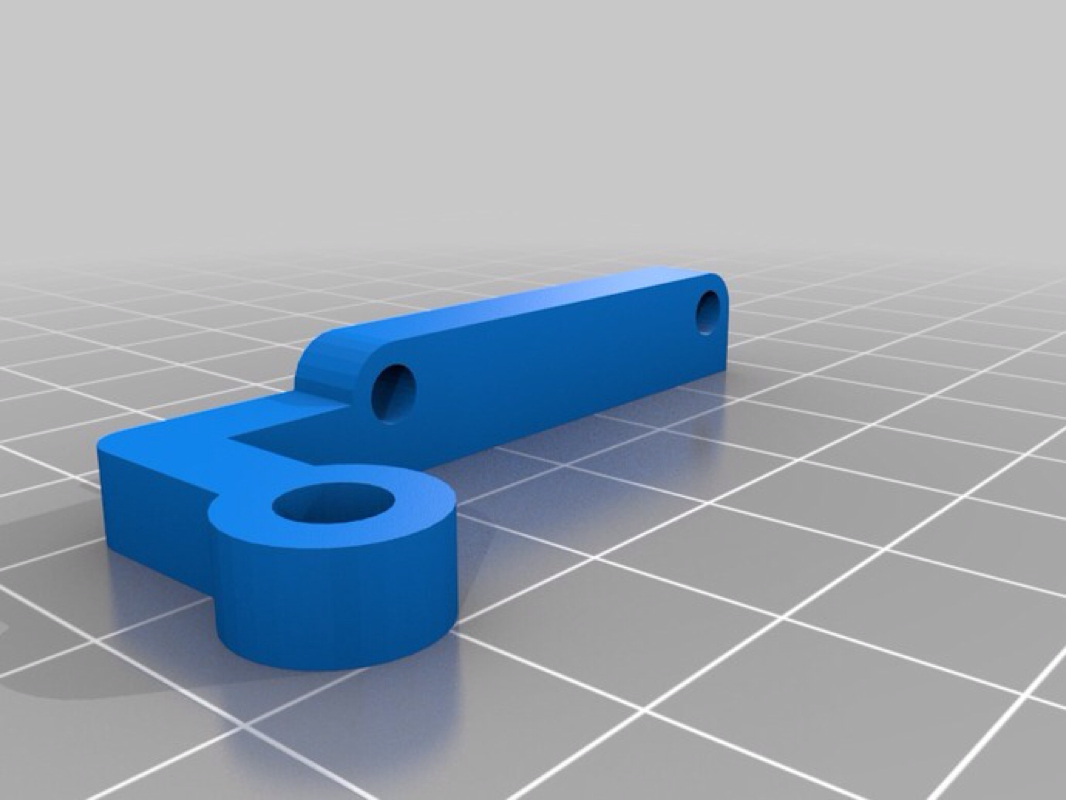
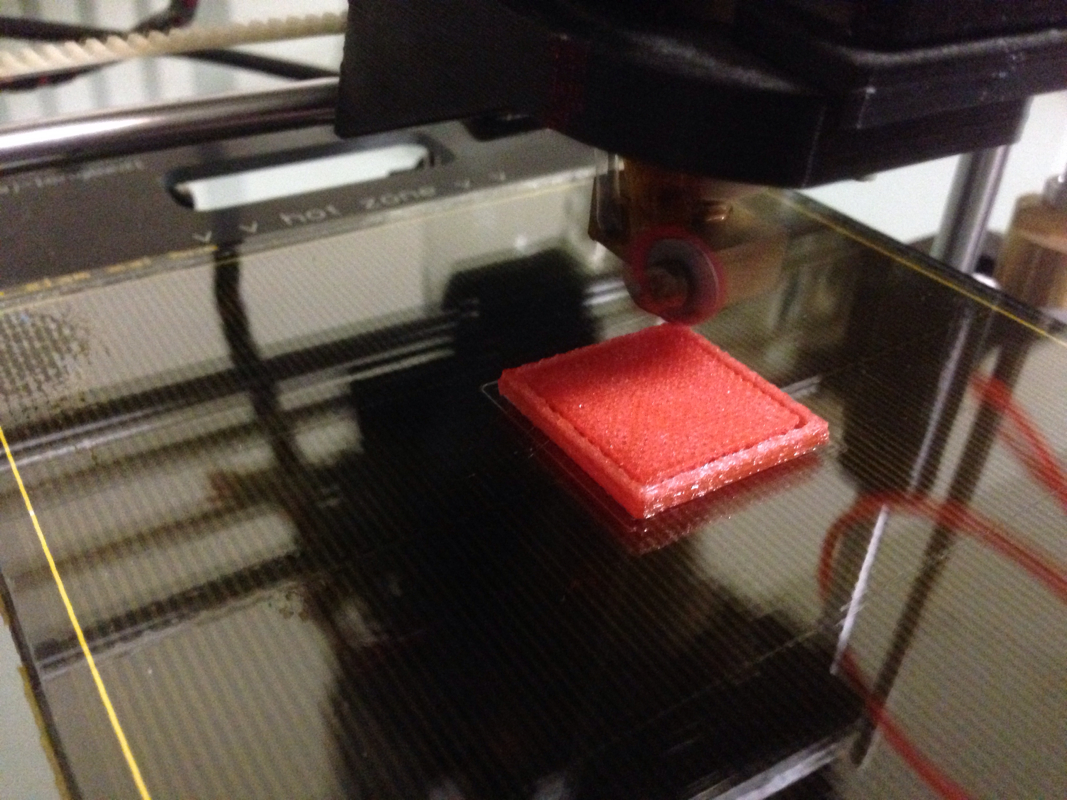
Let's try the filament guide.

Picture
This is how it should look
Picture
The first part
Picture
The guide
Picture
This was what I printed
Picture
Picture
Zooming in. To use this part, I'll have to do lots of cleaning up.

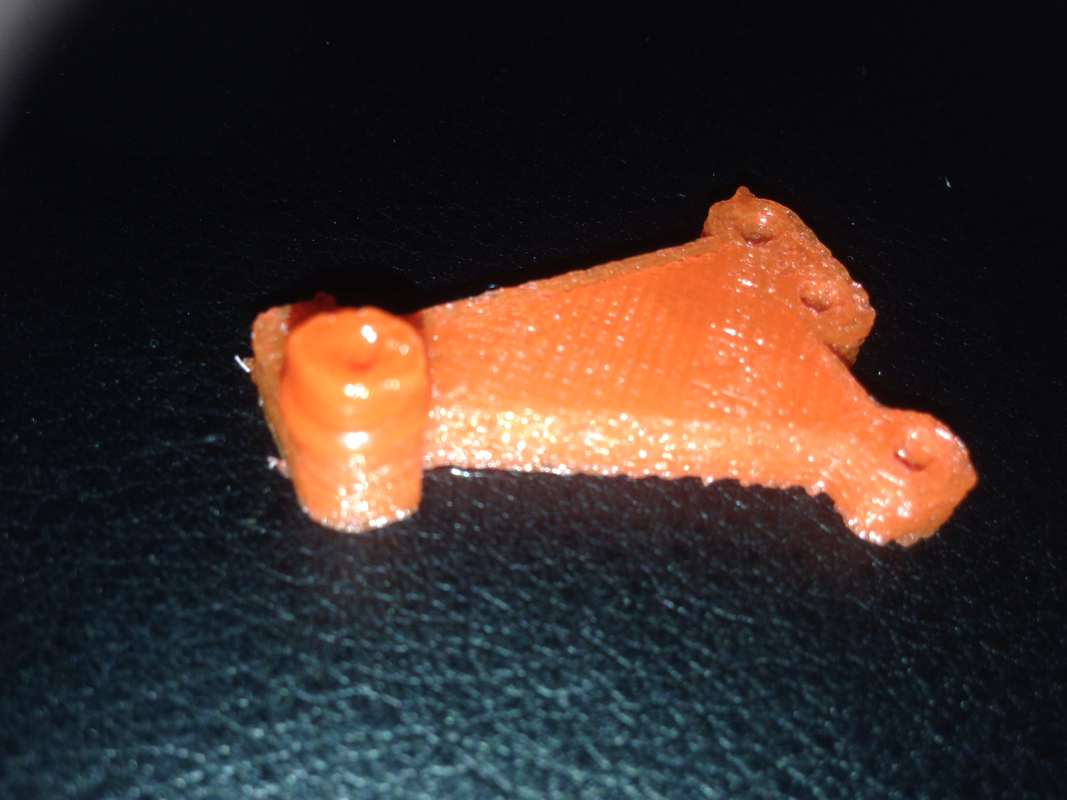
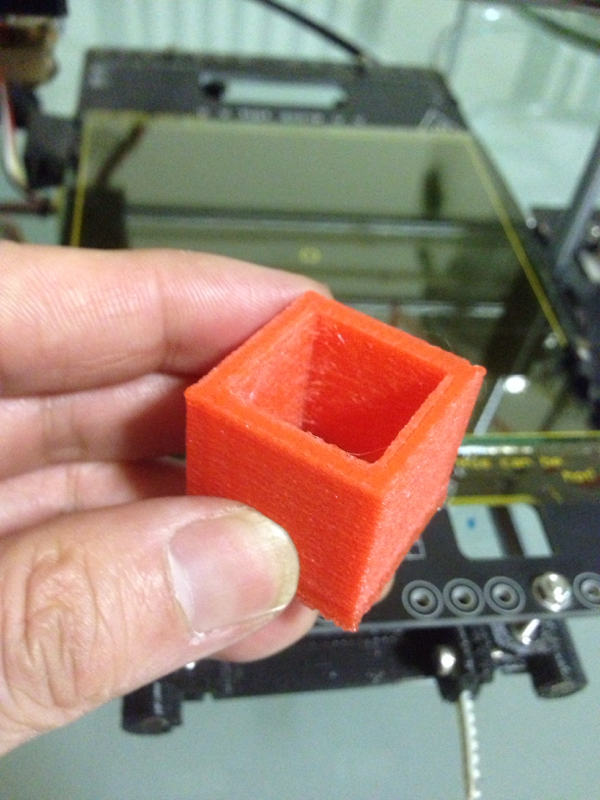
From the 2 sessions, I can conclude that the printer I have is far from being able to print anything useful. More work, more help needed...

0 Comments

3D Printer - Revisit

16/10/2013

1 Comment


It had been quite a long while I've posted anything. I've wanted to get back to the shop to do some work but many things demanded my attention.

A dear friend of mine, Terence, helped me recently to look at getting the Portabee working properly again. He did some tweaks, uploaded Marlin onto the board, and help calibrating it. The result he managed to get out of the DIY printer is commendable:

Picture
All printed on the Portabee. The mouse is rather cute...

The printer was sent back to me few days ago. As I was rather busy, playing with it started only late today.

Not wanting to disturb anything, I plunged into printing the adjustable endstop after keying in all the settings Terence sent. The first print was nothing short of a disaster, which I later realized that I missed out the retract checkbox... Can't even follow instruction... Lol.

Here are the ruins:

Picture
Oval shaped gears and a dilapidated structure...

With the retract enabled, I printed the 25mm calibration cube downloaded from Thingiverse as suggested by Terence.

The print came out alright though I prefer better resolution.

Here are the pix of the cube:

Picture
Picture
Picture
Picture
Picture
Picture
Picture

I measured the sides with my trusty Mitsutoyo Digital Caliper:

Picture
Picture
Picture

X and Y are a little oversized. Z is a little under. Terence suggested doing another print to confirm the result before any adjustments.

Oh, I forgot to mention; I lowered the print speed to 60mm/s when I saw the flow of plastic not catching up with the axes movements.

Test will resume another day. Full day of meeting tomorrow.

1 Comment

    Enter your email address:

    Delivered by FeedBurner

    Categories

    All
    3d Printer
    Er32 Collet Chuck Proxxon
    Misc
    Misc Projects
    Projects
    Proxxon Pd400
    Sherline / A2Z Monster Mill
    Things I Bought
    Wabeco Mill

    Archives

    June 2018
    January 2017
    December 2016
    August 2015
    July 2015
    June 2014
    May 2014
    December 2013
    November 2013
    October 2013
    June 2013
    March 2013
    February 2013
    November 2012
    October 2012
    September 2012
    August 2012
    July 2012
    June 2012
    May 2012

    RSS Feed

Powered by Create your own unique website with customizable templates.