Wongster's Production
Share it on
  • Home
  • Blog
  • My Old Blog
  • My Shop
  • Resources
  • About Me...
  • Contact Wongster

The Cross

24/6/2012

0 Comments

 
Picture
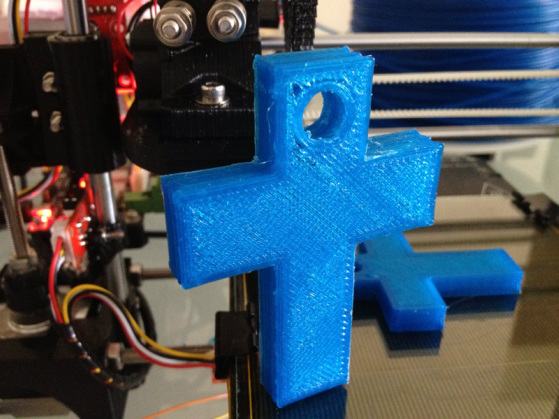
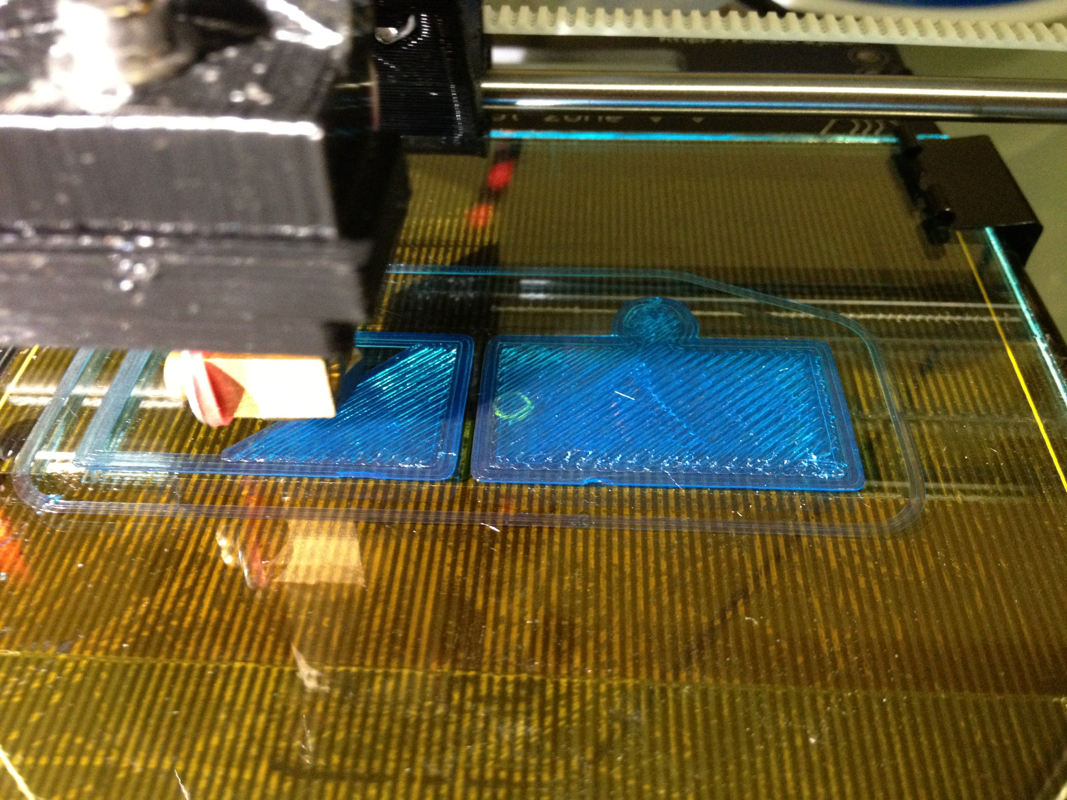
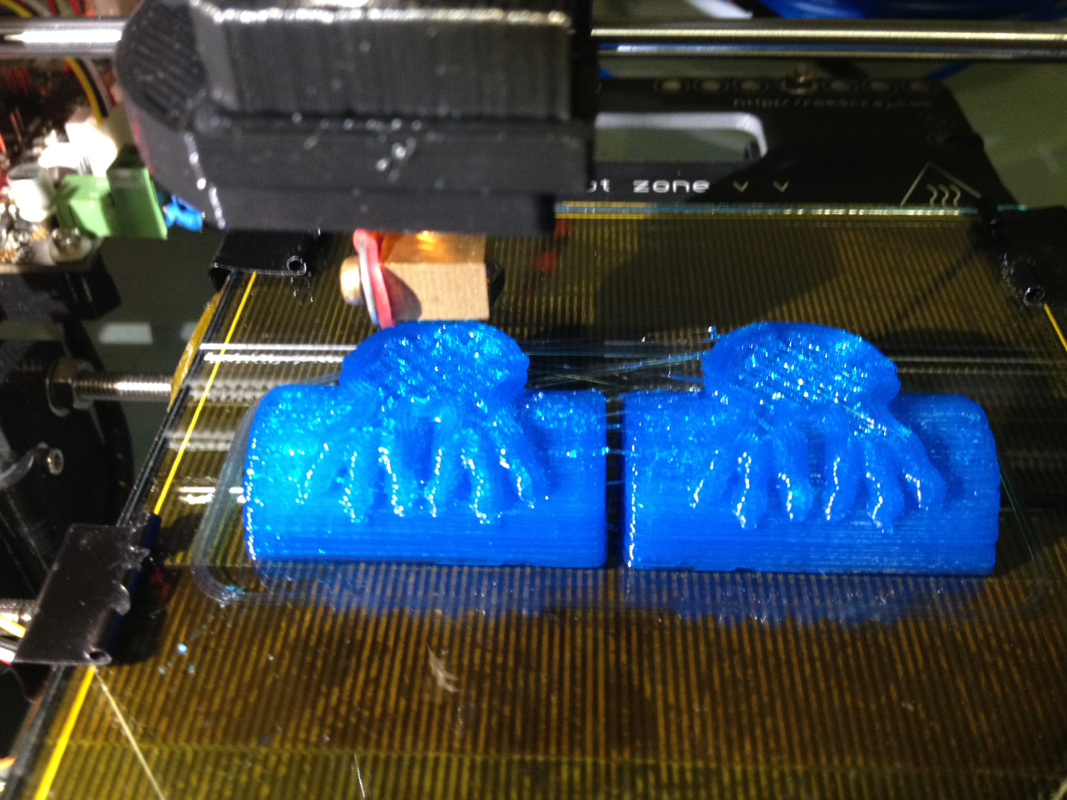
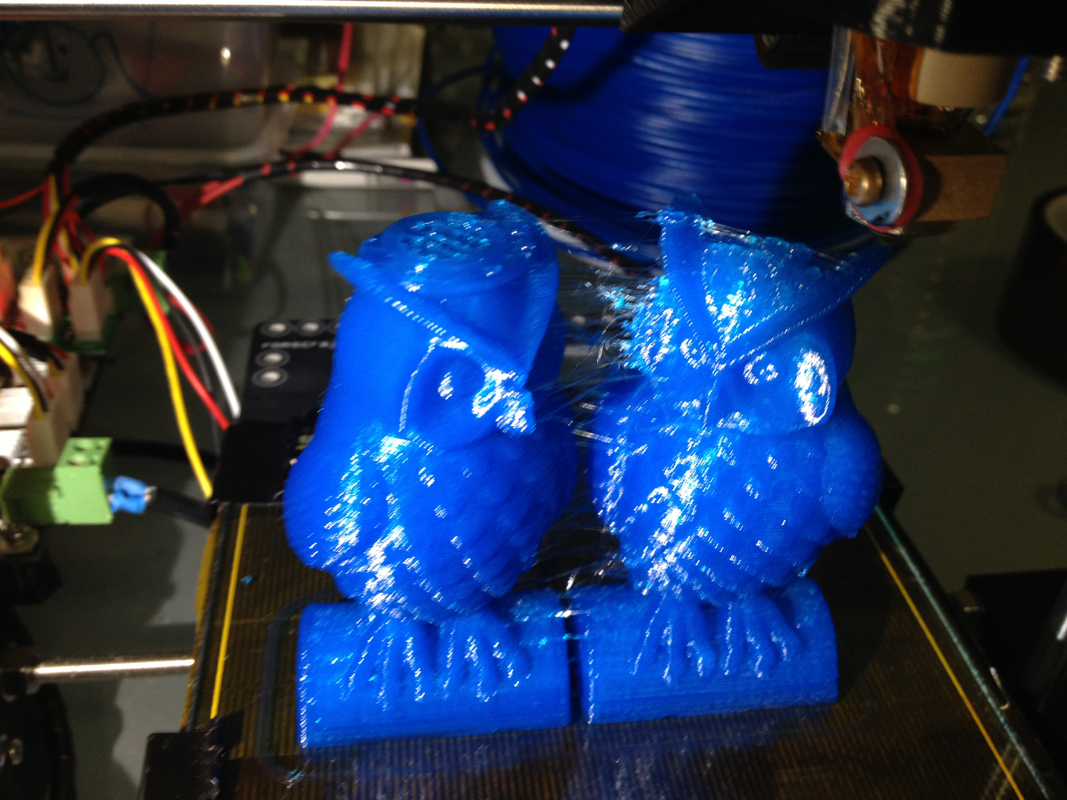
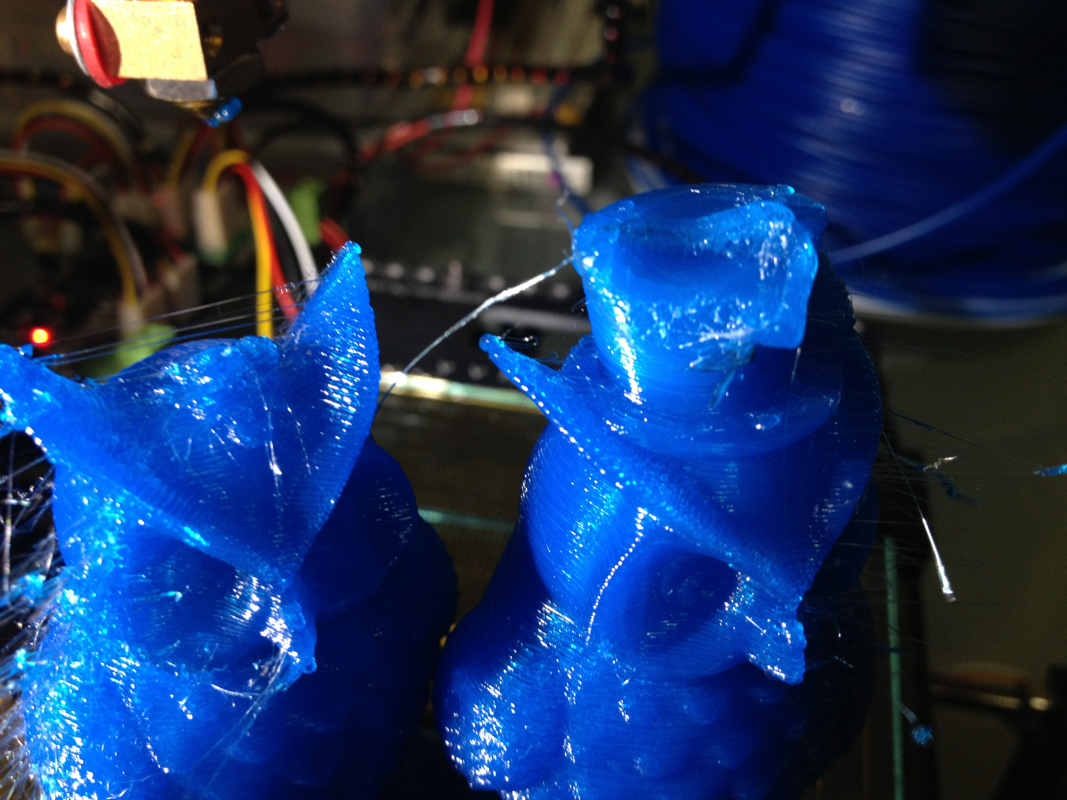
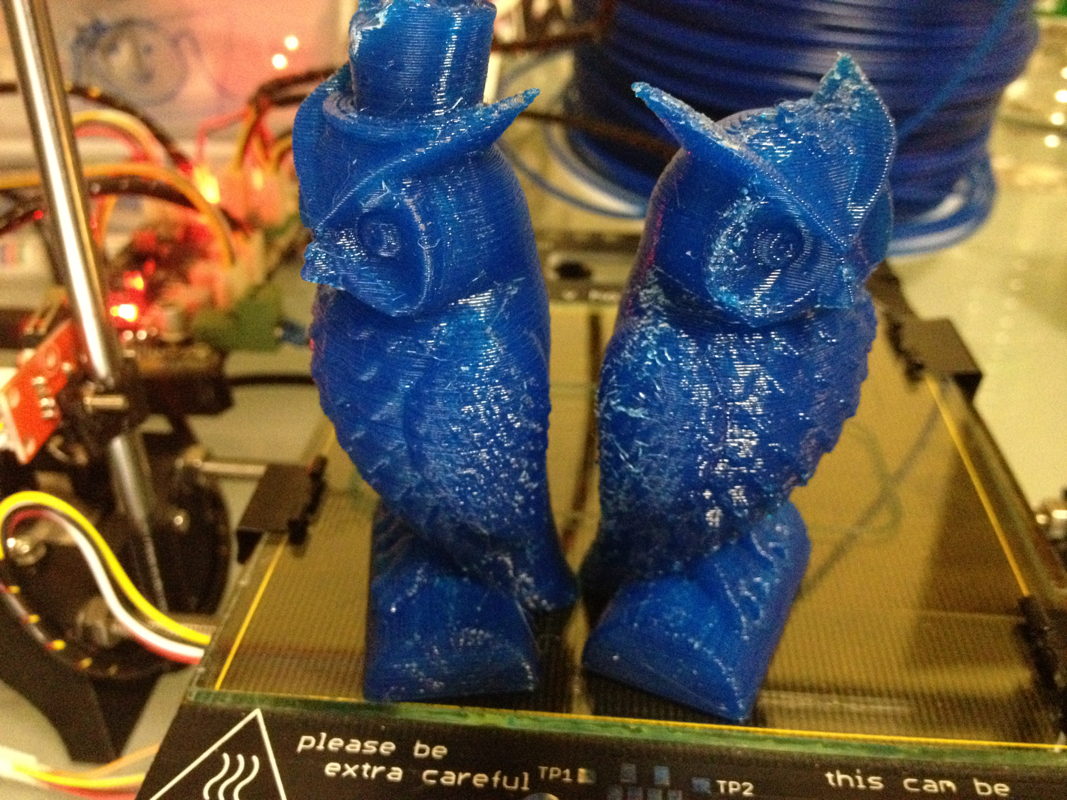
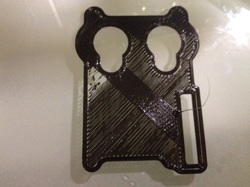
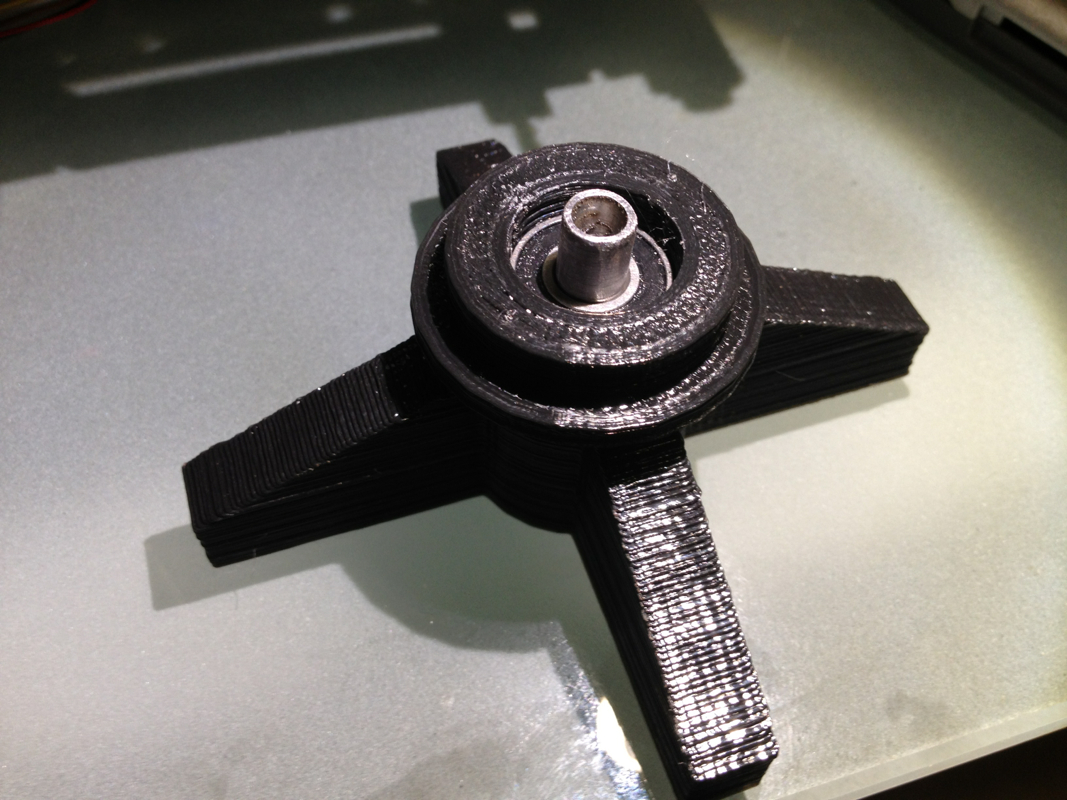
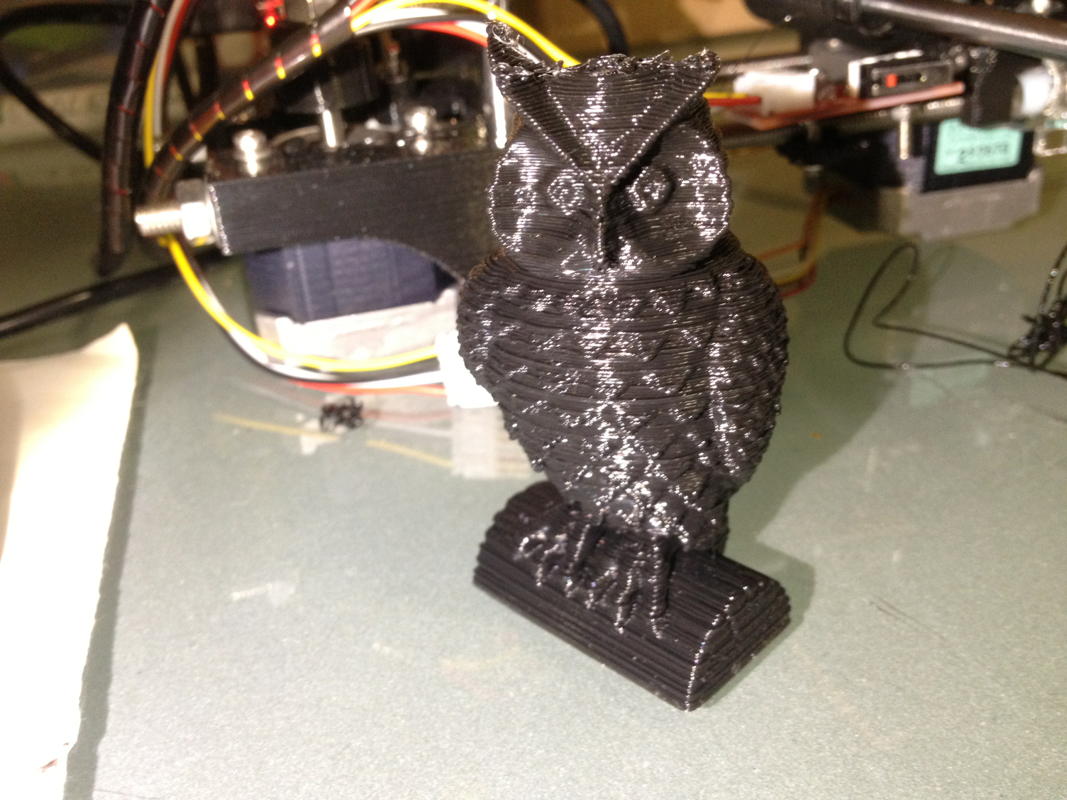
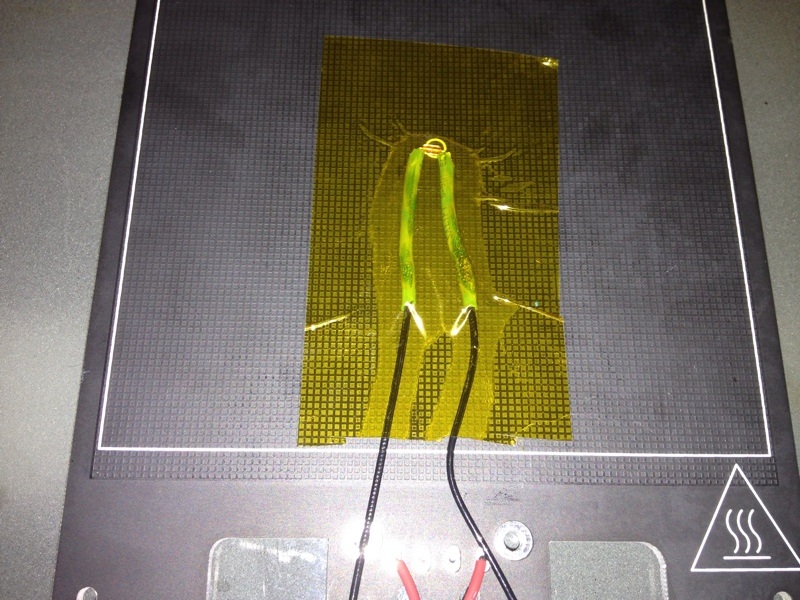
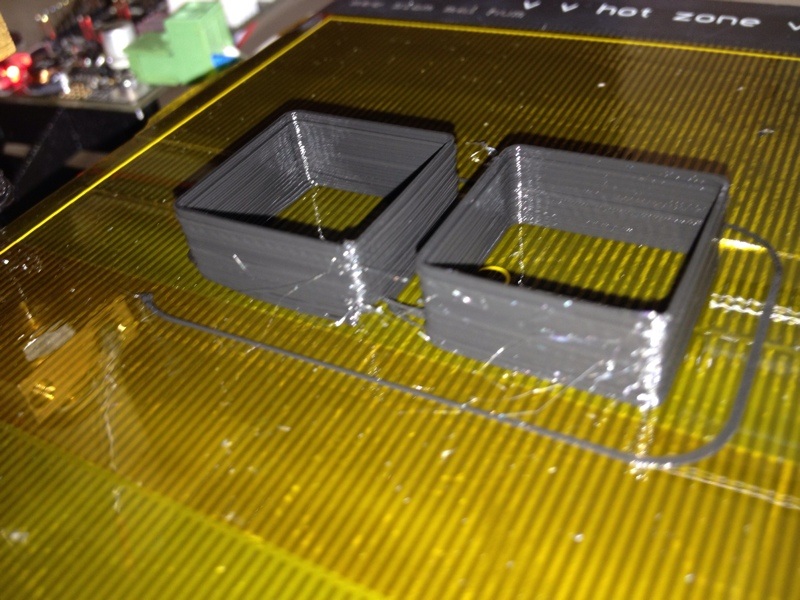
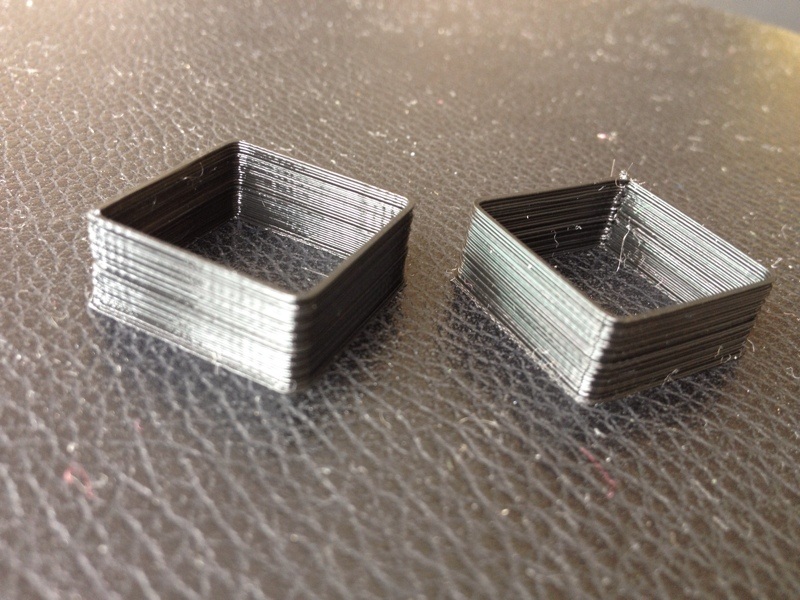
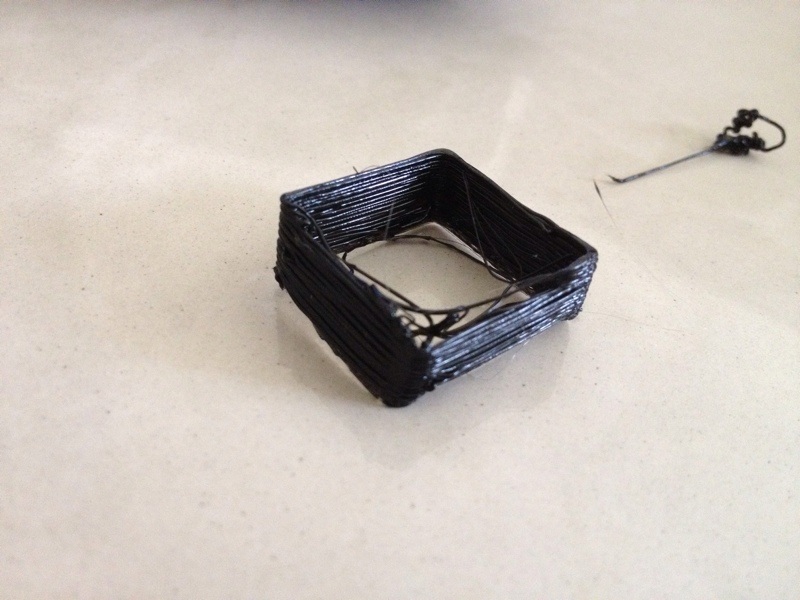
The print out is rather bad. The flow of molten PLA not consistent. Ruth rejected it and ask for a reprint.

While I was looking at it, a thought suddenly came upon me:

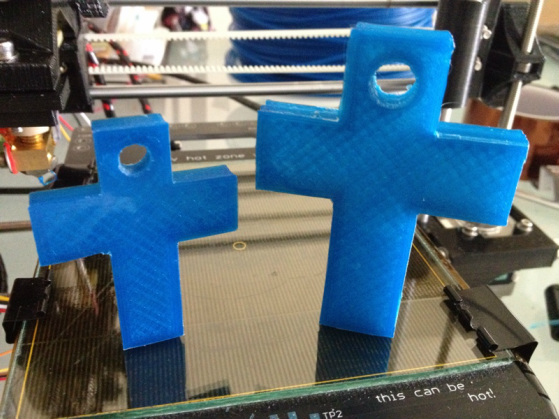
The cross is not a beauty, nor it is even at least pleasant. It is rejected by all, forsaken by God.

It is in that One Act; the act of love. An act so complete that made it so beautiful.

It is in that One Act that we can come boldly in the presence of our Father with no shame & guilt.

He died that we might live. He became poor for our provision. He was made sins so that we can have His righteousness.

This is my Jesus...
Picture
0 Comments

Printing Portabee Parts - X Carriage

24/6/2012

2 Comments

 
The print went well. Took about 50 minutes to print it out.

The problem with the print is, those parts that are supposed to be split (to act as clamps to the 3 LM6UU bearings) sticked together. Trying to cut them loose resulted in a broken piece... Too much force was used I guess.
Picture
Picture
I'll experient some more. The 2 girls are requesting for quite a few things to be printed. More time will be spent playing.

Waiting for the day to be able to get good results.
2 Comments

Ruth's Owls

24/6/2012

3 Comments

 
Ruth has need asking me for her owl. The first one was given to Alicia. After spending several hours disassembling the printer to realign the axes, I started printing the pair of owls that was posted on Thingiverse.
Picture
Using the blue filament for the first time.
Picture
The claws appearing.
Picture
Part of the bodies.
Picture
The heads in progress.
Picture
Almost there. Now printing the hat for the male.
Picture
Closer look at the damage.
Picture
After some cleaning up.
Picture
The back.
Picture
This side is the side that has lots of "hair". Very tedious to clean up.
I stated the job at about 12am and ended almost 3.30am.

This morning, Ruth came excitedly into my room while I was semi conscious. She asked if the owls are hers. Of course darling, they are. She readily accepted them despite me telling her the mishap on the hat. She said that she views that as a designer hat... Sweet Ruth...

I'm now on to making replacement parts for the printer. Maybe build one to give away.

GeneK, are you interested in the Portabee?
3 Comments

Owl Wire Wrap

20/6/2012

0 Comments

 
The fun thing with the 3D printer is the ability to just download STL models off websites, scale them down to fit the print area, and just hit the print button.  I find this particularly suitable for SG homes where space and time are usually the constraint.  It is very addictive and I often find myself looking at the machine putting on layers and layers of plastic to form the final shape.  Most of all, my girls love what it produces.

While surfing on Thingiverse looking at the model of those owls produced by its members, I came across this wire wrap for headphone in the shape of an owl.  It looks rather cute especially with the ear piece forming the eyes of the owl when the wire is wrapped around it.  Alicia, who took an interest in everything with owl printed from our recent Bangkok trip, immediately jumped in and told me that she would like to have one for her iPhone headphone.  The STL was downloaded and I printed 2 at one go.
Picture
It turned out that the STL for the headphone I downloaded isn't meant for iPhone's.  The 2 holes for the ear piece are too small to fit.

This forced me to do up the CAD from scratch following as closely as I can with the general shape of the STL from Thingiverse.  A few good hours was spent playing with Solidworks and BobCad to get the shape right.

Picture
And this is what I get after that few hours.  It works really well.  Due to it being a "fatter" owl, I'm not able to print 2 at one go.  My bed is too small.  So I spent another 30 mins printing one at a time.  Alicia, as usual, jumped in and took the first piece as her prize...

Picture
This is how it looks with the wire wrapped around.  Isn't it cute?!

Picture
Starting on 2nd piece for Ruth, I ran into some problem with the print.  Look at the left side of the job just below the eye.  I can't explain what happened with my little experience and knowledge.  So a reprint is in order as Ruth is still waiting though it was passed her bed time.

Picture
Just look at how proud she was when she finally got hers.

While having fun printing, I'm constantly thinking of how to improve the stability and accuracy of the printer.  I'm toying with the idea of changing out to better quality bears, using lead screws instead of thread rods for the z axis, etc etc etc.  I've some ideas in mind but don't know if they will work right.  Since this is just a hobby, I'll just give them a shot to see how they turn out.

Will keep you folks posted on the progress like usual.
0 Comments

Filament Spool Holder - Reprinting the Bearing Holder

17/6/2012

0 Comments

 
I tried putting the printed parts together with Sherline's flange bearing and motor coupler. The fit was extremely tight. It took me quite a while to have the coupler seating completely at the bottom of the base. When the bearing holder was inserted into the centre of the spool, it broke...
Picture
I reprinted one with infill of 40%, hoping that it would strengthen it some what.
Picture
Picture
The newly printed bearing holder next to the broken one.
Picture
The assembly fitted together.
Picture
Pressing the holder to the spool.
Picture
Job done. The spool can be turned freely on the holder.
I'm now ready to print an owl using the blue filament for Ruth. This will be a 4 plus hours job as it is going to be slightly bigger than the one I did earlier for Alicia.

Hope to have the time to do it.
0 Comments

Filament Spool Holder

16/6/2012

0 Comments

 
Being frustrated with filament entangling, I went on Thingiverse searching for some kind of a spool holder. Nothing caught my eyes but the one shown to me by Mike. He sent me the STLs upon my request and I started printing.
Picture
This is the holder for the bearing. He designed it to use Sherline's flange bearing for the stepper motor mount.
Picture
The base with the bearing holder.
It's now the time to figure out how to install the 2 parts to the spool...
0 Comments

3D Printing - Owl

15/6/2012

0 Comments

 
Picture
I came across this beautiful pair of owls on Thingiverse that I just can't help wanting to print them. The models are too big for the Portabee and the author suggested scaling them down to fit. Not wanting to spend too much time printing as it was almost 11pm, I scaled of the pair down to 50% which gives a built time of about an hour.

As I've not done calibrating, the result isn't as good as the photos posted by others that did the same print. But I'm rather happy with what was produced except that I broke one of the thinner part of the brows while cleaning up the model.

I'll post the time lapse pics when I have the time. It's almost 1am in the morning.
0 Comments

iPhone Dock

10/6/2012

0 Comments

 
The STL was taken from Thingiverse, created by Pointedstick.  I was looking for something practical to print when I stumbled upon it.  The entire print took one and a half hour to complete.

This is how it looks, with the charging cable installed:
Picture
Alicia's iPhone in use so that I can snap the pic using mine.
Before printing, I took the pain to level the X axis smooth rods and make sure that the bed is leveled in relation to the axis.  This proves to be worth the effort as I've even distribution of the molten PLA on the bed at the first layer.

For this post, I'll be presenting the photos taken during the built in the form of a gallery.  Feel free to click on the photo of interest to see the enlarged view or click on "Play" to view them as a slide show.
The 3D printer is really addictive.  Good that there is a smaller version for my over crowded shop.  Otherwise, I'll miss out all the fun.

If anyone reading this has a tip or two on how I can improve on the quality of the print, please let me know.  I'm also trying to figure out how I can manipulate STL model so that I can make adjustments to interest models downloaded from sources like Thingiverse.
0 Comments

Portabee - Construction

10/6/2012

20 Comments

 
A day or two after I returned from my Bangkok trip, I received a message from Mike that the Portabee has arrived.  I popped over his shop with my little girl to pick it up.  I wasn't very excited about the 3D printer as I've yet to complete the ER32 Collet Chuck for the Proxxon lathe.  There are a few other projects I would like to work on before my leave ended.  But I couldn't stop the moment when I opened the unlabeled box...  It is addictive!!!

The construction of the printer was completed after 2 nights.  I did my first print this morning.  The result was crappy as the bed wasn't leveled relative to the spindle (or should I say extruder).  It was nonetheless a good experience.  A call to Mike provided the solution of how the bed should be leveled.  It took me quite some time to get it almost right and the next print came off okay.  More needs to be done in order to achieve the quality of printer shown by many out there into 3D printing.

I would like to take the opportunity to thank Mike of SG Tooling and KP of romscraj for their help in getting me going.  Both are very patient with this brainless newbie and responded to my whatsapp and emails even late into the night.

I also had the opportunity to tour KP's shop at Midview City on 18 Sin Ming Lane.  It is not too much of a shop but their production area.  Good stuff you have their, KP!
Picture
This is the box that houses the components of the kit. Nothing to shout about.
Picture
All the parts laid out. Yes, the pack of instant coffee is included as part of the kit. Taste good.
Picture
The printed parts. The quality of some of the parts are left lots to be desired. They're, however, usable.
Picture
The frame of the 3 axes done. The little red PCBs are the limit switches used for homing.
Picture
One of the badly printed parts included in the kit. If I remember correctly, this is the clamp for the home switch.
Picture
Despite its defective look, it works as it should without problem.
Picture
The brass block for the hot-end. The big resistor was wrapped with a couple layers of Kapton Tape before inserted into the hole. I believe the function of this resistor is to generate the heat to melt the plastic.
Picture
The Thermistor. This, I was told by KP, who is Mike's supplier, measures the temperature
Picture
The Thermistor and Resistor soldered to their wires.
Picture
The hot-end done. Time to do the Extruder.
Picture
Extruder done. Just need to clamp down the Thermistor.
Picture
Sticking a Thermistor to the back of the bed.
Picture
Cork board pasted on.
Picture
This is cute! Printed on the surface of the hot bed is the famous "mee siam mai hum"... lolz. You should read the manual - it is laced with humour.
Picture
Putting on the belt.
Picture
The 2 belts provided for X and Y axes have steel wires in them. The wasted cutter for my basic electronic work...
Picture
All assembled.
Picture
and wired up.
When I did a test run of the printer, X axis refused to move, making some noise.  After swapping the wires and motors to isolate the problem, I figured out that its the board that is giving the problem.  An email was sent to KP of Romscraj, he asked me to drop by his office at Sin Ming to let them check and suggested that I bring down the printer.  Boy I'm glad that I did that! I've never seen so many printers working at the same time and the shop is cool!!!  KP swapped the board for a new one and plugged in the wires to do a test print.  Except the lousy printout due to the bed not being level (yet), everything else works fine.

I saw these 2 vase in the shop and can't help but to take a pic of them.  Nice print!
Picture

When I got home, I did a trial print on my own.  Here's the clip:
Picture
Picture
The above 2 pics were the results of my attempt to level the bed.  Not too bad but lots more to be done.  Compare these to my first print before leveling.
Picture
My very first print - crappy...
More work and more work needed to square up the printer's axes and to understand how to calibrate it to print correctly.  I wonder when I'll be back in my metal shop to finish up with the ER32 Collet Chuck and the rest on my To-Do list with this printer around...  So much to do, so little time...
20 Comments

    Enter your email address:

    Delivered by FeedBurner

    Categories

    All
    3d Printer
    Er32 Collet Chuck Proxxon
    Misc
    Misc Projects
    Projects
    Proxxon Pd400
    Sherline / A2Z Monster Mill
    Things I Bought
    Wabeco Mill

    Archives

    June 2018
    January 2017
    December 2016
    August 2015
    July 2015
    June 2014
    May 2014
    December 2013
    November 2013
    October 2013
    June 2013
    March 2013
    February 2013
    November 2012
    October 2012
    September 2012
    August 2012
    July 2012
    June 2012
    May 2012

    RSS Feed

Powered by Create your own unique website with customizable templates.