Wongster's Production
Share it on
  • Home
  • Blog
  • My Old Blog
  • My Shop
  • Resources
  • About Me...
  • Contact Wongster

Do More Buy Less?

29/11/2012

2 Comments

 
This statement had been made several times over several years. In fact, Terence and me had recently made that "vow" again. It was only a few weeks ago and it is already broken... Lolz...

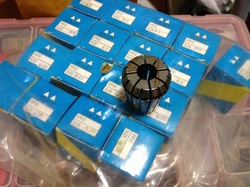
This is what I just received from CTC Tools:
Picture
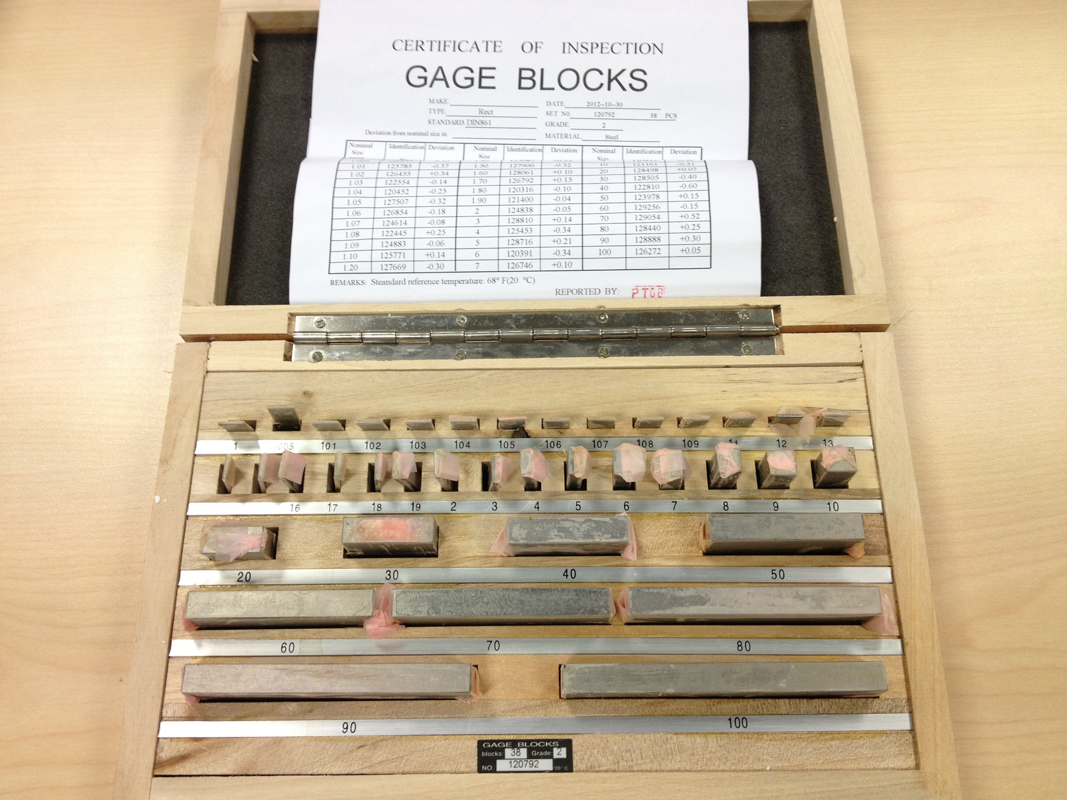
Saw this set of 38 piece metric gauge blocks going on sale with a 10% discount off in their November newsletter. Couldn't help but click on the link to make the purchase.

The set came in a nice wooden box and a piece of paper that talks about the precision of each piece. Think I can call it a certificate?

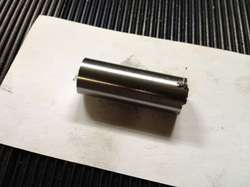
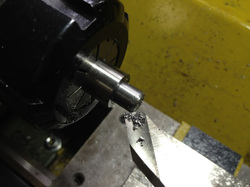
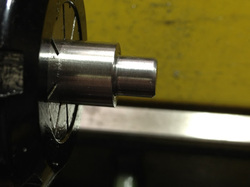
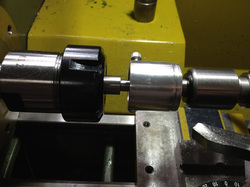
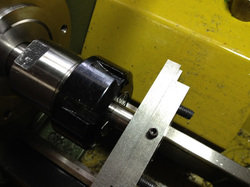
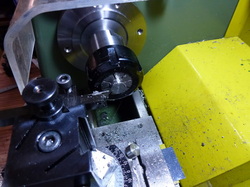
While I was on their site, I also picked up the tool holder for round insert and a box of the round inserts. The inserts cost very much more than the holder...
Picture
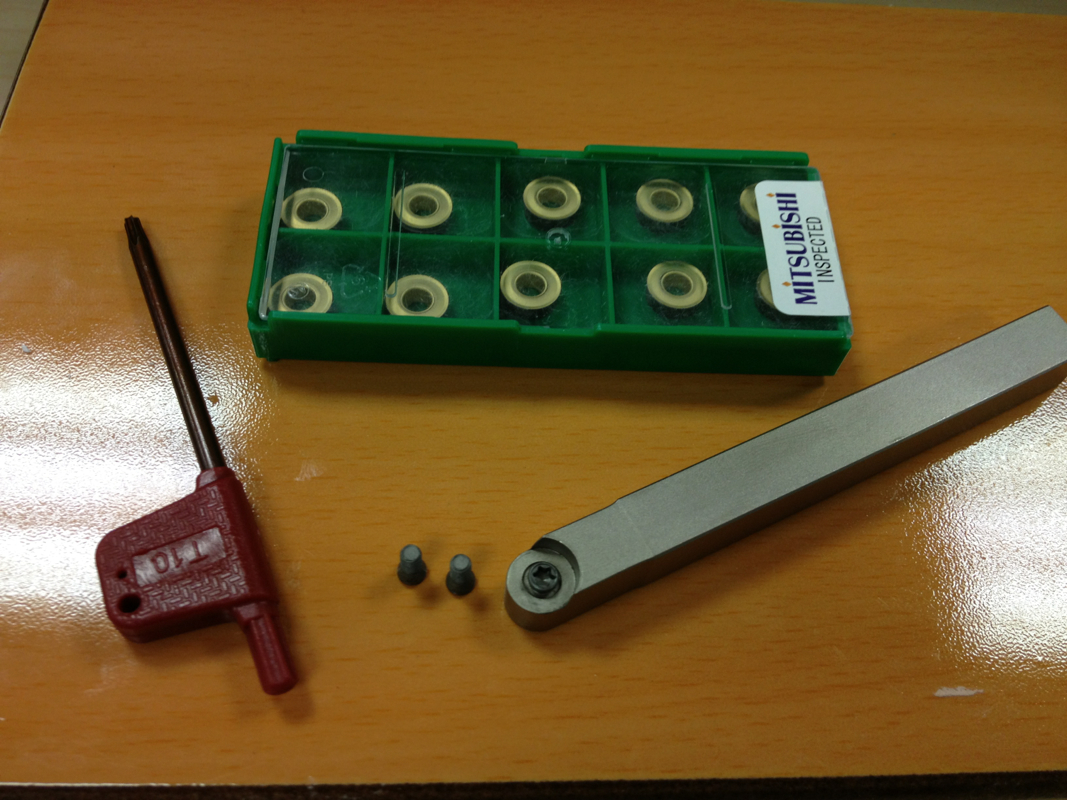
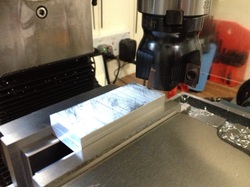
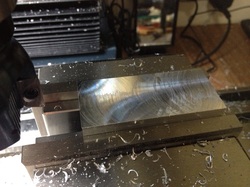
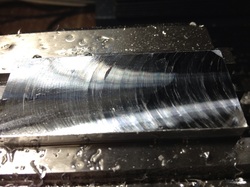
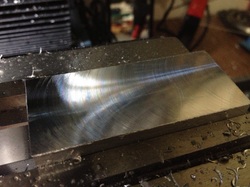
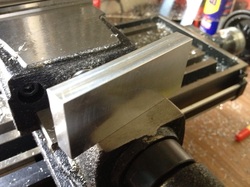
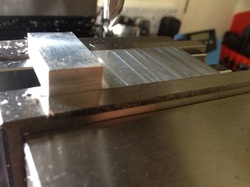
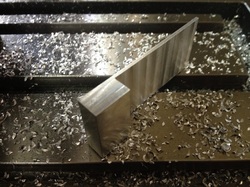
The holder is not in the usual black coat like those in the box. It looked well made. I plan to use it for fly cutting.
2 Comments

Tracking Web Traffic

18/11/2012

2 Comments

 
The Weebly Web Tracking is so confusing to use.  A counter was placed as suggested on the front page of my site and since I migrated over from BlogSpot, the traffic counter only counted 1900 page views.  From the stats maintained by Weebly, I've a daily pageviews (which is very close to the number of unique visitors) of about 80 to 90 views on average (lowest of 44 to highest of 156 page views).  But the counter on the front page only displayed 1900, which is about 20 over days of traffic.  So I decided to take it down and put on Google Analytics.  Frankly, I'm still a little confused of how this is to be set up.  Let's see if I get it right.  If you know how to go about doing this beside what the instructions on Google Analytics said, please drop me a note.  I'm still getting the "tracking not installed" status as of this writing.

Tracking on BlogSpot is so much simpler... sigh...
2 Comments

Installing iGaging Scales to the Wabeco F1200 - Z Axis

17/11/2012

7 Comments

 
It was in July this year that I installed the scale on X axis and that was many months after I purchased the sets of scales.  I've been thinking about how to mount the scale on Z axis without drilling and tapping on any part of the mill.  This is mainly due to my lack of confident in accomplishing what many think as an easy task.

I ran across a YouTube video posted by rjkflyer sometime ago and decided to roughly follow what he did to his Wabeco F1200 mill.  His video can be found here: http://youtu.be/2z_xZFiNa14.

First order of the day is to find a way to mount the base of the scale.  This one is simple, I merely make a piece of 5mm thick aluminium plate with 2 clearance holes for the M4 screws to mount the plate on and a M4 hole to hold the scale.
Picture
The simplest part to make.

The challenge I faced when finding a way to attached the reading head to the spindle saddle is the availability of suitable brackets.   I contemplated buying a sheet metal bending brake to make my own but there are none available locally that is small enough for my already congested shop.  Harbor Freight in US sells an 8" version which is what I need at USD199.  But the shipping cost too much as the bending brake is rather heavy.   In the end, I settle on fabricating my own from a piece of aluminium. 
Picture
The closest aluminium plate I can find in my box is this 13mm piece.  It is too small to clamp on the bandsaw to cut it to near required size.  A long piece of square stock and the machinist jack help were employed to hold it properly during sawing.

Picture
Facing the plate to required thickness of 10mm.  I've been looking for opportunity to use the facemill.  Since I've quite some meat to remove after clean up the first side, I put all all the 4 inserts to see if it works for me in this configuration.

Sad to say it didn't.  The surface finish sucks!  I tried different speed, feed, and used WD40 as lubrication.  Nothing works.  1 piece of insert came off at a time and rather sad to say that I'm back to 1 insert on it.

The DOC tried were 0.1mm, 0.2mm, and 0.25mm.  The mill has an MT2 spindle bore.  If anyone has success in using this with all 4 inserts on , let me know please.

Picture
This is from using 3 inserts.  The surface is not even.

Picture
This is from using 2 inserts. Almost the same as when I was using 3 inserts.

Picture
Back to 1 insert.  Better.  With WD40 and at faster speed, I achieved good finishes than what you see here.

Picture
Took me a long time to get to the dimension I want.

Picture
Milling off the area that the reading head will be mounted on to.  This is about 2mm thick, just before the last pass to bring it down to 1.5mm (so that I can reuse the M3 screws that came with the scales).

Picture
This was the scary moment.  I was left with a couple of hair before hitting the vise jaws.

Picture
The basic shape done.  Time for mounting holes.

Picture
But before that, I did a dry fitting to also mark the mounting holes for the reading head (the black box with the wire sticking out of).

Picture
The 2 M4 holes from factory.  Thanks to emcomachineTools.co.uk, I found all the mounting holes dimensions and distance.

Picture

Picture
Running an indicator along the edge of the scale.  

Picture
Took me a while to get it to within 0.02mm.  The edge of the reading head was then marked on the bracket.  The M4 holes on the underside of the reading head is 20mm away for its edge.

Picture
Drilling the mounting holes.

Picture
Perfect fit again!

Picture
Done!  It works beautifully!  No binding along the entire length of travel.

Once I finished up with Y axis, I'll think of how I should mount the 3 DROs on the mill.

At least something being accomplished today.  Have not been productive in the shop for many months.  I'll get on with Y axis after thinking through how I should mount it.
7 Comments

Hemingway Set-Over Centre: Making the 1/2 Centre - Part 1

1/11/2012

0 Comments

 
The 5/16" BSF threads was cut in the lathe this morning using 1" button die mounted in the die holder made originally for the Sherline tailstock but with the 0MT 3/4-16 adapter removed. The operation was completed without surprises and I'm happy with the result.
When I got home at night, I cleaned up the threads and parted off the 1/2 centre to length. Next would be to make an abor with a 5/16" BSF tapped hole to hold the partially completed work to turn the 60-degree point, which I'll only be able to continue tomorrow before leaving to church.
Picture
The silver steel supplied by Hemingway in its kit.

Picture
Putting on latex glove to prevent chips pricking through the skin of my hand. Painful to remove the splinters without the glove.

Picture
The ER32 collets. The set was bought from CTC Tools many months ago.

Picture
Turning down to 7.94mm diameter to accept the threads.

Picture
Putting on the chamfer.

Picture
Getting ready to apply the die.

Picture
Using the die holder I made for Sherline lathe. The live centre was pressing against the threaded hole of the holder while I try to start the thread. Not very easy.

Picture
Switching in the die handle with one of the handles removed. The handle was bearing against the lathe bed while I turn the spindle with the wrench.

Picture
Testing the threads with the Base. It should be the Slide I'm supposed to fit this, but it doesn't matter. May need to turn an undercut to allow The 1/2 centre to thread all the way into the Slide.

Picture
Taken out of the collet for photoshoot.

Picture
The would-be 1/2 centre refused to go all the way in. Gap is about 1mm. I shortened the length of the threaded portion by a little and did a 0.8mm under cut. Now it goes all the way through.

Picture
Parting off to length + some buffer to face off.

The next step is to make an arbor with a 5/16" BSF threaded hole. The job is to be screwed into this hole to have the 60 degree taper cut turned on the opposite end. I went through my bin of steel but couldn't find any suitable size rod for this. What I've is mostly long 1" steel rod which needs to be cut on the bandsaw for use. Its too late to do the work on the bandsaw for fear of angry neighbours pounding on my door and I'm too tired to saw it by hand. I was about to call it a day (or would it be "night"?) when I saw this tap guide I did when I first bought my Sherline lathe. I put it in the collet chuck and started turning it down a little but...
Picture
What happened?!

Picture
I ran a file on the surface to clean up the ugly looking finish and faced it flat. I'll be drilling through to enlarge the hole for the 5/16" BSF tap.

I'm totally wasted... its only 11.10pm and I'm feeling so tired. Time to stop before silly mistakes are made that can hurt myself. Will continue tomorrow, if time allows.
0 Comments

    Enter your email address:

    Delivered by FeedBurner

    Categories

    All
    3d Printer
    Er32 Collet Chuck Proxxon
    Misc
    Misc Projects
    Projects
    Proxxon Pd400
    Sherline / A2Z Monster Mill
    Things I Bought
    Wabeco Mill

    Archives

    June 2018
    January 2017
    December 2016
    August 2015
    July 2015
    June 2014
    May 2014
    December 2013
    November 2013
    October 2013
    June 2013
    March 2013
    February 2013
    November 2012
    October 2012
    September 2012
    August 2012
    July 2012
    June 2012
    May 2012

    RSS Feed

Powered by Create your own unique website with customizable templates.