I've always wanted to install the precision leadscrew on the Sherline CNC mill. The modification requires a bracket to be made for the leadscrew nut and a bracket to offset the motor mount. Some times ago, I completed the nut mount based on Graham's plan but decided to start over and adopt Tang Kee's instead. According to Tang, he based his on Graham's design but with modifications to allow tools mounted in the spindle to reach the table. However, I did not complete anything due to my schedule and lack of focus. I was also looking for solutions to stiffen up the 2010 column.
I was at Mike's shop to pick up the 2 gears for the 3D printer's extruder. I kind of briefly asked about the A2ZCNC Monster Mill column which I know he has one in his shop. Less than 10 mins later, I walked out with almost a grand poorer. Mike was nice to deliver it to me as I was too busy to pick it up.
With the Sherline 5410 sold to a reader of my blog, I've some space for the CNC mill to be put back in action.
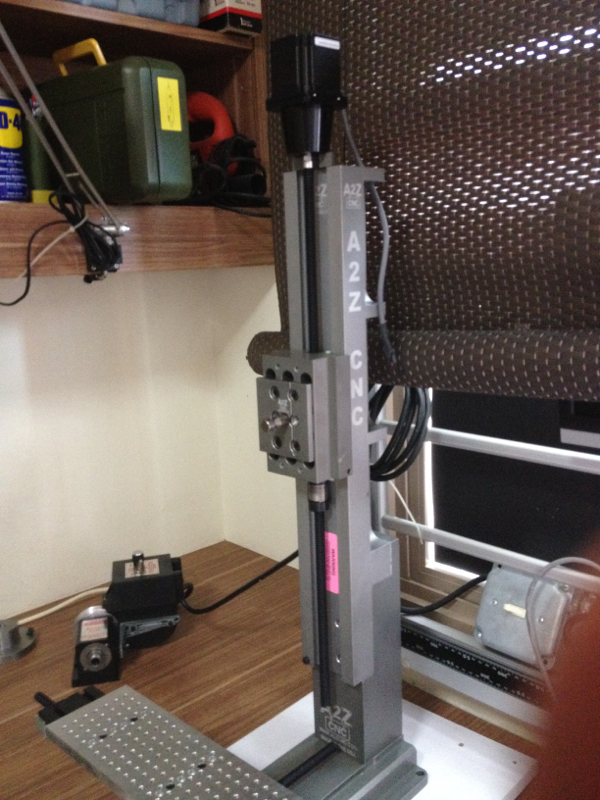
The column is rather heavy, made entirely in aluminium. Mine came with one deep cut and a rather big dent. Figuring out the source of damage is impossible as it can be inflicted from Tim's shop in US to the port, or during shipment to SG, or at Mike's shop. Since they're not on any critical surfaces (I think), I will just leave them alone.
I was at Mike's shop to pick up the 2 gears for the 3D printer's extruder. I kind of briefly asked about the A2ZCNC Monster Mill column which I know he has one in his shop. Less than 10 mins later, I walked out with almost a grand poorer. Mike was nice to deliver it to me as I was too busy to pick it up.
With the Sherline 5410 sold to a reader of my blog, I've some space for the CNC mill to be put back in action.
The column is rather heavy, made entirely in aluminium. Mine came with one deep cut and a rather big dent. Figuring out the source of damage is impossible as it can be inflicted from Tim's shop in US to the port, or during shipment to SG, or at Mike's shop. Since they're not on any critical surfaces (I think), I will just leave them alone.

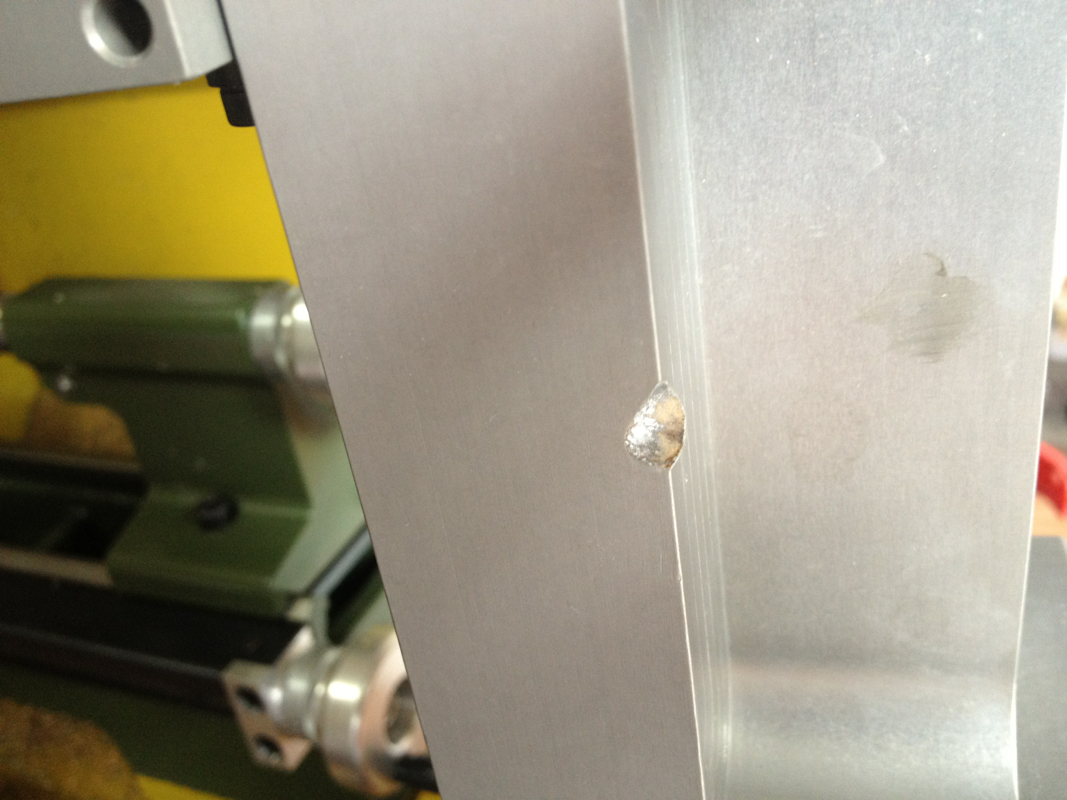
This dent/cut looks serious.
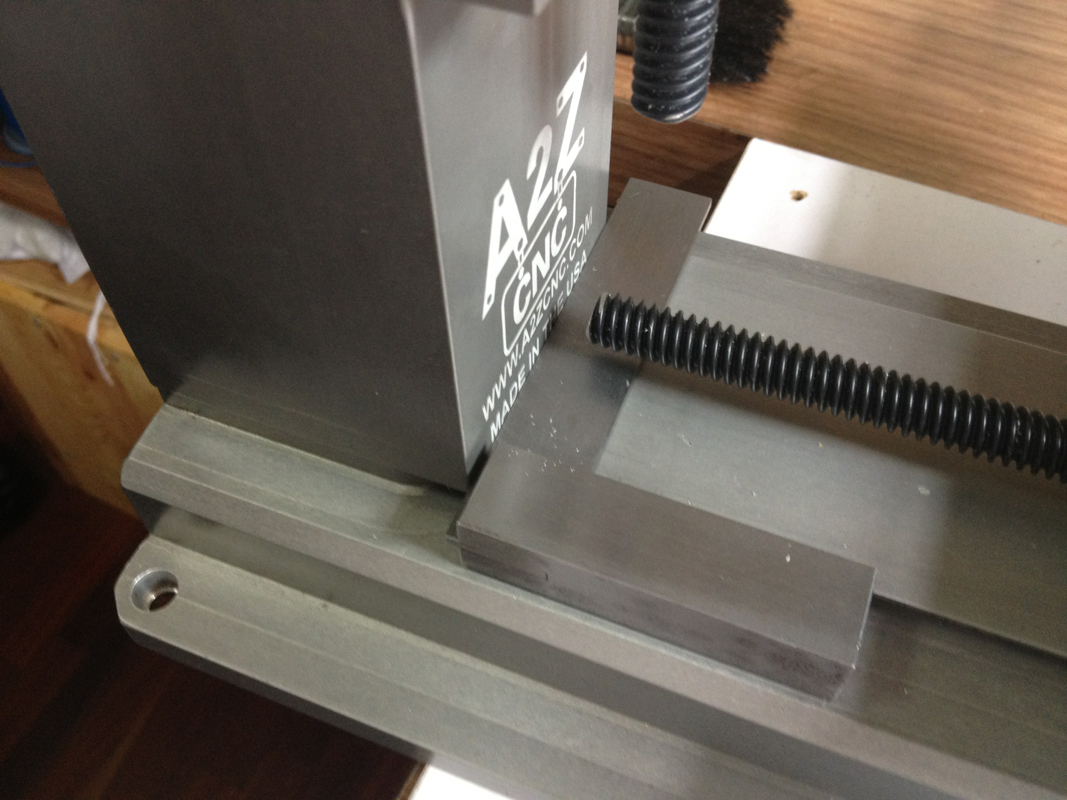
The swapping of the column went without much issue, except the threaded hole at the end of the precision leadscrew which almost felt like having bad thread.
Disassembling the spindle and it's motor.
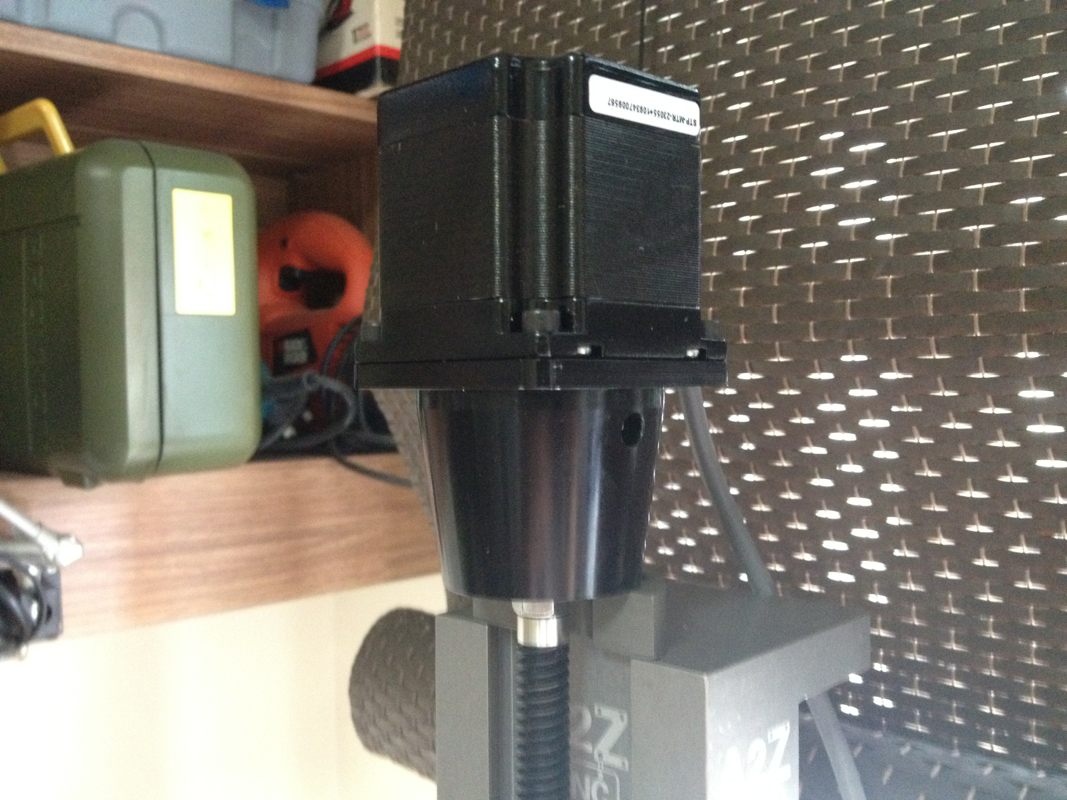
The motor mount installed on the new column.
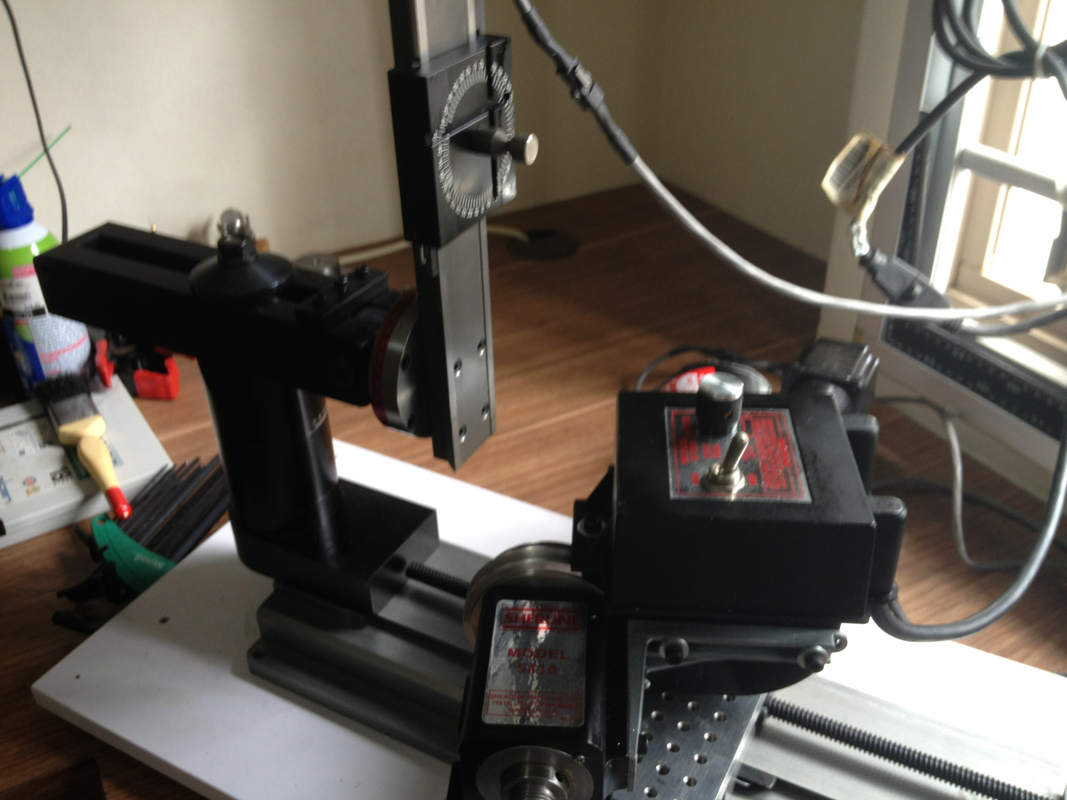
I was feeling lazy about tramming the mill this session, so used a square to square up the side of the column to the way of the base. One observation though: the column seems to be leaning forward. I find some time to properly tram it up in another session.
Using the square to align the column to the way of the base.
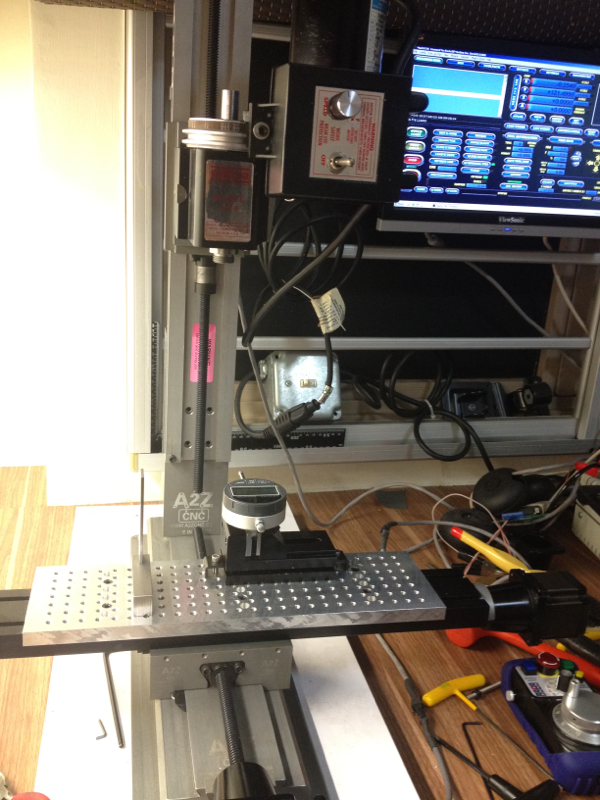
To see how well the new column works, I quickly key in the parameters in Mach3 to get motion. The "Step Per" for the axes were set to 400 steps per mm for a start and Mach3 was used to set them more accurately, or as accurately as my cheapo digital micrometer can read.
Next was backlash time. The X axis measured 0.06mm of backlash and Y measured 0.04mm. I can't recall the reading on Z. The backlash compensation in Mach3 was appropriately set and it seems that I'm within 0.01mm of accuracy in all axes. I think this is enough.
One thing that I feel uncomfortable about is the tightness of the gib in X. Having it tight, I've increase in backlash. Having it a little loose, I've quite some bit of play. Will have to find a compromise.
I set the feed rate to 2000mm/min and tested all 3 axes. Cool... Nice to see the axes zipping around but I don't think the mill is rigid enough to cut at that speed nor I have the courage to try.
The installation is completed. Next up, tramming - something I don't really fancy; maybe due to the lack of success in getting it right. With this, my Sherline 2010 mill has now been transformed to a A2ZCNC Monster Mill, except the spindle, motor mounts, and table, which are still Sherline's.
Installation completed.
The spindle mounted to a single piece of spacer.
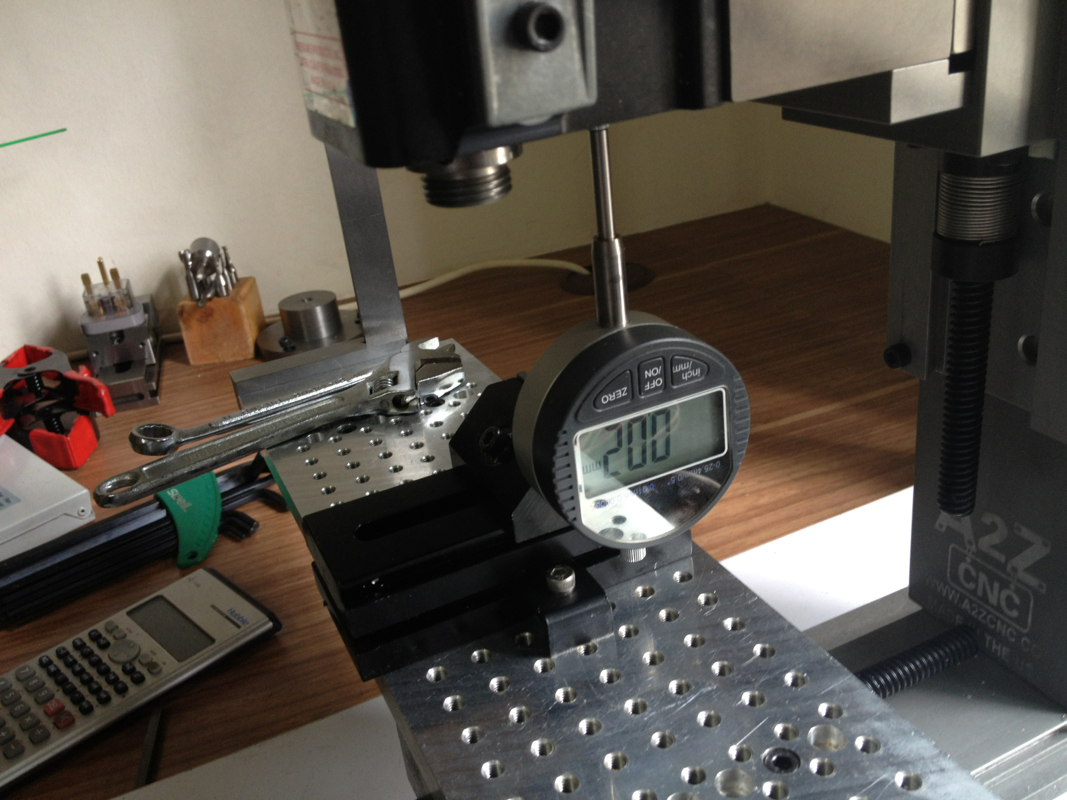
0.02mm of backlash on the Z.
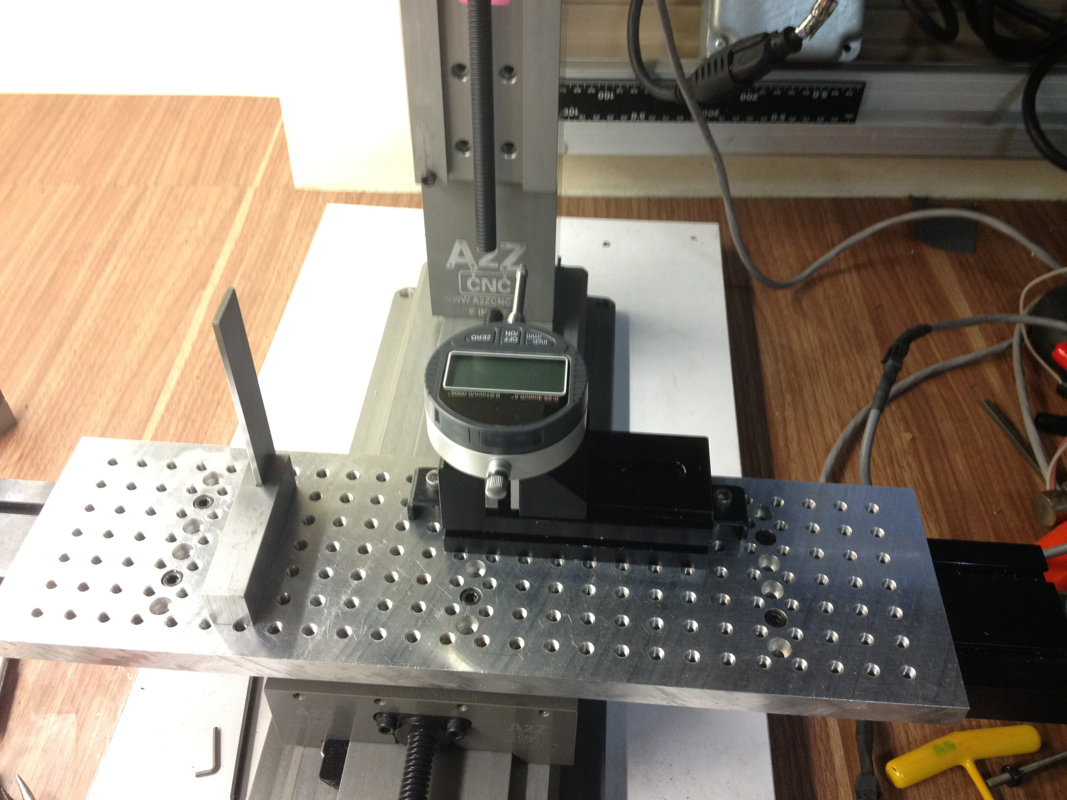
Checking backlash on Y. It measured 0.04mm. I reported when I first installed the A2Z saddle that there wasn't any backlash measured. The video is still on YouTube. But this round, I've some. It may be the tighter gib to remove the visible play.
 RSS Feed
