Wongster's Production
Share it on
  • Home
  • Blog
  • My Old Blog
  • My Shop
  • Resources
  • About Me...
  • Contact Wongster

ER32 Collet Chuck - Mounting Holes

30/5/2012

3 Comments

 
The clearance holes for M6 cap screws were finally done. I've conquered the fear of having misaligned holes with the help and encouragement from various people. This operation may be easy for many readers out there, but I always have problem of getting the clearance hole matching up with the screw holes. Enough "talking", here are the pics:

Picture
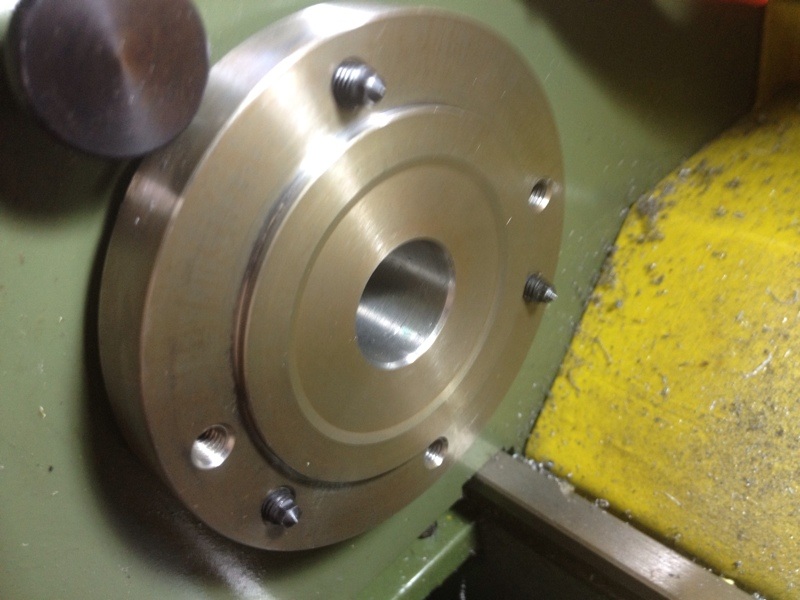
The transfer screws in position, before being screwed in, leaving just a little of the pointy tip above the surface.
Picture
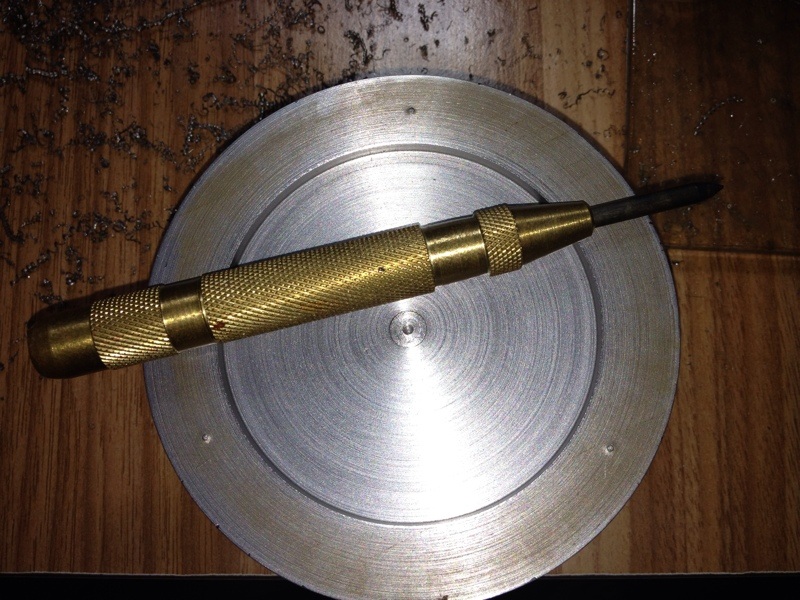
The faint marks were deepened with the automatic puncher.
Picture
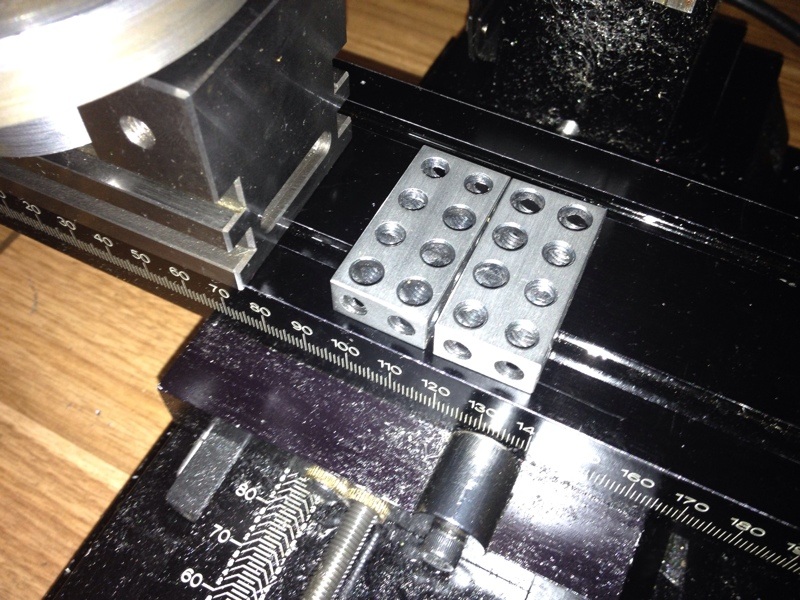
The little 10-20-40 blocks from Arc Euro Trade are indeed very useful for setting up.
Picture
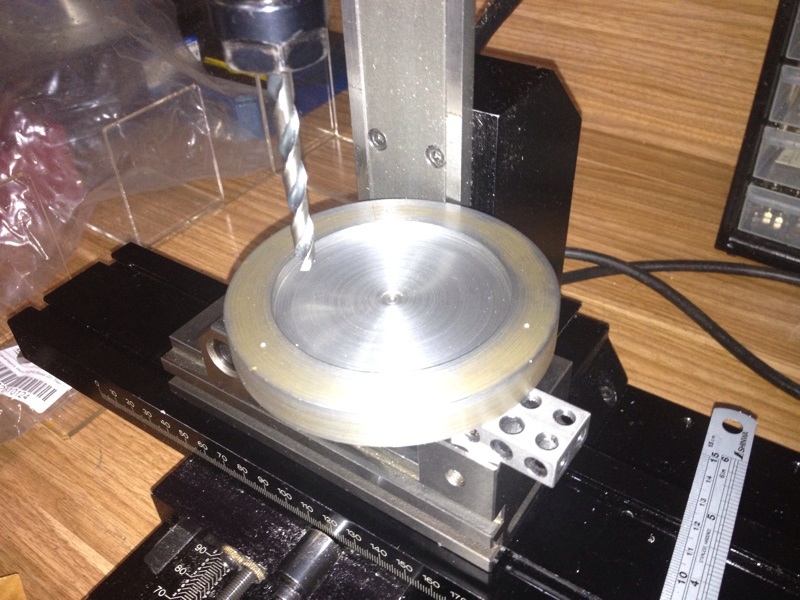
The 10-20-40 blocks were placed under the job to provide clearance for drilling through.
Picture
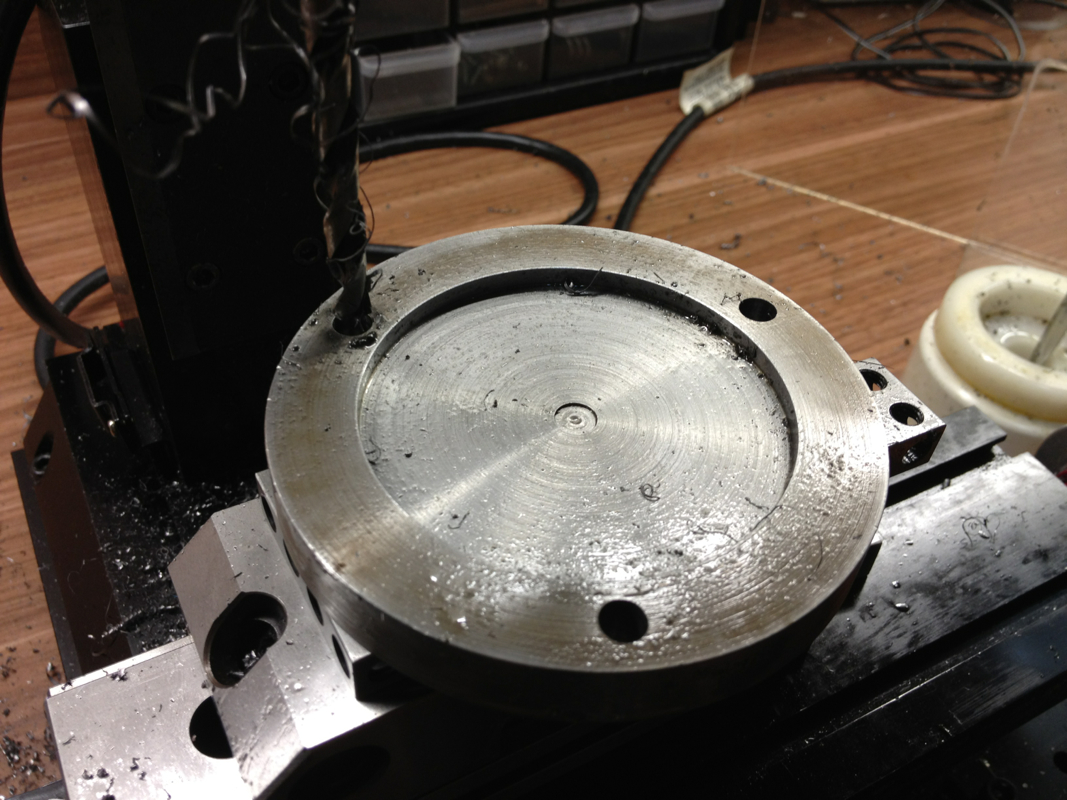
The 3 x 6.5mm done. Due to little travel on the Y axis, I've to reposition the job for each hole.
Picture
The job mounted on the spindle flange.
Below is a short vid showing that the job spinning. Not too bad, I suppose.
Picture
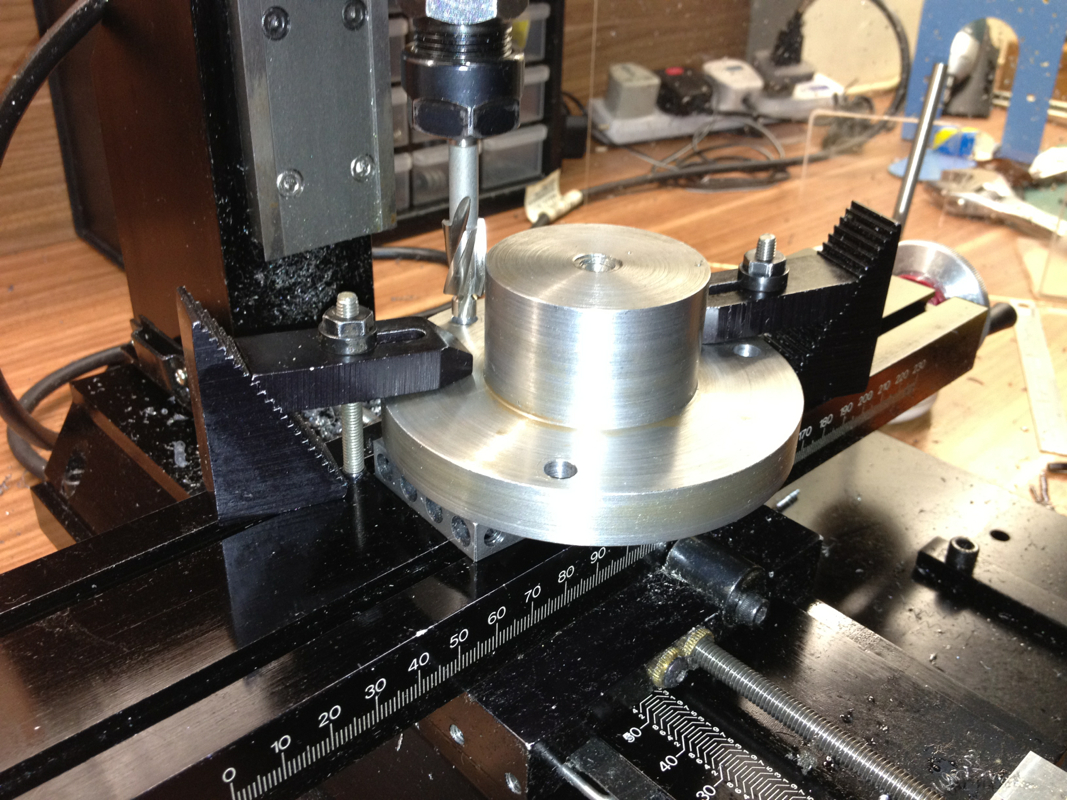
The counterbores were done next. I expected chatter but didn't get any. Spindle speed was slow with lots of cutting oil. The pilot of the counterbore bit was lowered into the hole before job was clamped down on the table.
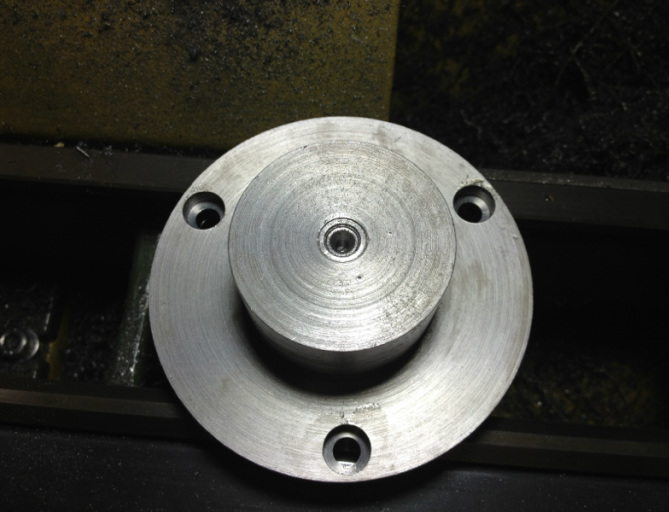
Picture
All done.
Picture
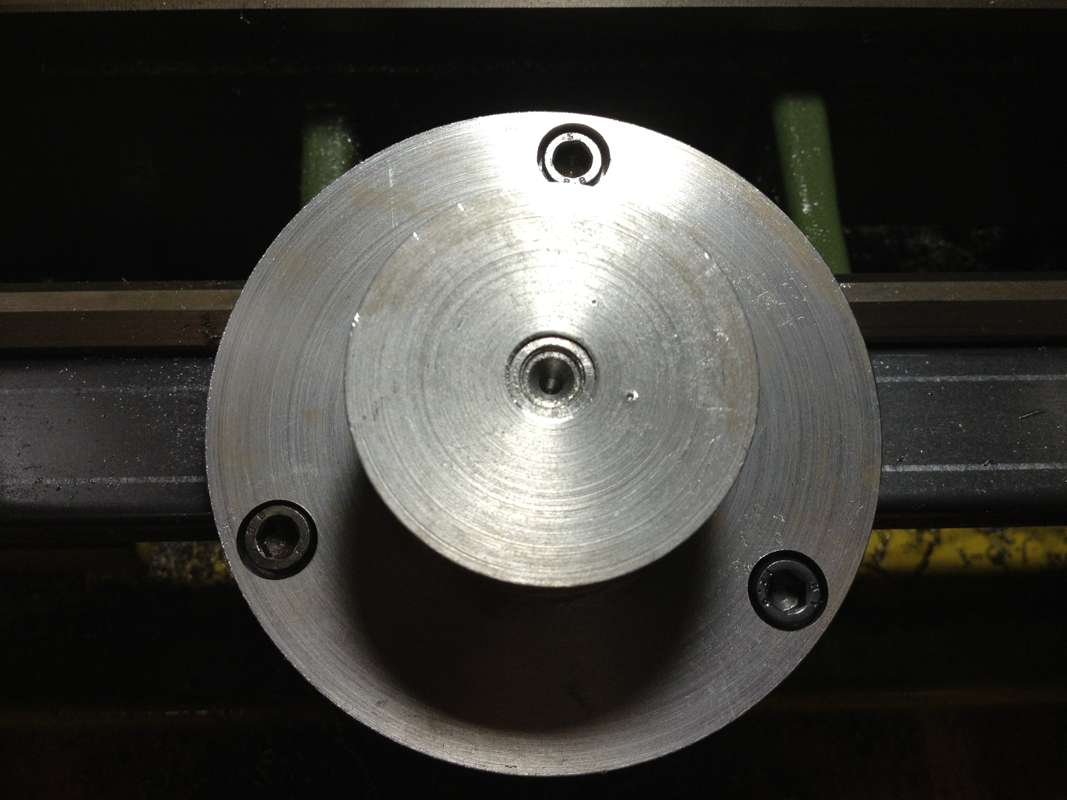
The cap screws sitting just a hair lower than the surface -perfect!
I'm rather happy with the result of today's session. In my next session, after my Bangkok trip, I'll be shortening the cap screws to the required size and trim off the excess on the nose to get ready for threading. The taper bore will be done last.
3 Comments
Gene King
31/5/2012 04:23:31 am

Wong, that does look good to me. Runs nice and smooth, any slight run out will be cleaned up well when you finish the machining. As for drilling the holes, if you have a rotary table you can drill some very large bolt circles on the Sherline sized machines.
Again, nice job.

GeneK

Reply
Loke-Yeow Wong
31/5/2012 04:46:02 am

GeneK,

Thank you. I do have the rotary table but couldn't figure out how to fasten the job on it.

Regards,
Wong

Reply
Gene King
31/5/2012 06:42:39 pm

On things like this when I know the center will be bored out, I just drill a hole for a bolt that will screw into the rotary table. Make it a little over size so I can tap the part around to center it. Tighten it down and re-check the centering.

GeneK

Reply

Your comment will be posted after it is approved.


Leave a Reply.

    Enter your email address:

    Delivered by FeedBurner

    Categories

    All
    3d Printer
    Er32 Collet Chuck Proxxon
    Misc
    Misc Projects
    Projects
    Proxxon Pd400
    Sherline / A2Z Monster Mill
    Things I Bought
    Wabeco Mill

    Archives

    June 2018
    January 2017
    December 2016
    August 2015
    July 2015
    June 2014
    May 2014
    December 2013
    November 2013
    October 2013
    June 2013
    March 2013
    February 2013
    November 2012
    October 2012
    September 2012
    August 2012
    July 2012
    June 2012
    May 2012

    RSS Feed

Powered by Create your own unique website with customizable templates.