The session was a short one which saw the completion of turning down the nose to the size which allows the stock to be flipped over and fasten in the jaws of the 3 jaw chuck. I wanted to turn this section down to 45mm, leaving 5mm for truing up later - after the recess and mounting holes are done, but changed my mind after GeneK suggested that he would prefer to have the recess and mounting holes done first to ensure concentricity. The main objective of this session was then to clean up the flange and to achieve a smoother surface.
The spindle was bumped up to 660 rpm and the Sherline's carbide insert tool with tip of 0.4mm radius was used. The cut was especially light with very slow feed. I was quite please with the result though it may not seem to be as nice looking as what DaveH showed on his ER25 Collet Chuck.
The spindle was bumped up to 660 rpm and the Sherline's carbide insert tool with tip of 0.4mm radius was used. The cut was especially light with very slow feed. I was quite please with the result though it may not seem to be as nice looking as what DaveH showed on his ER25 Collet Chuck.

The surface of the flange was faced to square it up.
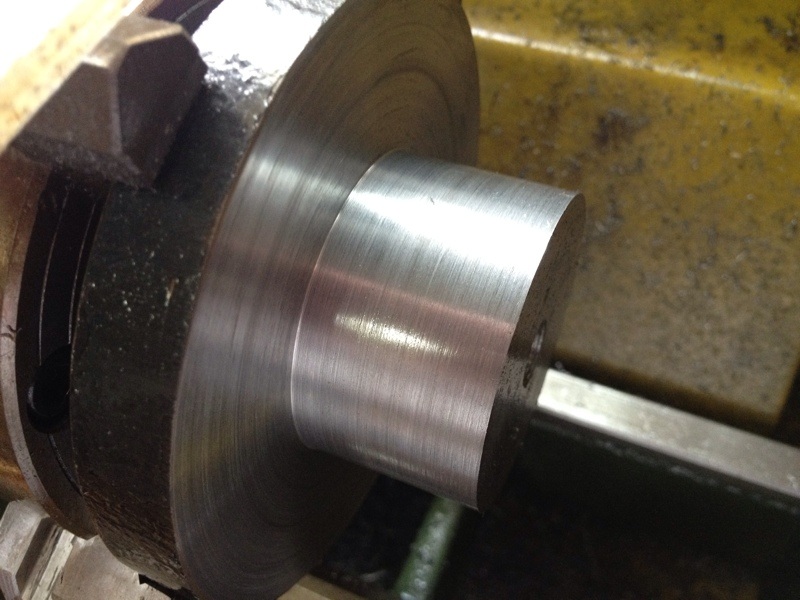
The surface felt smooth to touch though it doesn't look it.
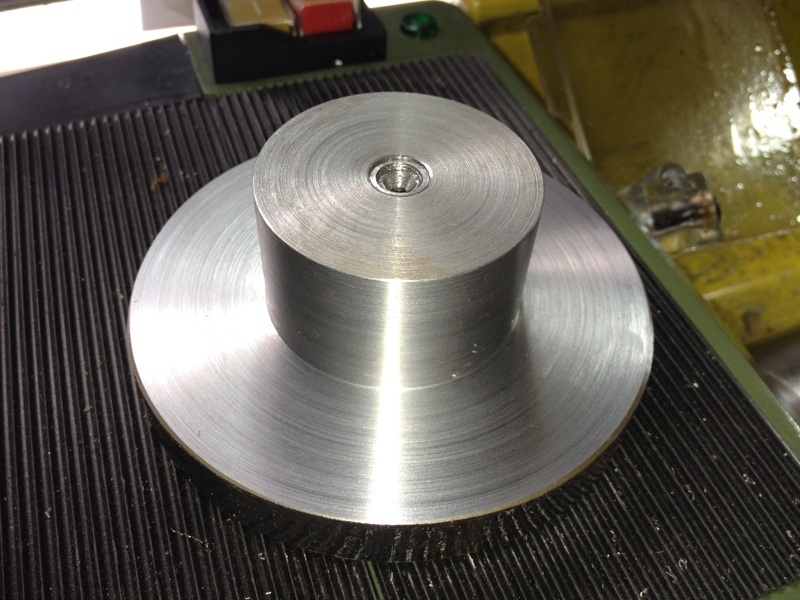
From another angle, with the part out of the 4 jaw chuck. I should have also smoothen up the front of the nose, just for the fun of it. It will be drilled and bore anyway.
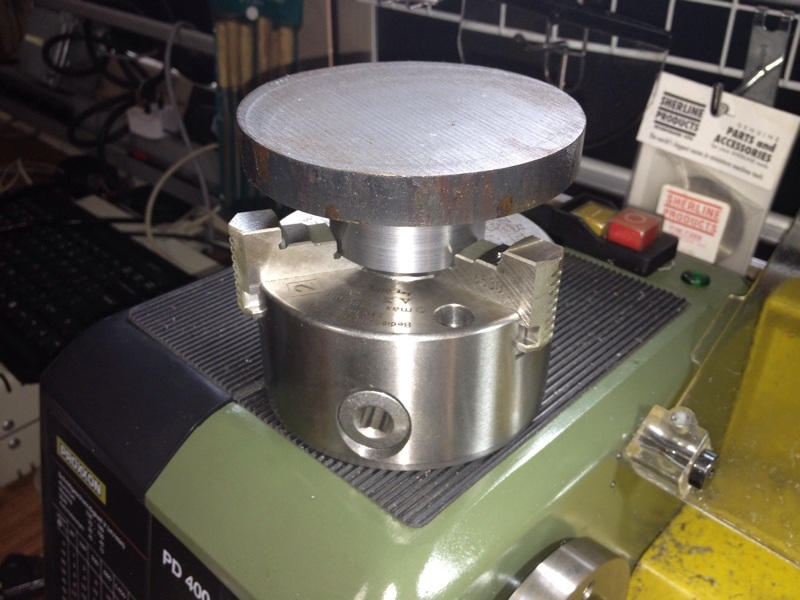
Holding the work in the 3 jaw chuck to see if I've sufficient clearance from the 3 jaws to drill and bore through the centre. I changed my mind on making the bore at this stage and will do it after the recess and mounting holes are done. This will ensure that the bore is concentric with the recess.
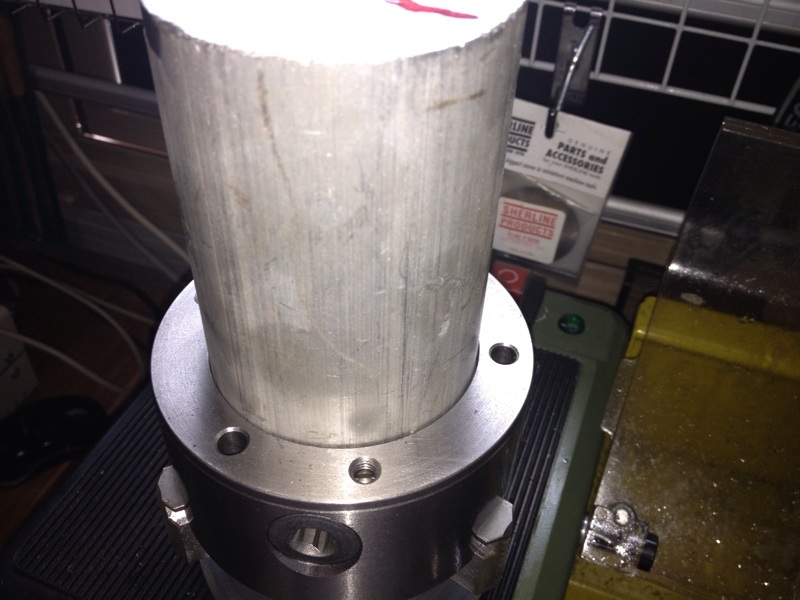
Testing the recess at the back of the 3 jaw chuck. The aluminium piece here is a tad too small to be used as a gauge. A trip to Kelantan Lane is in order.
I made a trip down to Kelantan Lane the next day after finishing my appointment at the lawyer's office. As I was in a bit of a rush, I didn't check the item picked by the metal shop assistant. Realized that the aluminium round stock I bought is 120mm in diameter only when I got home. Looks like another trip is needed...
From this exercise, I discovered that to improve the surface finish, the tip of the insert tool needs to be angled against the stock such that the side is very close to the surface of the stock to be turned.
Once the gauge for the recess is done, I'll be able to carry on with my work to bore out the recess and drill the mounting holes.
That's all for now. Like always, be blessed.
 RSS Feed
