I was up as early as 7am this morning. Wanted to sleep in on this Sunday morning but just could not. After washing up and 2 cups of coffee, I started working in the shop.
The job of the day is the recess at the back of the chuck which needs to be precisely done so that it fit the registration boss on the spindle flange without any wobble. I asked Dave my last couple of questions on the forum so that I've clear images in my mind of how I should carry out this operation.
Not much pics taken as the session was rather short. I was concentrating intensely when bring the recess to its final size.
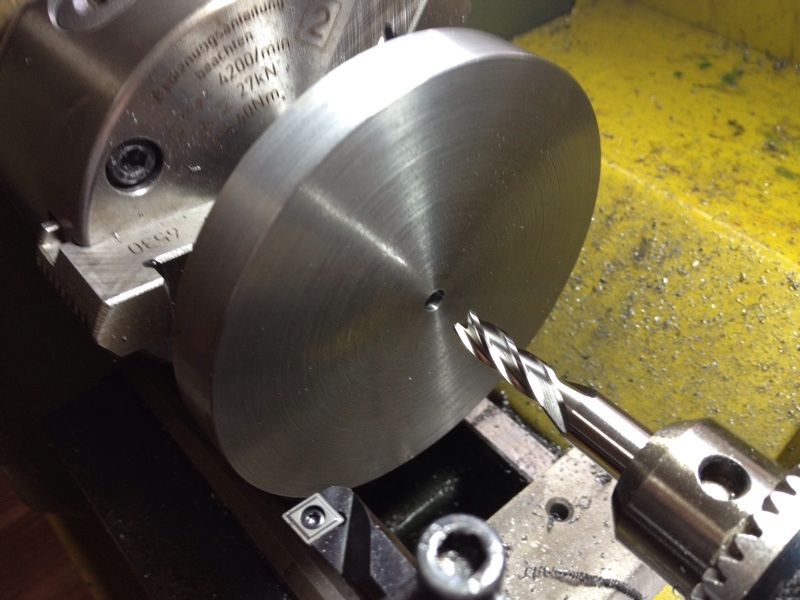
After starting a shallow hole with the centre drill and 5mm drill, a slightly larger endmill was used to open up the hole a little more.
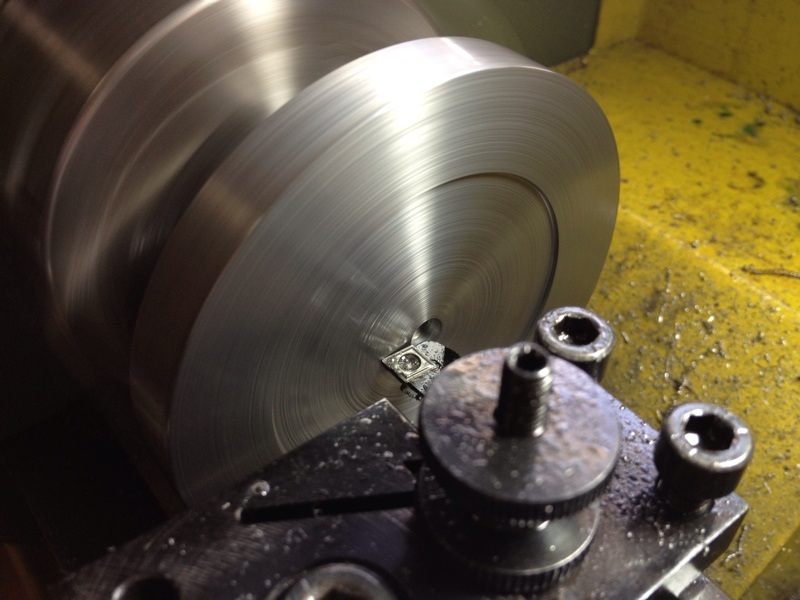
The Sherline insert boring tool was used to open up the recess to slightly more than 60mm. This is to leave some "meat" on the wall of the recess after I get close to the depth.
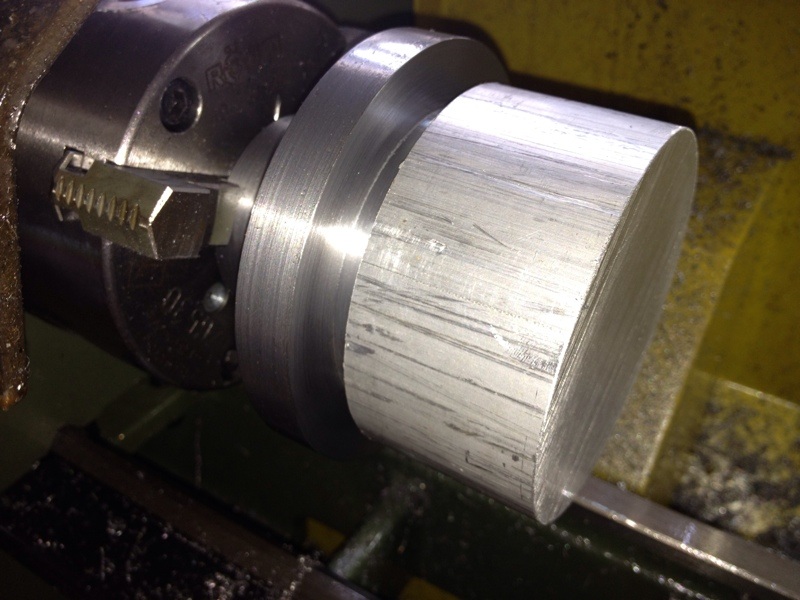
The gauge made earlier was used to test the recess bore. It fit nicely but the air within the 2 mating parts refused to let the gauge sit properly. I tapped it in with the palm of my hand and couldn't get it out after. It has to be pried out carefully with an allen key.
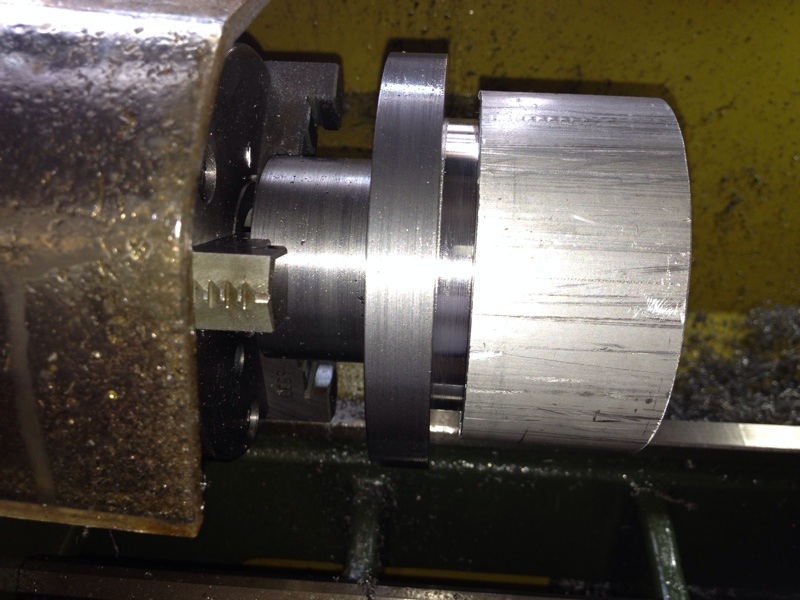
From another angle. The shiny part is the gauge.
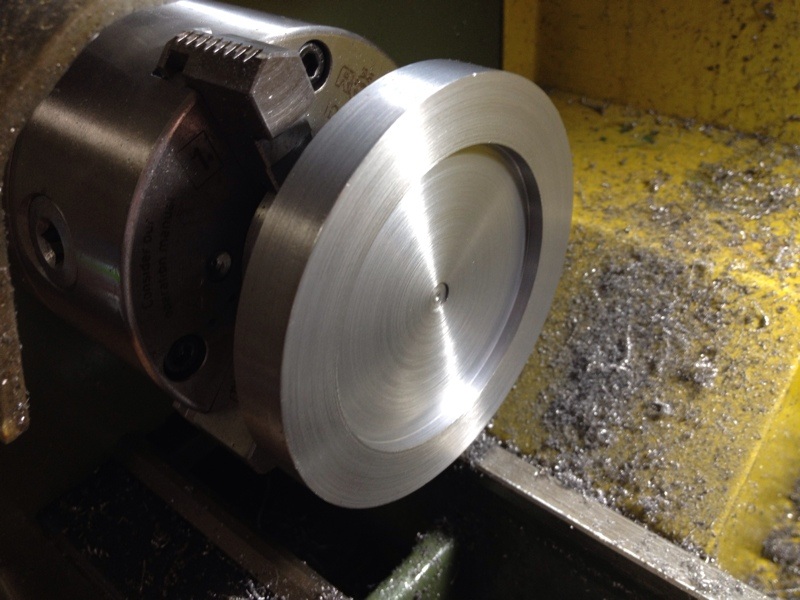
All done for the recess. I let it cool before testing it again with the gauge. I believe the air pocket formed is an indication that the fit is a good one. I definitely hope so.
The "floor" of the recess was finished off as best as I can. It feels smooth now but doesn't have the bling shown in Rob's and Dave's pics in the forum. It makes me wonder if its the camera as mentioned by some other members of the forum. Mmmm...
Next up, the mounting holes. The 3 holes are clearance holes for M6 cap screws. After completing the recess, I suddenly realized that I have forgotten to scribe the PCD for the mounting holes... All is not lost, me think. I've on order from Little Machine Shop in US a set of M6 Transfer Screws. The recess will help to locate the collet chuck while I tapped the part to transfer the hole locations.
This is how the set of Transfer Screws looks like, for those whom I tried asking if they're available in SG.
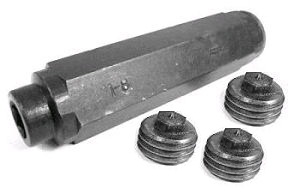
Pic taken from Little Machine Shop.
The threaded portion is to be screwed onto the mounting hole on the spindle flange, leaving the little pointy portion sticking out. The collet chuck will then be placed onto the flange using the recess as a guide. It will then be tapped with a mallet to have the hole positions transferred to its back.
But I'm still concern about one thing; will the trapped air causes the collet chuck not seating properly affecting the transferring of hole locations to be off?
I'll know when I received the item, together with a 3" angle plate.
That is all for today. Have a blessed week ahead with unceasing fruitfulness! Shalom.
 RSS Feed
