I continued with the work on the Base and completed it over 2 sessions of about 2 hours each. I took it very slowly when milling the other slot with a 10mm slot drill due to the vibration and loud noise. The feel on the handwheel while feeding didn't feel smooth at all. This may be caused by the ER16 spindle chuck I'm using which extended the tool out quite a bit. I didn't have that problem when using the Sherline's endmill holder but the largest holder I've from Sherline is 3/8"... Some rectification was done to the Slide's slot as one side is tapered. The 2 components now fit nicely together and the sliding one against the other is smooth. 4 more parts to complete before I can call this done.
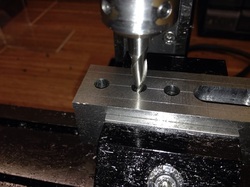
Moving over to the start. The more I use the mill, the more confident I get in getting to the spot I want using the handwheels. The right limit of the slot was set with the tool maker's clamp on the right of the job against the saddle.
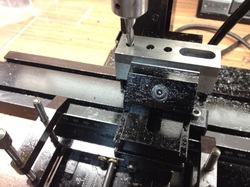
Moving to the left limit and setting the clamp.
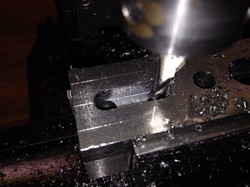
Milling the 1/4" slot with the Sherline 1/4" slot drill. The Sherline's endmill holder in use here.
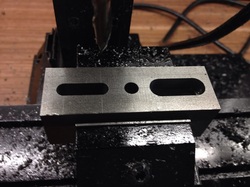
Slot done.
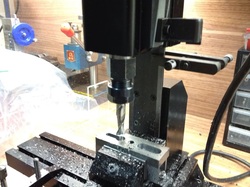
The 10mm slot drill in the ER16 collet chuck was employed to cut the counterbore slot. To set the depth, I plunge the slot drill to the depth of 1/4" and fit another piece of the toolmaker's clamp on the column bed.
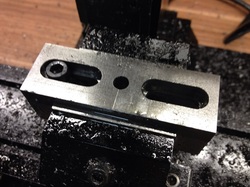
Slot done. I went at 0.25mm per pass to minimise vibration. The cap screw sit flush with the top surface of the Base.
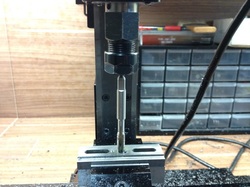
The centre hole enlarged to 6.4mm to tap 5/16" BSF.
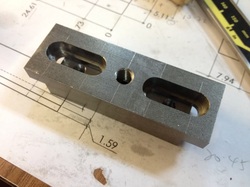
Testing fit. No side wobbling encountered. I'm pretty pleased :)
The instruction calls for the 2 x 2BA holes to be done on the drill press. I was running out of time to set up the drill press (its under the bench...) and so stand the part in the vise and carry on.
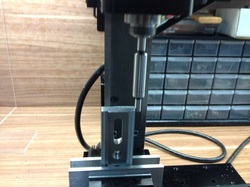
Locating the side and dialed to the centre of the workpiece.
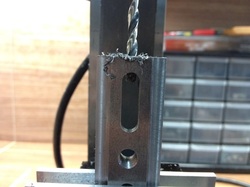
Centre drill and drill through with a 4mm. I'm at the limit of the z travel...
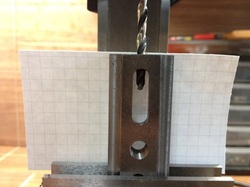
A piece of card stock used at the back to check if I'm right in the middle. Not too bad..
The part was then flipped over to drill and tap the other 2BA hole on the other side. This completes the work on the Base.
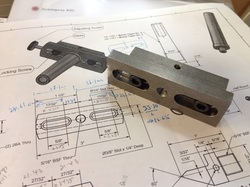
View from the back where the 2MT Arbor will be screwed in from.
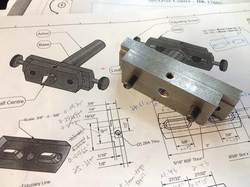
The front. I'm wondering if the screws are a little too long. The drawing shows them as almost flushed with the surface. Can those who did this confirm if I need to shorten the screws?
The rest of the work will be mostly done in the lathe. From the plan, I'm left with making the 2 adjustment screws, the Centre, and the 2MT Arbor.
I'm hoping to get back to the shop real soon!
Blessings to ALL!!!
I'm hoping to get back to the shop real soon!
Blessings to ALL!!!
 RSS Feed
