This is just going to be a quick update on the series. I've been reflecting on what I can do better for brittle materials that chip and or crack. The chipping can be minimized by slowing down the feed when I'm about to drill through the blank during drilling. When turning, same thing applies; slow down the feed when approaching the end of the blank.
The Crushed Gold blank is so brittle (to me) that the care I exercised still resulted in some chipping at the left end of the blank when turning. Repair was made using superglue to fill the chipped portion and re-sanding the blank. Chipping also occurred when I was sanding/polishing the blank at the ends.
The Crushed Gold blank is so brittle (to me) that the care I exercised still resulted in some chipping at the left end of the blank when turning. Repair was made using superglue to fill the chipped portion and re-sanding the blank. Chipping also occurred when I was sanding/polishing the blank at the ends.

Chipped when drill exit the blank, even with extreme caution.
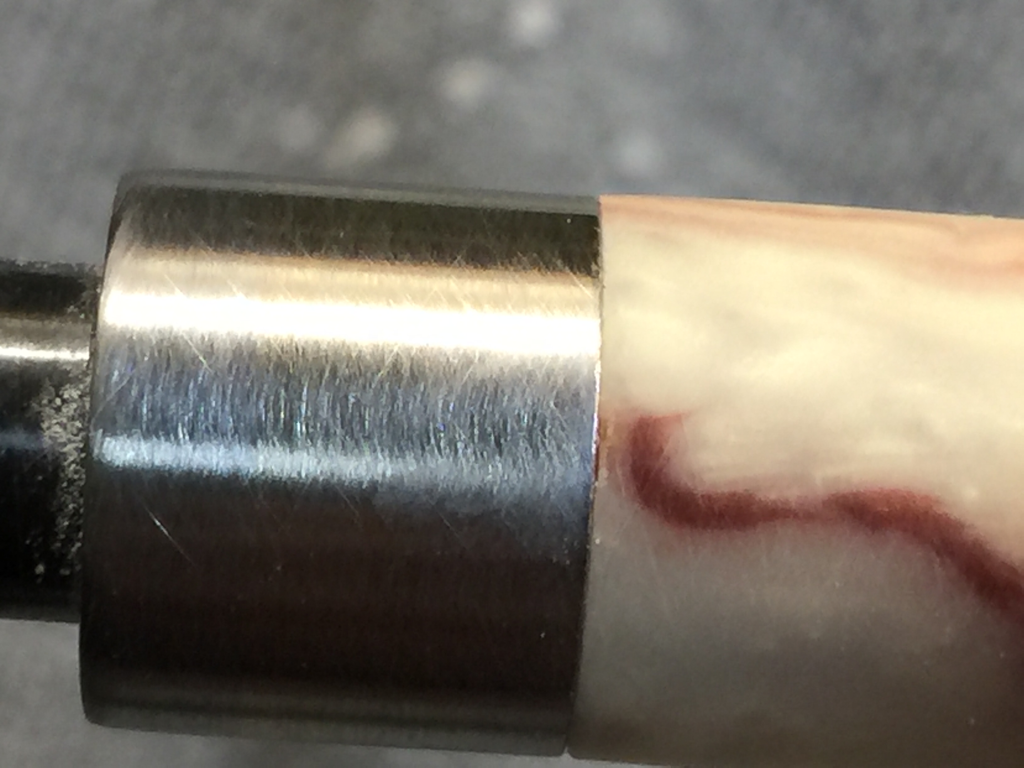
The chipped portion right next to the bushing.
i I believe this was due to the grit of the polishing pad catching the rough part of the end. I've to remind myself this.
On the cracking of the completed barrel when pressing in the hardware, my reflection of what I did reminded me of a couple of videos I watched on YouTube. The videos showed them using a sanding disc of sort in the chuck of the lathe and a transfer punch about the size of the ID of the tube in the tailstock chuck. The blank is inserted into the transfer punch which acts as a guide. When the blank is presented to the sanding disc held in the headstock, will have to be square (or very close to square) to the sanding disc. This setup would produce a square face (on the blank) relative to the tube in the blank.
My setuo, not wanting to dig out a piece of aluminum to make the sanding disc:
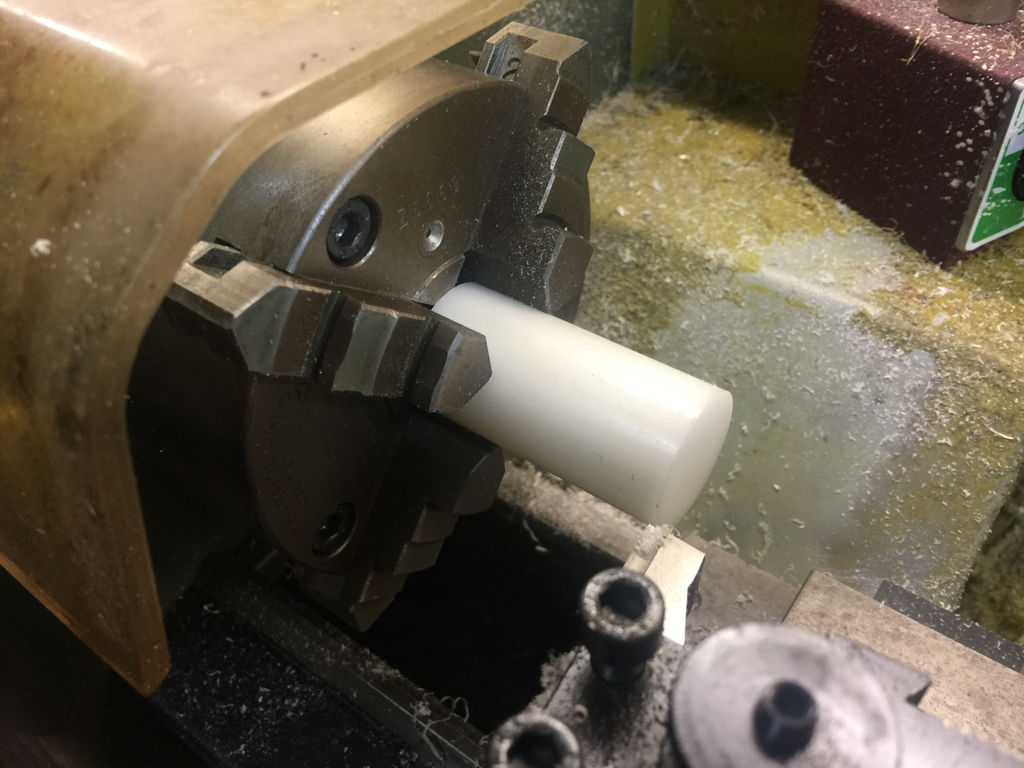
A piece of 25mm diameter delrin is used. The 2 ends were faced off and a piece of 100 grit sand paper attached using superglue.

The setup. The blank was guided by the transfer punch, which is square to the sandpaper.
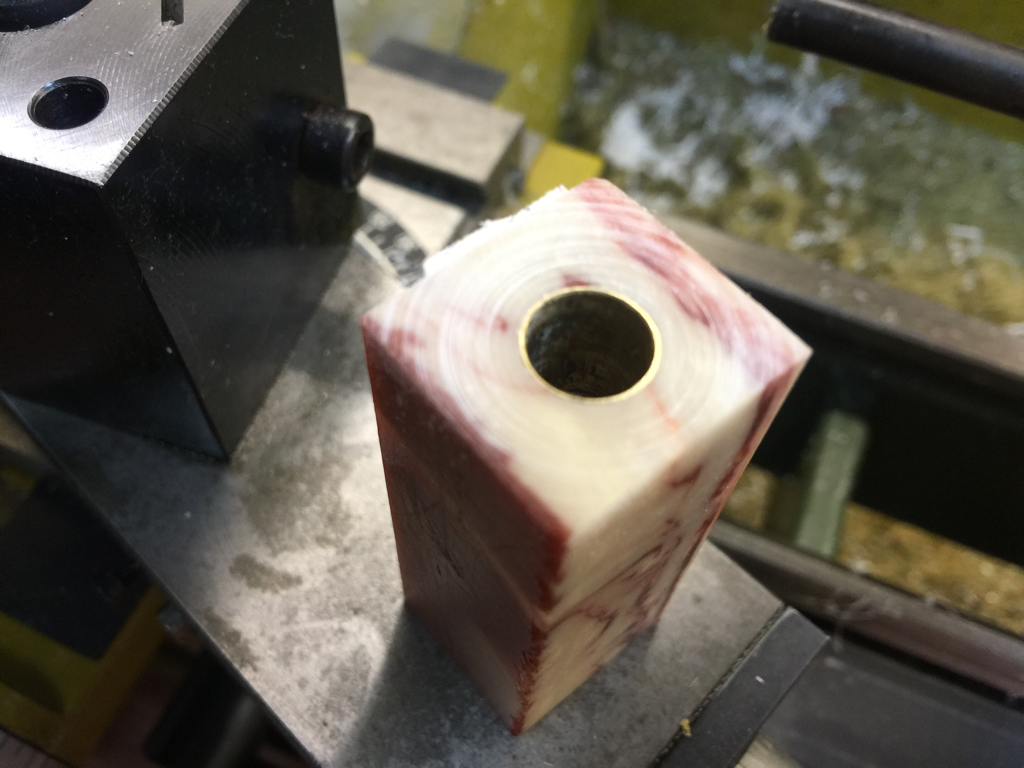
I left a little stock before doing the sanding.
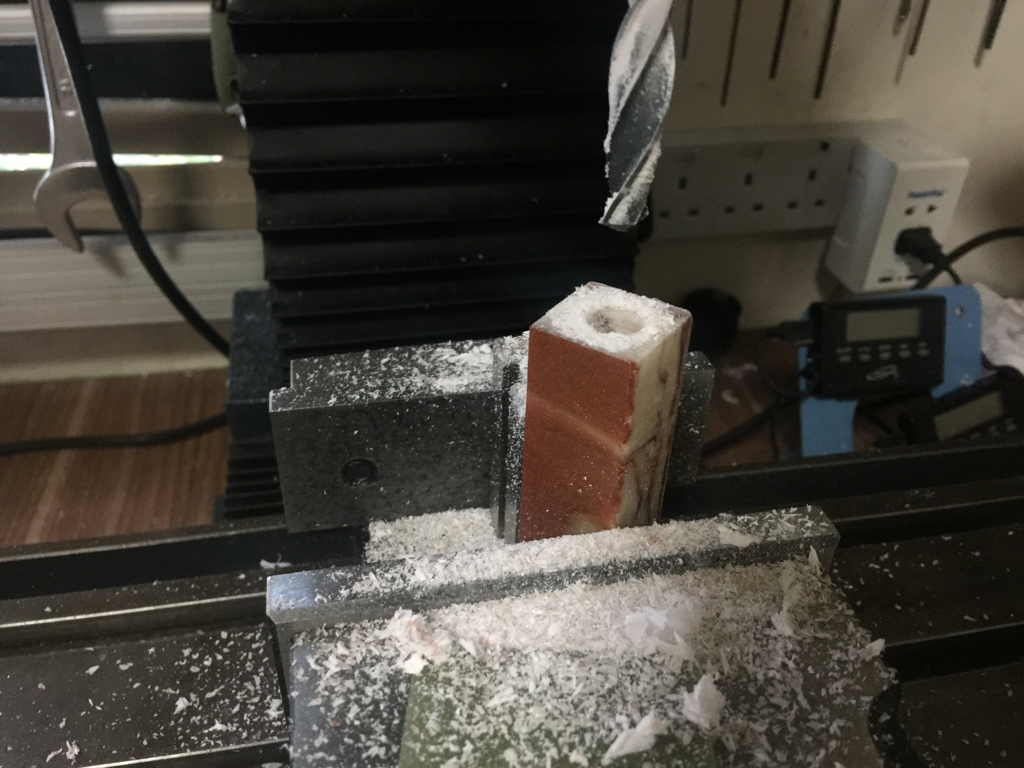
My new setup for drilling. Don't know if you can see the v-block behind the blank.
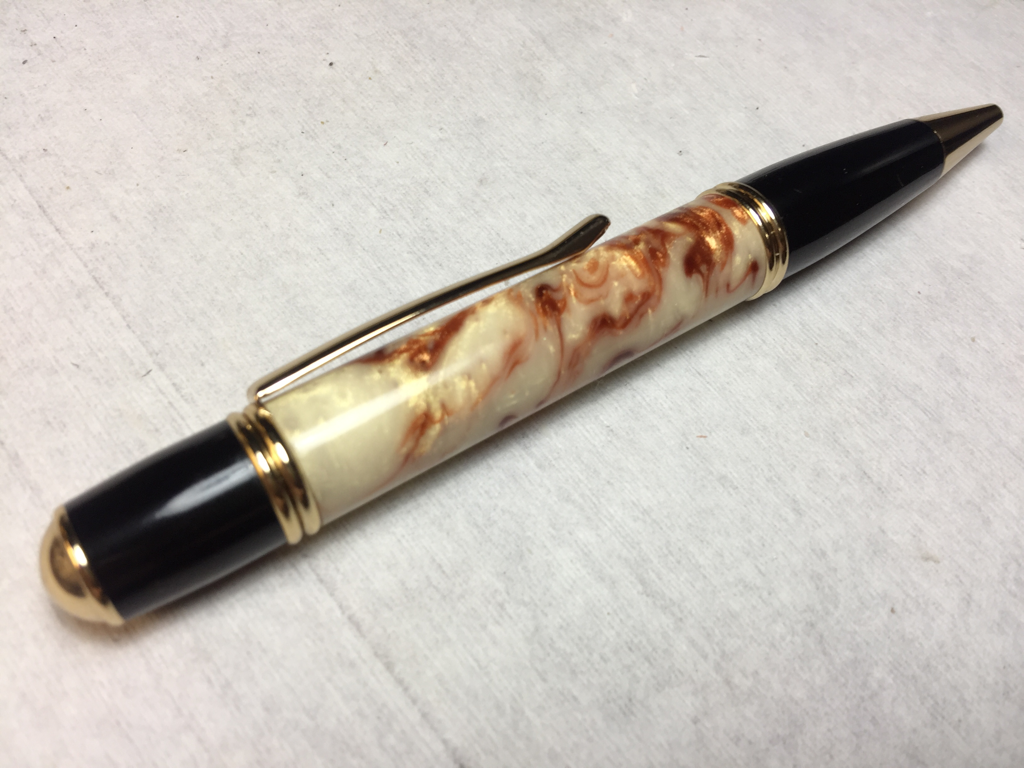
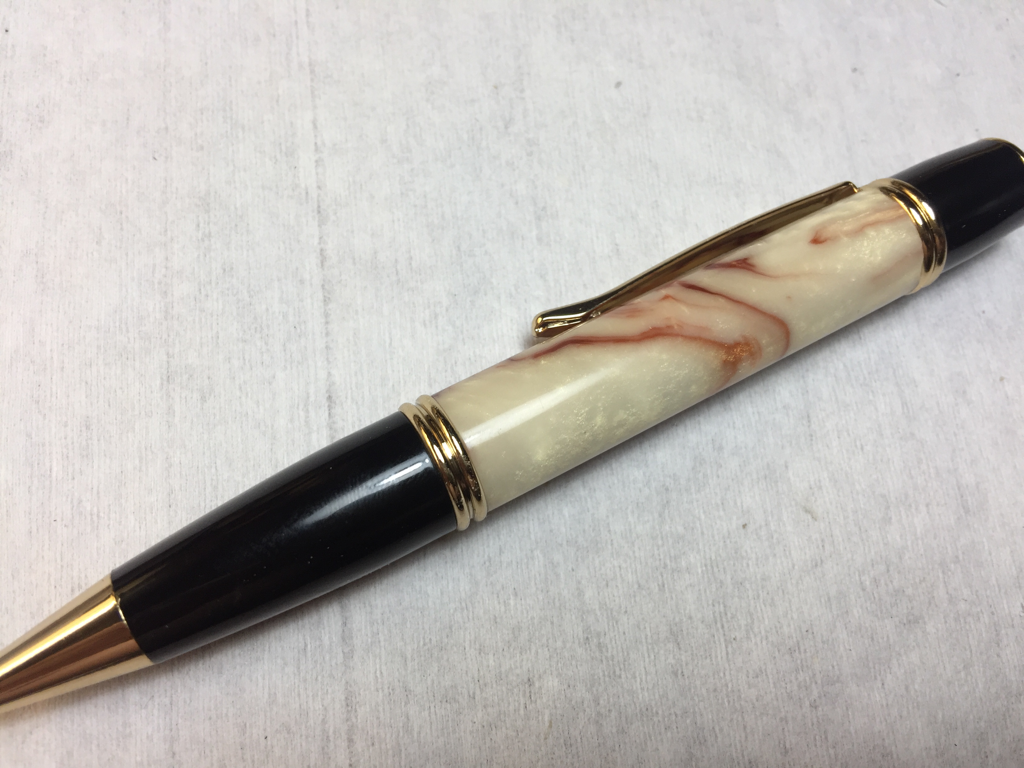
Extreme caution was taken when I was pressing in the hardware. This time, it went without any mishap. A coupe of pics were taken of the pen. It seemed that I didn't have an eye for matching the hardware to the color of the blank. My wife and buddy didn't like how the whole thing look. I need to learn how to do the matching. Hopefully, there is a general guide as a starting point for me. Anyone can help? Using this blank as an example, would it match chrome or silver better?
 RSS Feed
