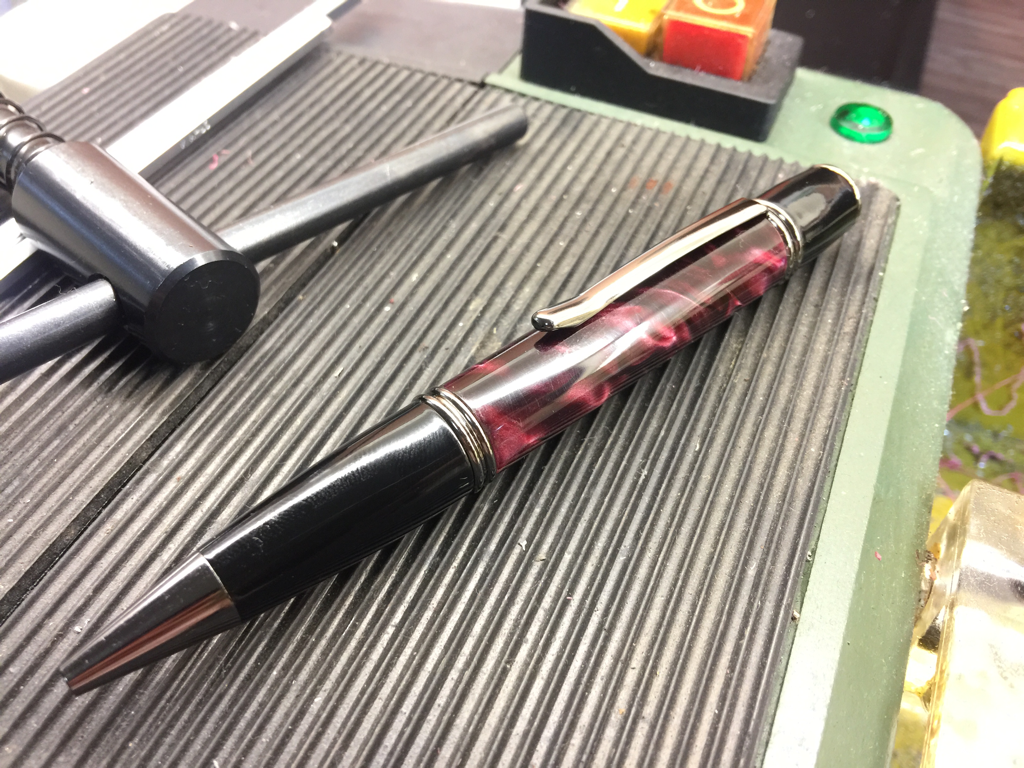
My very first self-made pen, a Gatsby Grande.
Turning the pen barrel can be done in one session, but I did it in two; 10 minutes before going to work this morning and about an hour to an hour and a half at night. Some minor hiccups along the way but it all went well - I'm very pleased with the result.
I'll let the pics do the talking on the what I did to get to the final stage.

The 5 acrylic blanks I bought. Surprisingly, 1 is rounded, unlike the rest. For the very first one, I picked the round blank to start with as I reckoned that it will be a much easier process.

The kit bundle I bought requires only one half of the blank. Using the brass tube, I marked out the section to be cut and sent it to the bandsaw.
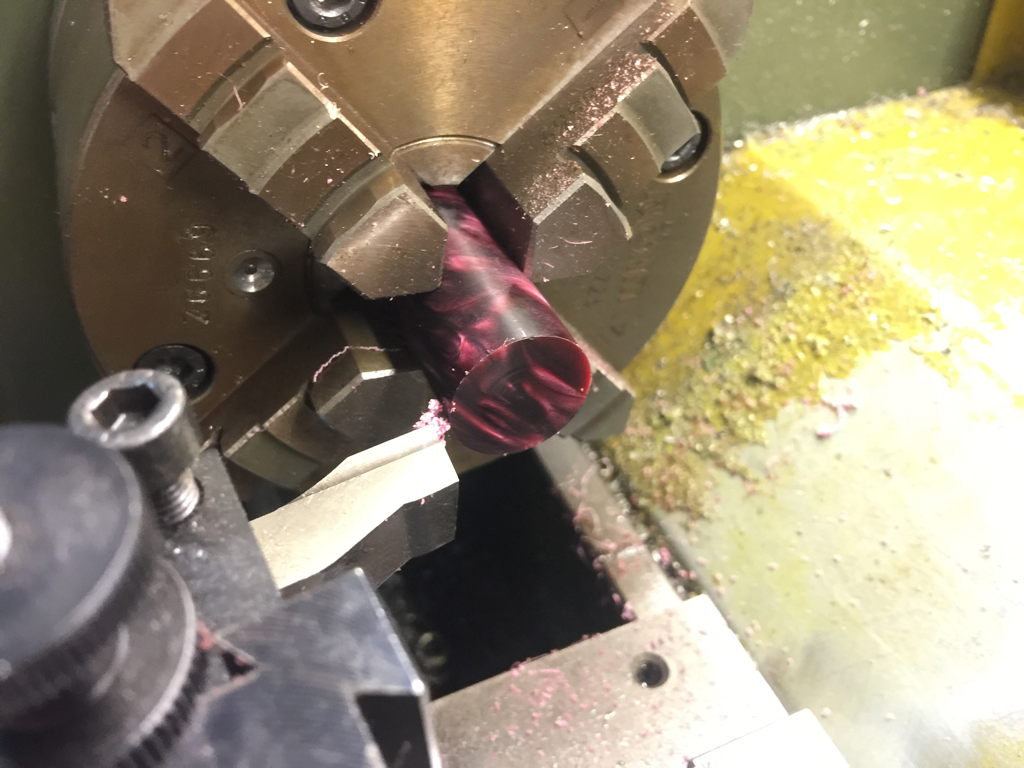
Though most on YouTube whom I'm learning how to turn a pen from didn't face off the blank, I did so to give me a peace of mind.

I even centre drill it... I am but a Singaporean; Kia Su spirit (Hokkien. Scared to lose, scared to screw up...)
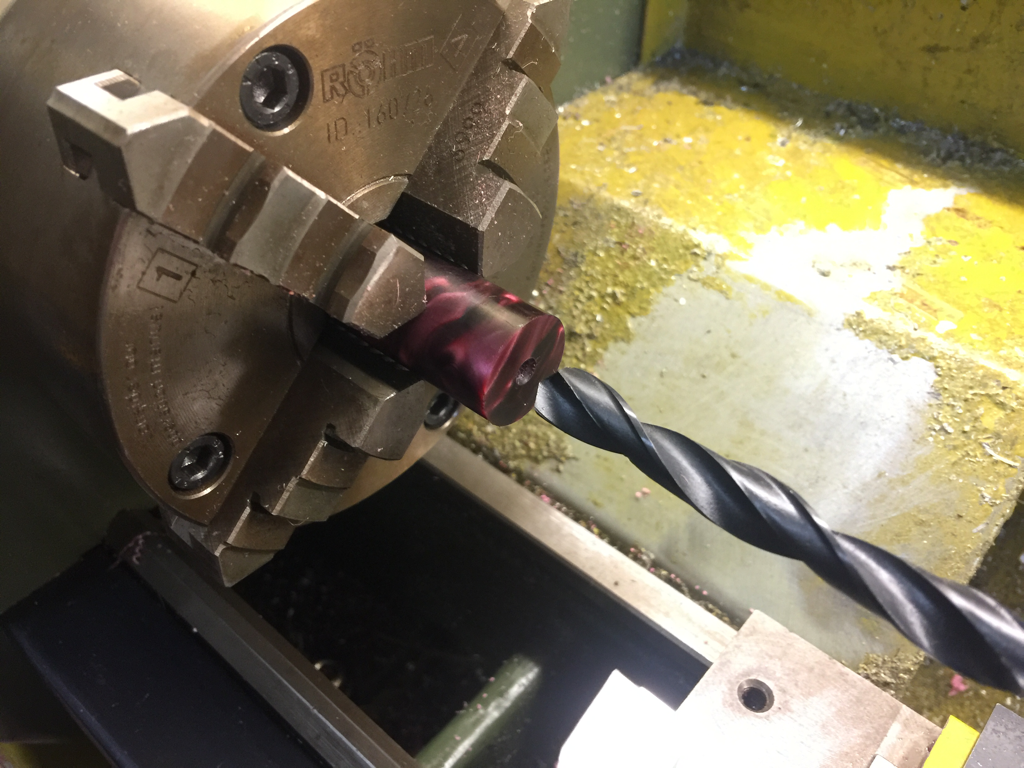
Drilling through with the 3/8" drill that came with the bundle. Before this, I measured the diameter of the brass tube that will be inserted to this hole. The brass tube measures 9.24mm while 3/8" is about 9.5mm. Wouldn't the hole to a tad too big for the tube? Is this normal?

Test for before applying adhesive. It is indeed very loose; in fact, too loose for my comfort.

I don't have CA glue or superglue at home, so I mixed up some JB Weld and applied it on the brass tube. The tube was then inserted into the drill hole in the blank with twisting motion to spread the glue. According to the instruction for JB Weld, it cures in about 4-5 hours. The blank with the brass tube inserted was set aside to dry while I head to Office to work.
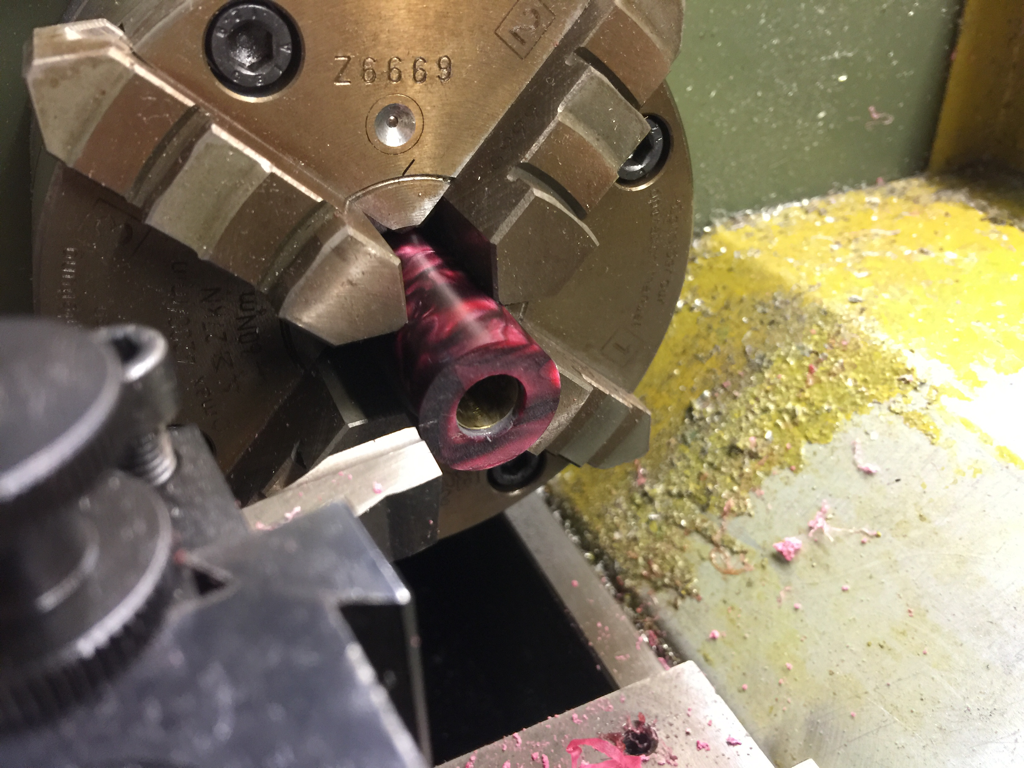
Later at night, I re-chuck the blank in the lathe and trim off the excess, right to the edge of the brass tube. This was done on both side. I believe the operation can be made quicker if I have the barrel trimmer. I'm on budget and have the necessary equipments anyway. Just exercise some patience and sneak up to the required amount of cut on the lathe.

Inspecting the brass tube and blank before turning.
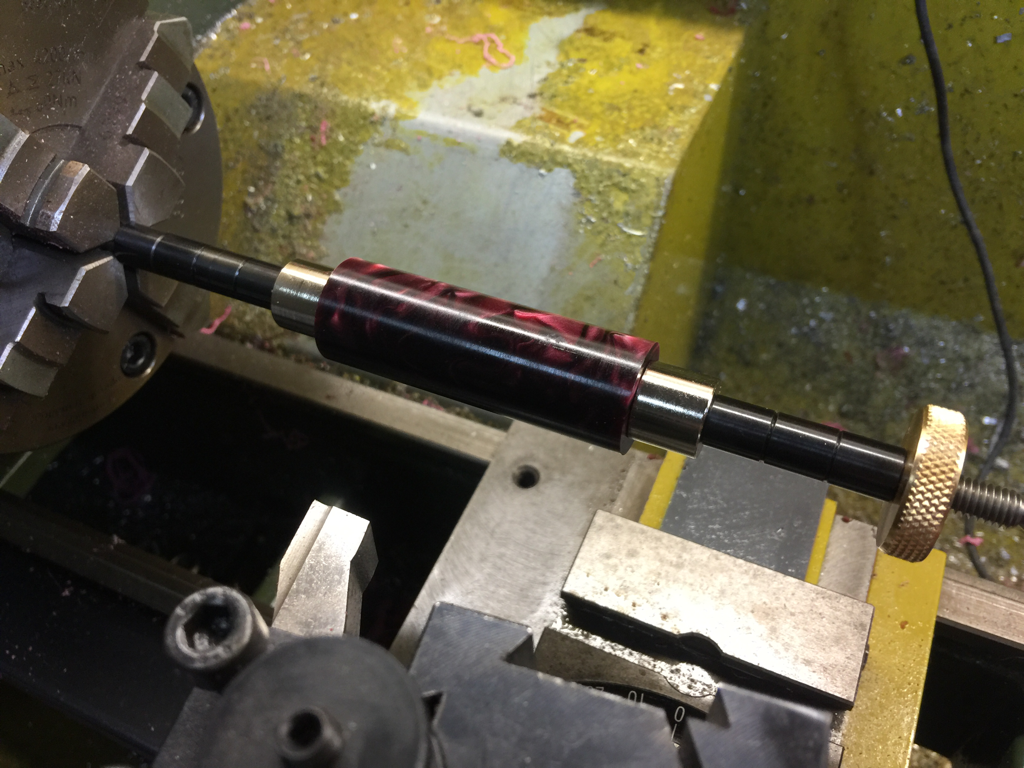
Setting up on the mandrel in the lathe. I was careful not to tighten the brass nut (right side of the assembly) to avoid bending and destroying the mandrel. This, I learnt from the many videos I watched on YouTube.
Really messy.... and the smell... the acrylic gave out some strange chemical smell while being turned. Hope I wouldn't get poisoned from pen making... ?
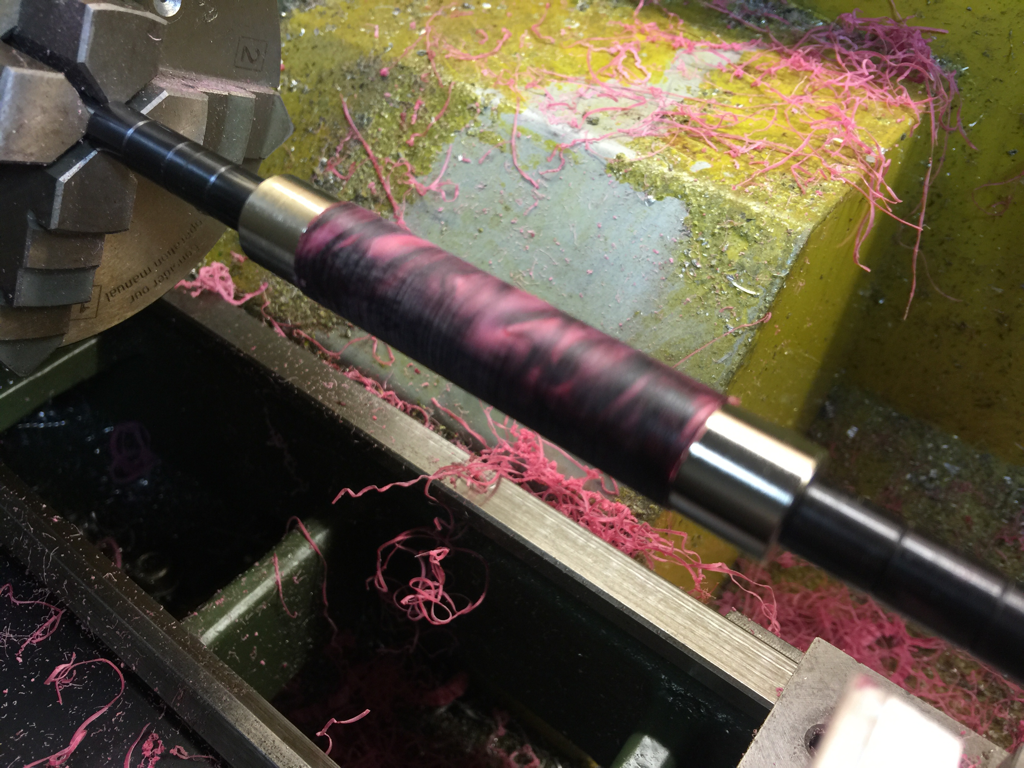
After turning down the barrel to almost flushed to the brushing on both side (the chromed metal pieces at each end, I started the sanding process. Before getting on to the polishing pads, I started with 280 and 400 grit sand paper with water.

Beautiful shine. Just one pad before the final and finest grit.

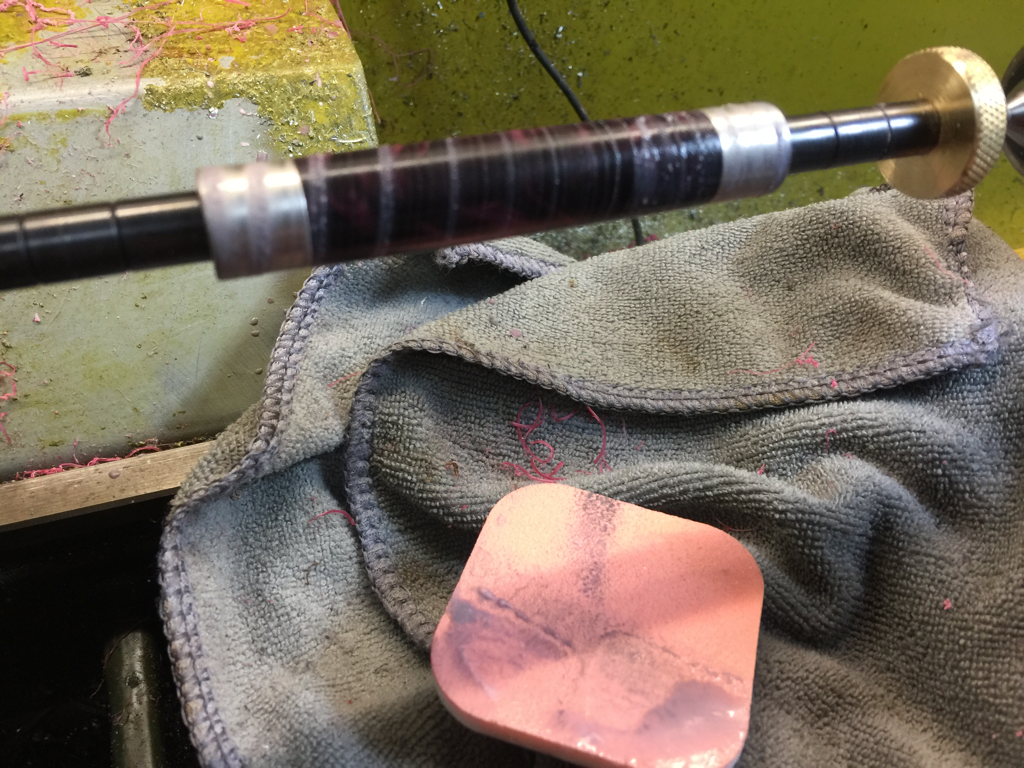
And I've to screw it up with the finest grit... held on to the blank with too much pressure. The polishing surface of the pad got torn off, leaving the backing to rub against the polished surface of the blank. Aaaarggggghhhhh....

See? Should have more patience and use light pressure. No choice but to start over from the roughest pad.
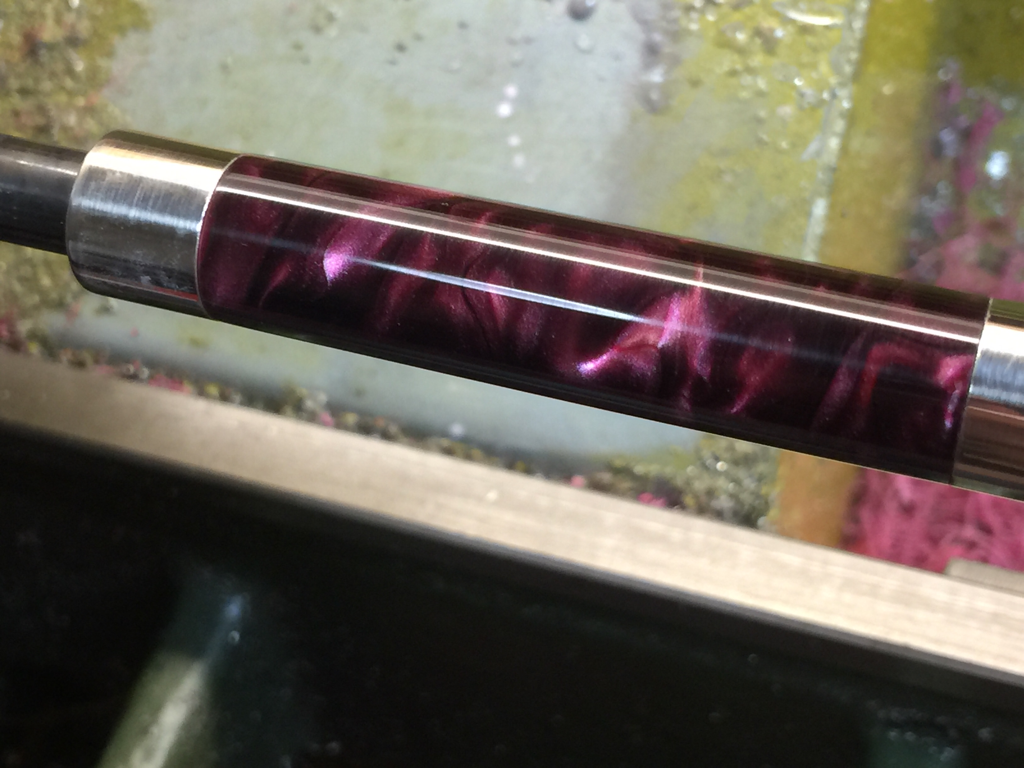
Being more careful now and turning the spindle at higher speed, the shine is back!!!
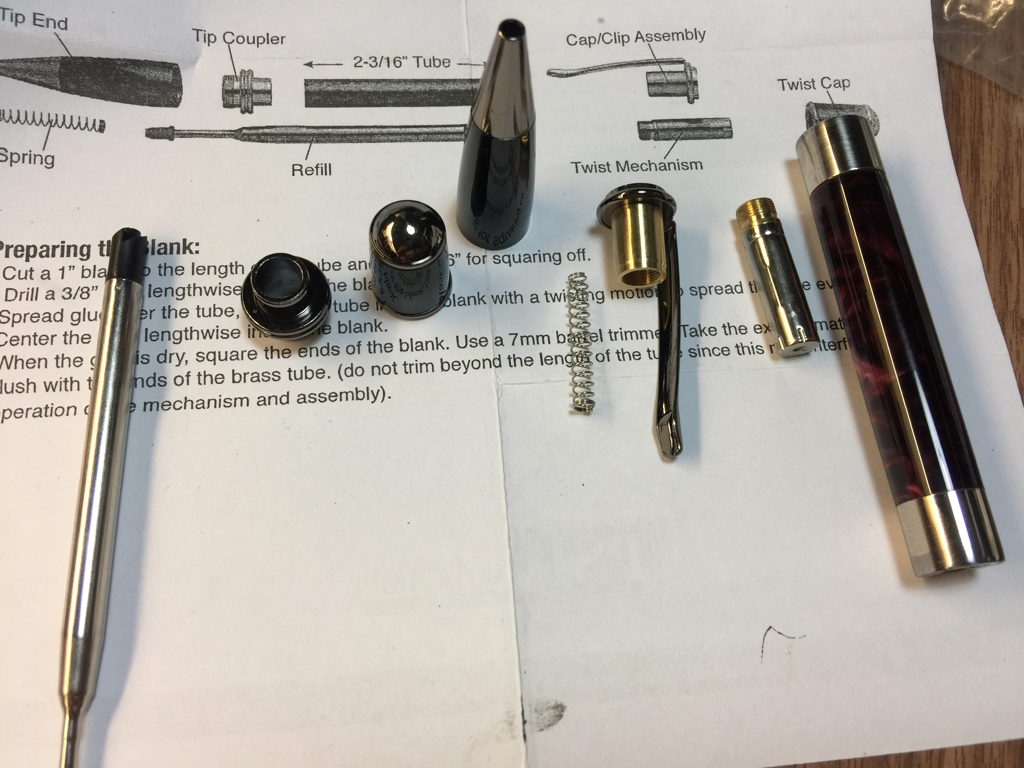
Next stop, assembly station. All the parts of the kit laid out on my messy yet to cleanup bench. Forgotten to remove the bushing from the blank for photo taking.

Done! Isn't she a beauty?! I didn't take any pics when pressing the parts on my mill as I was balancing the parts to be pressed, the stickIt! pad (the yellow sticky pads we use in office for notes and reminders), and the quill feed handle. Quite a challenge.

In the box I bought. Nice!!!
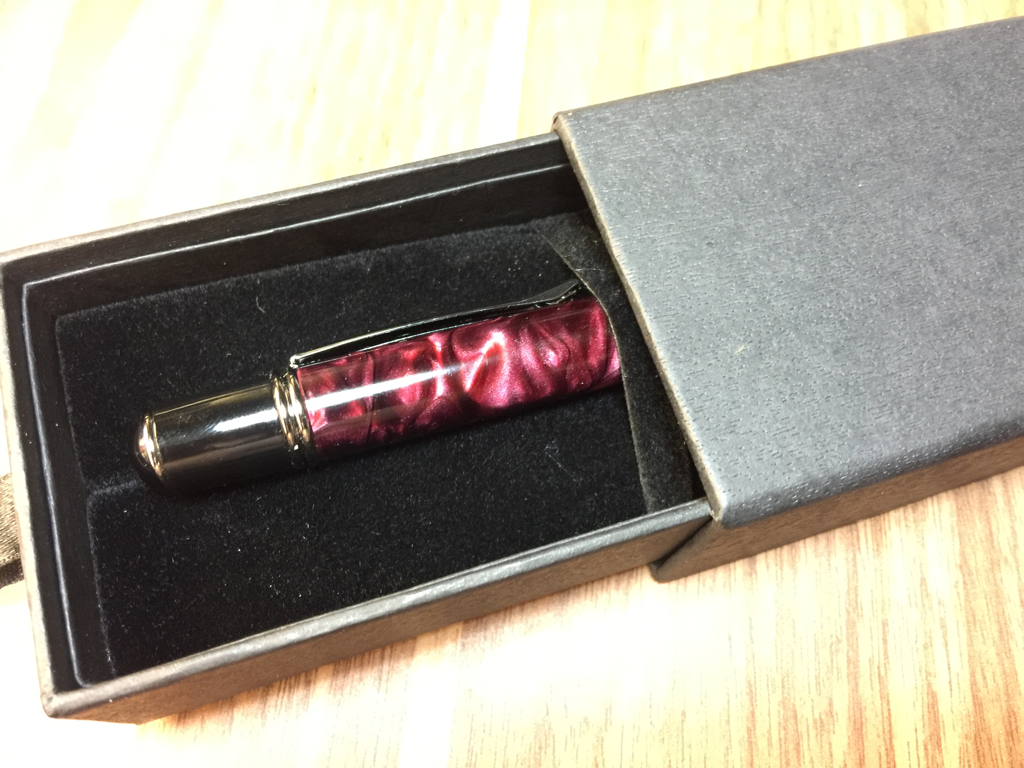
Another angle

The polishing pads. Each pad has 2 sides of different grits. Just start with yellow and work all the way to gray to achieve that shine. No liquid polish needed. Save money... lol
This is really a fun project. Something that people around can understand and appreciate what I do in my shop. Good as gifts too! Maybe I'll make some to sell to fund my hobby. Other than pens, there are also kits for cuff links. Let me see if there is any interest in one of a kind pens or cuff links in SG.
Thats all folks. Time to shower and hit the bed. Spent quite some time cleaning up and oiling the lathe. What a mess created by wet sanding....
Thats all folks. Time to shower and hit the bed. Spent quite some time cleaning up and oiling the lathe. What a mess created by wet sanding....
 RSS Feed
