I've to blame Terence for this. I've not been a diligent guy when come to testing things. We chatted via Whatsapp till late last night and among many things on machining and machines, we spoke about the rigidity of the Monster Mill.
He was sharing that he felt his mill breaking apart when he was mill deeper (can't recall how deep), so much so that his son ran into his shop to see what happened. I was rather disappointed when I hear this as I had just bought the column and had it installed. Before I dozed off, I make a mental note to do some testing the next morning.
As I'm quite a "chicken" myself when come to machining, I set the maximum depth of cut (DOC) to be 1mm for the tests. This was the max I think I will go when using the mill as I'm not in control, so to speak, when codes are being run.
The stock was setup using the low profile clamps I bought together with the milling plate. A piece of aluminium I have lying around was used. DOC to test will include 0.5mm, 0.75mm, and 1mm.
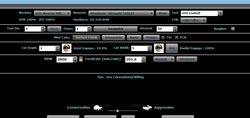
From the GWizard Calculator, I'm supposed to go at feed of about 200mm/min. Being a "chicken", I cut it down to 180mm/min to "play safe". This may be what Bob Warfield said not to do many a times about babying the cut. Since I'm in "discovery" mode, I'll just use what I'm comfortable with.
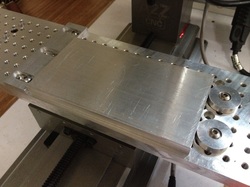
The aluminium plate being setup for the cut. I hammered it down when tightening the cam screws on the right.
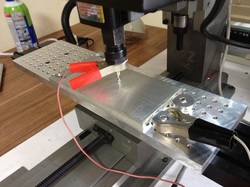
Touching off to find Z=0 using the Mach Blue function.
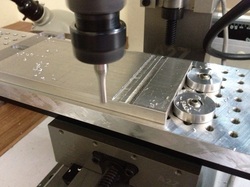
The first slot on the right was a mistake. I typed G0 instead of G1... Thank God I started at 0.25mm DOC. Otherwise, I may have a broken endmill. FYI, my rapid was set at 500mm/min.
The 2nd slot: DOC 0.5mm, F200, 2000 rpm.
The 2nd slot: DOC 0.5mm, F200, 2000 rpm.
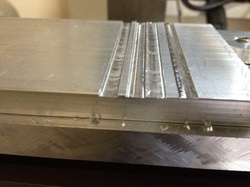
The last 2 slots from right to left:
DOC 0.75mm, F180
DOC 1.00mm, F180
It seems to me at this point that I've the mill trammed along Y and that the mill did its job well with even up to 1mm.
I've no intention to go beyond 1mm.
DOC 0.75mm, F180
DOC 1.00mm, F180
It seems to me at this point that I've the mill trammed along Y and that the mill did its job well with even up to 1mm.
I've no intention to go beyond 1mm.
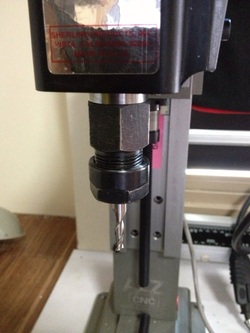
Back track a little, I was using the A2Z ER16 to 3/8-16 adapter.
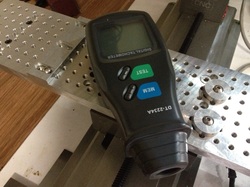
Spindle speed was adjusted using the Tachometer I bought from eBay. This is my 2nd piece as the 1st one broke after just a couple of use.
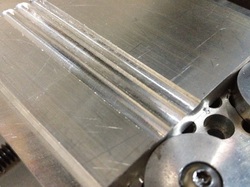
Now for test cuts along X axis. DOC 0.5mm, 0.75mm, and 1mm. Feed of 180mm/min used throughout.
The cut pattern at the cut surface shows that the mill is pretty much in tram along X too. I'm so happy!
The cut pattern at the cut surface shows that the mill is pretty much in tram along X too. I'm so happy!
I've taken a video using my iPhone showing the 1mm DOC. Pardon me for the last part of the video.
That's all I've this Saturday. If time permits, I'll start the Lithophane of Alicia's Primary One photo later of the day.
 RSS Feed
