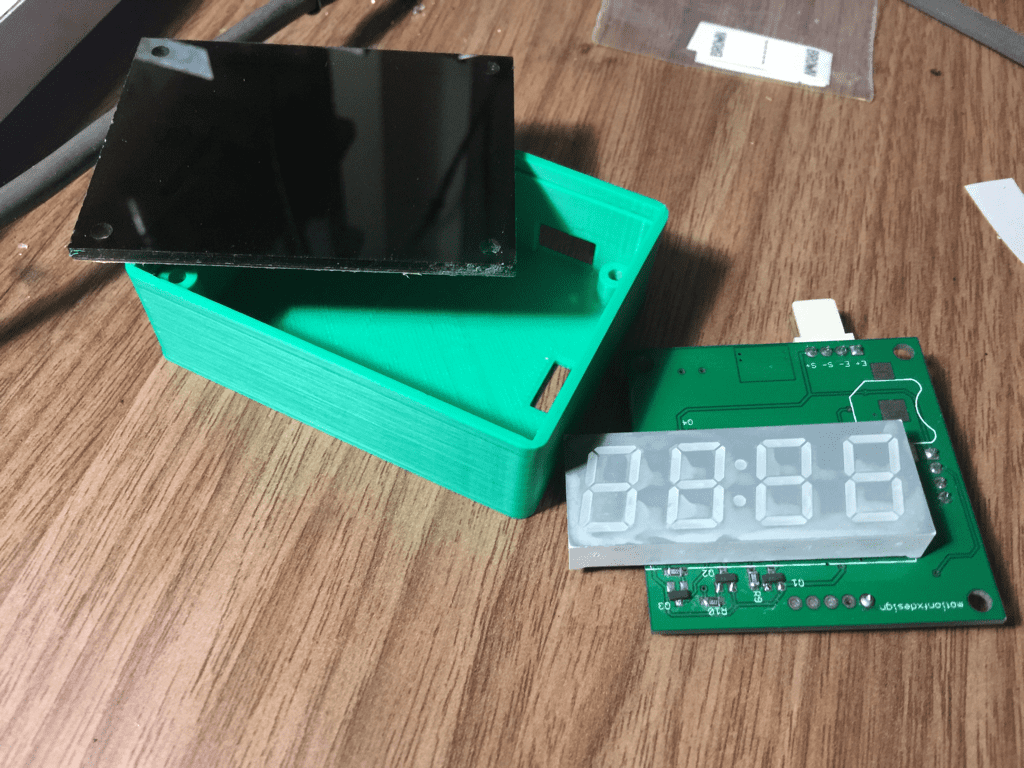
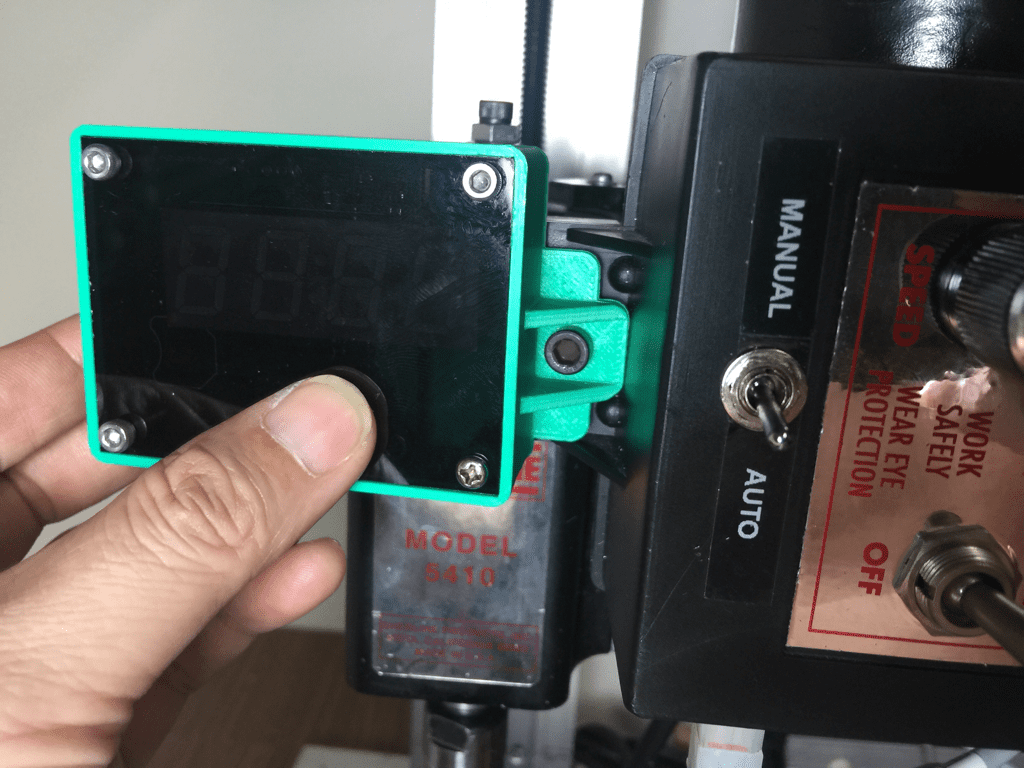
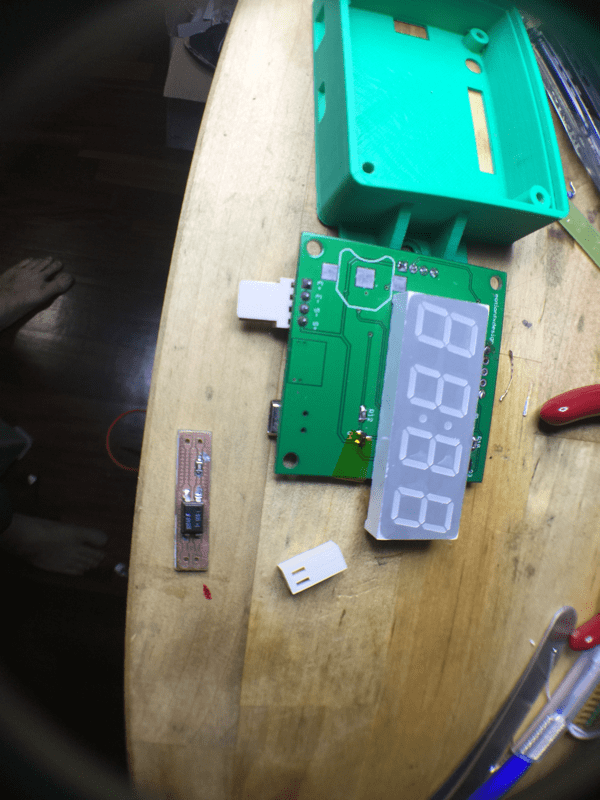
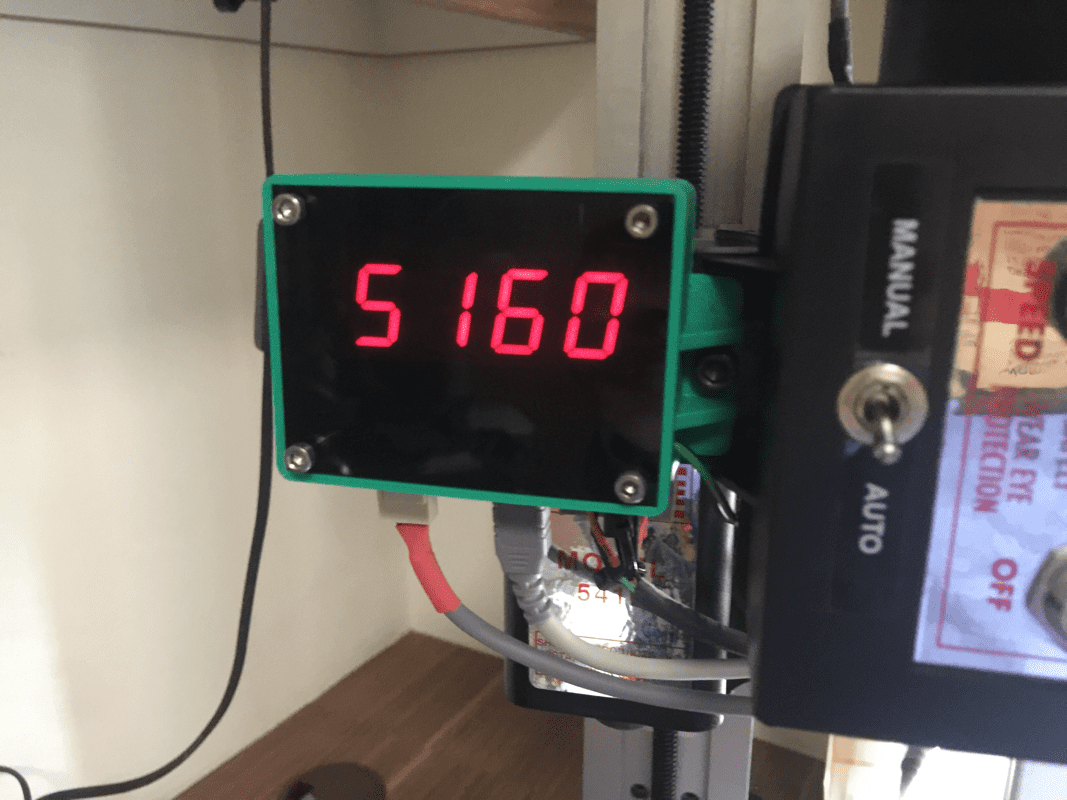
With the wiring of the KBIC out of the way, the next is to either buy or make a tachometer to display the spindle speed and also to feed Mach 3 the pulses coming out of it. Before i know it, Terence has already completed one and generously shared it with me, all parts included. The completed tachometer uses 7-segment LED as display. From the case he printed, it looks good through the tinted acrylic front cover.
 |  |
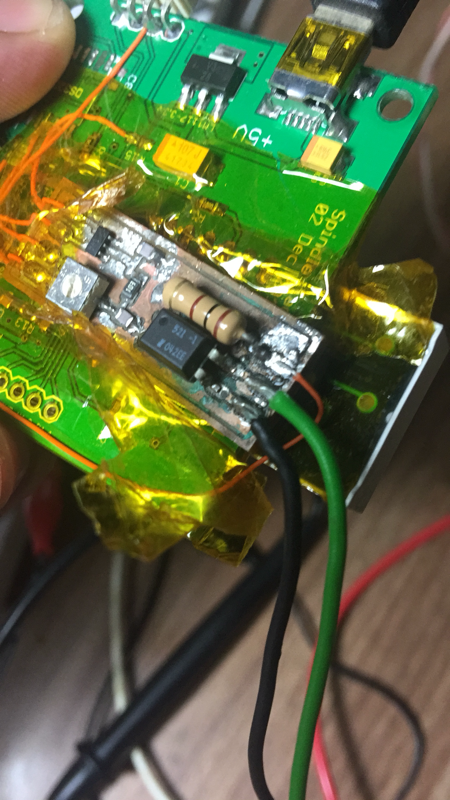
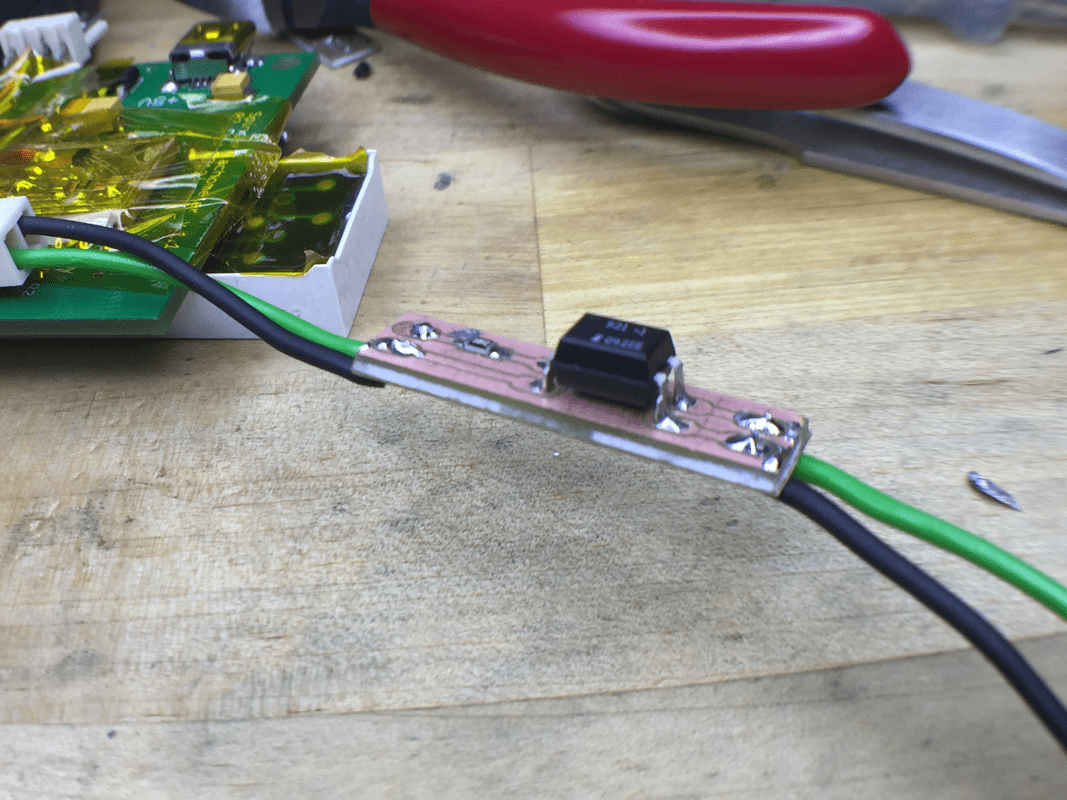
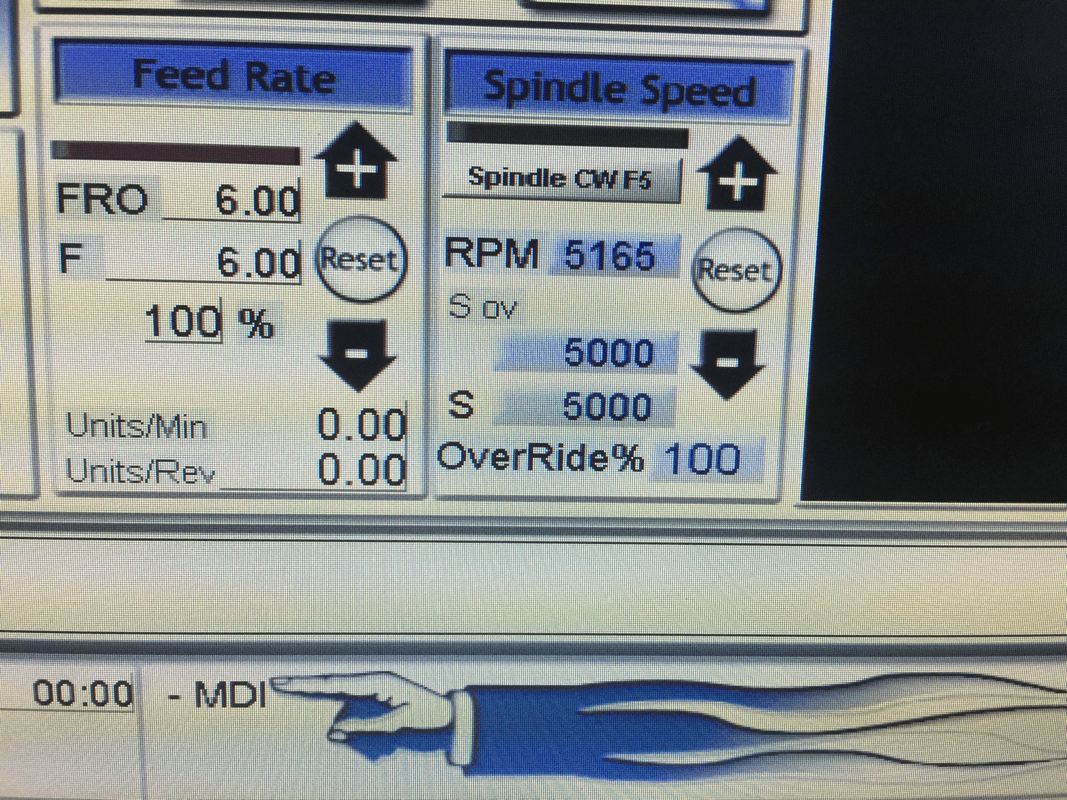
Next is to wired it up so that it can signal to Mach 3 via its index pin. This, I encountered lots of problem because of electrical noise in my system. To solve this problem, Terence designed an addon board to filter out the noise so that the microcontroller is able to see the pulses without false trigger. With the addon board design done, I asked for the files to experience milling a simple PCB on my own.
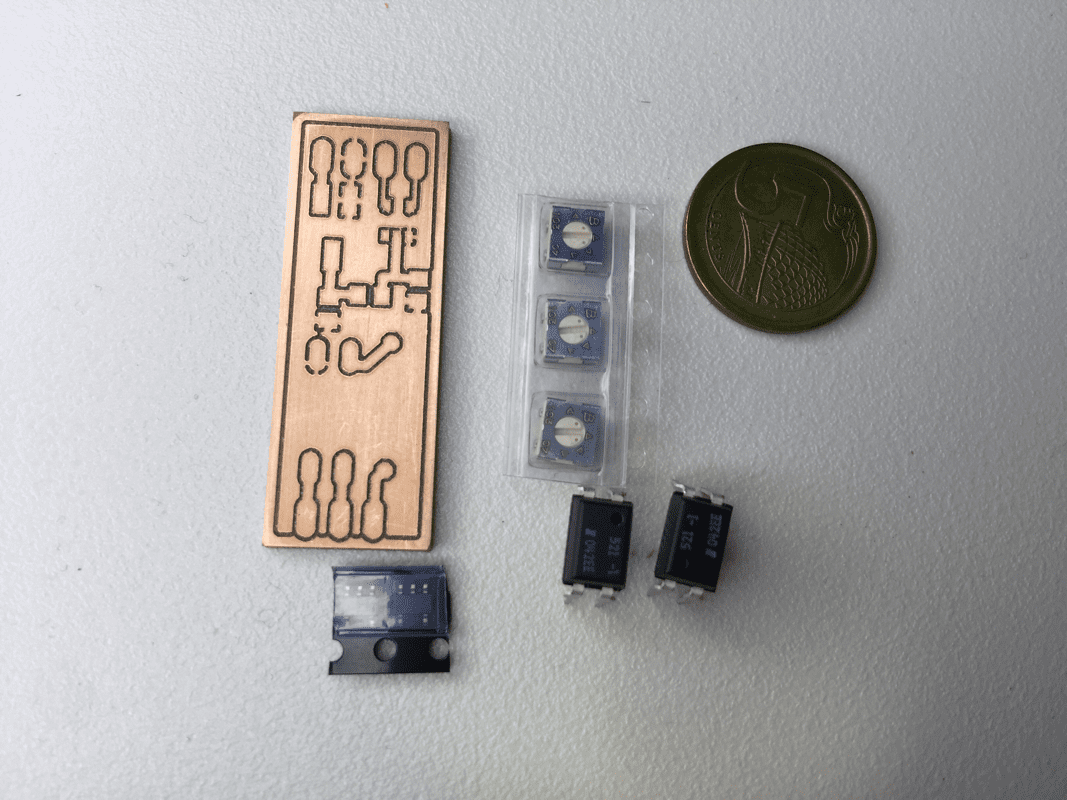
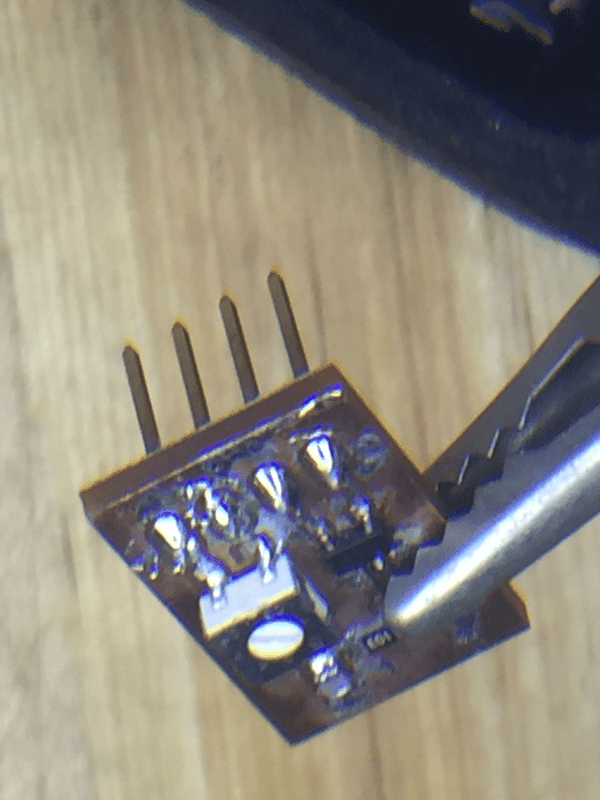
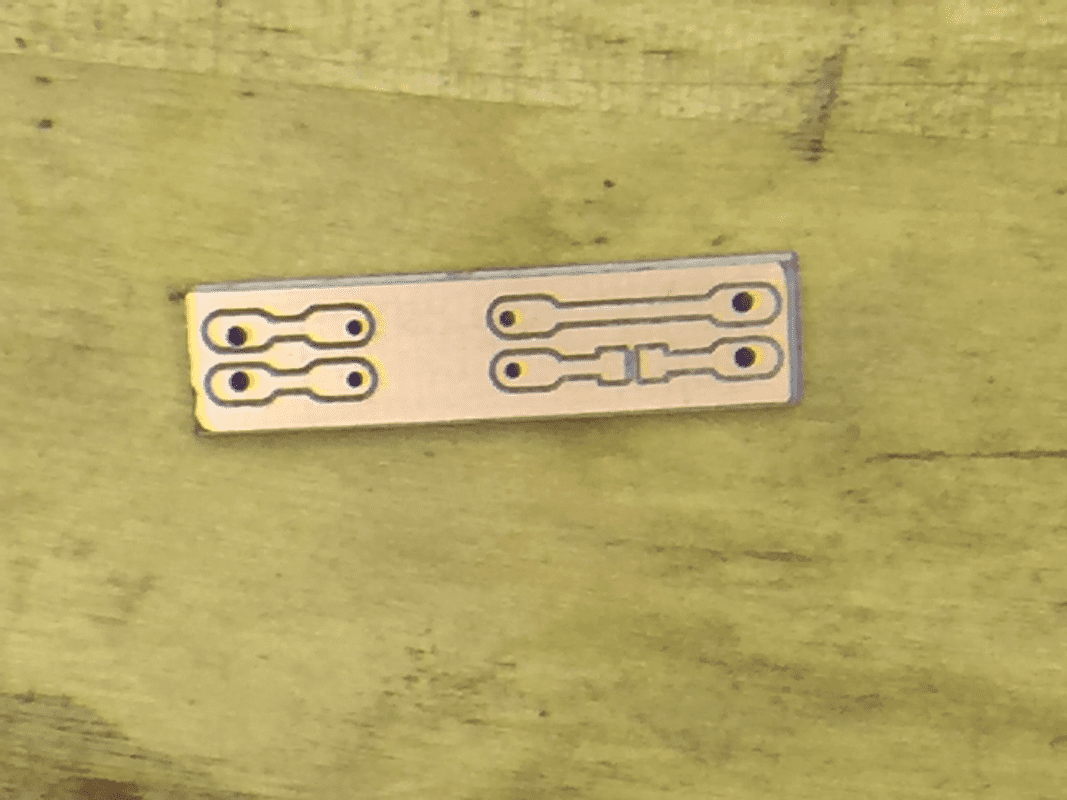
The process was straight forward enough, though I did encounter some difficulty along the way due to my inexperience milling something so small and mainly in filling up the board with components. But I managed. This is the board freshed out of the mill:
The process was straight forward enough, though I did encounter some difficulty along the way due to my inexperience milling something so small and mainly in filling up the board with components. But I managed. This is the board freshed out of the mill:
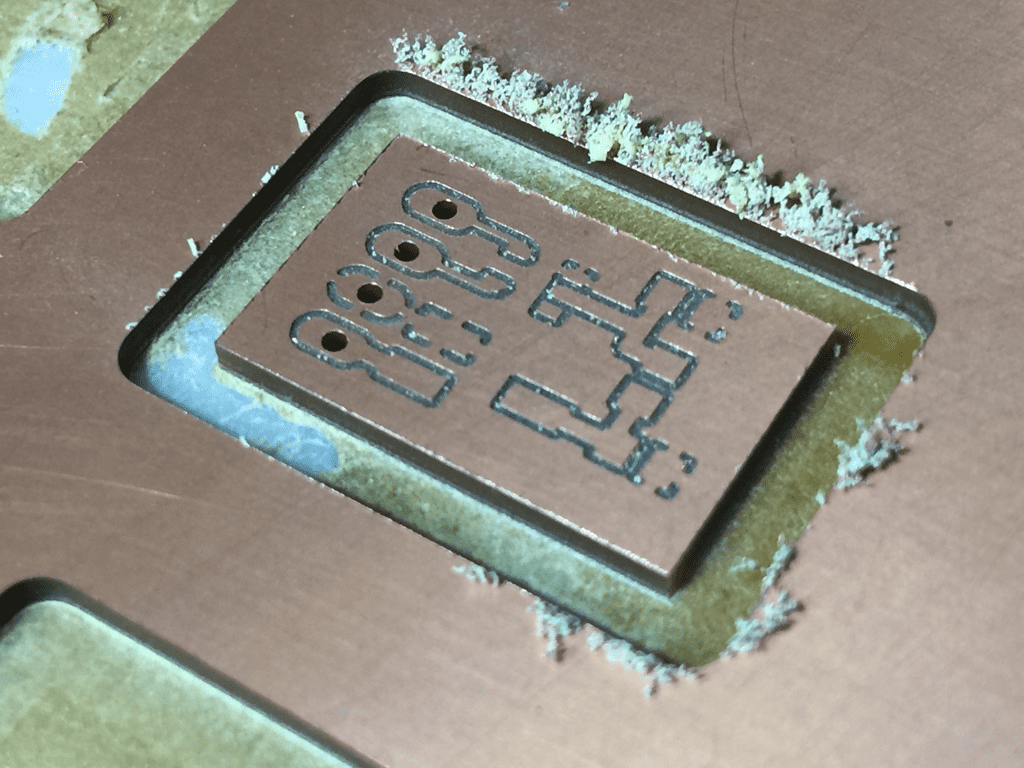 Fresh out of the mill | 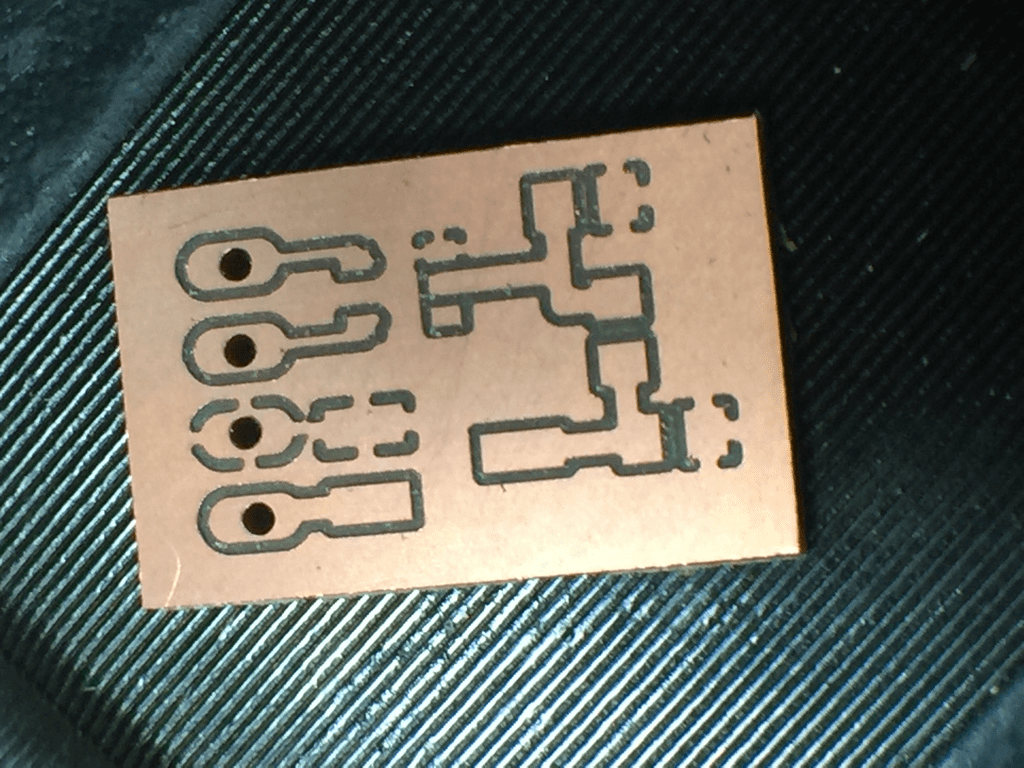 After cleaning up with sandpaper |
To fill up the board with components, I've to make several purchases in term of equipments. The cheapo soldering iron I have on hand made soldering SMD parts a terrible experience. Since it was my birthday then, I bought myself some presents... lol. Excuses...
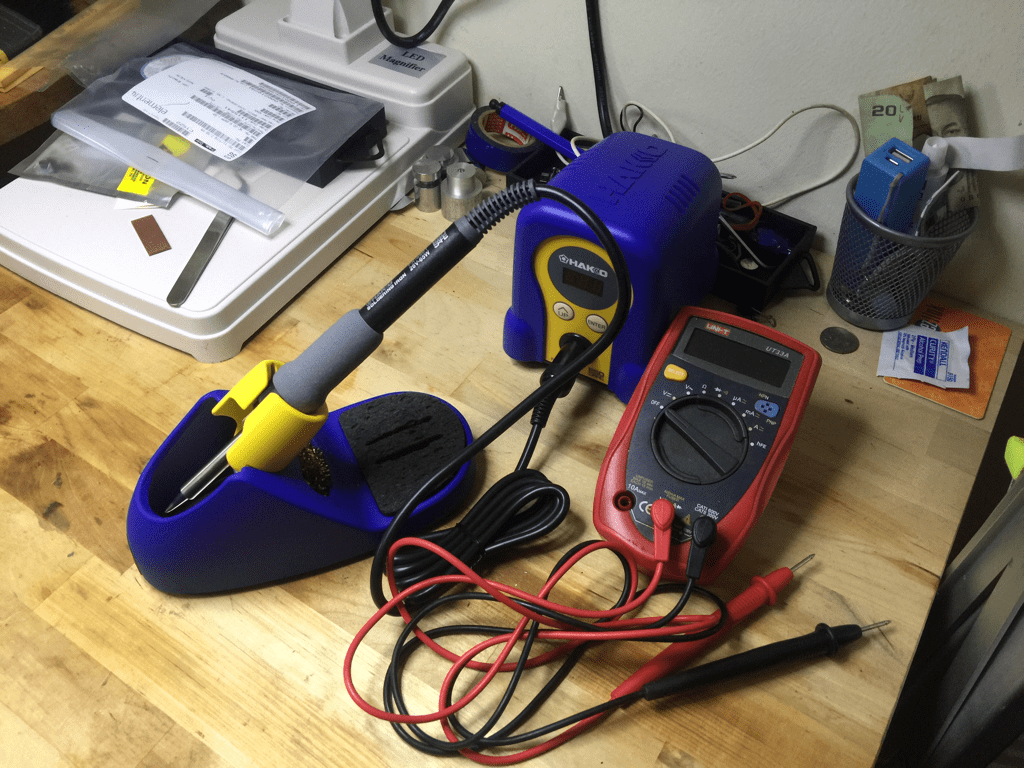 A Hakko FX888 soldering station | 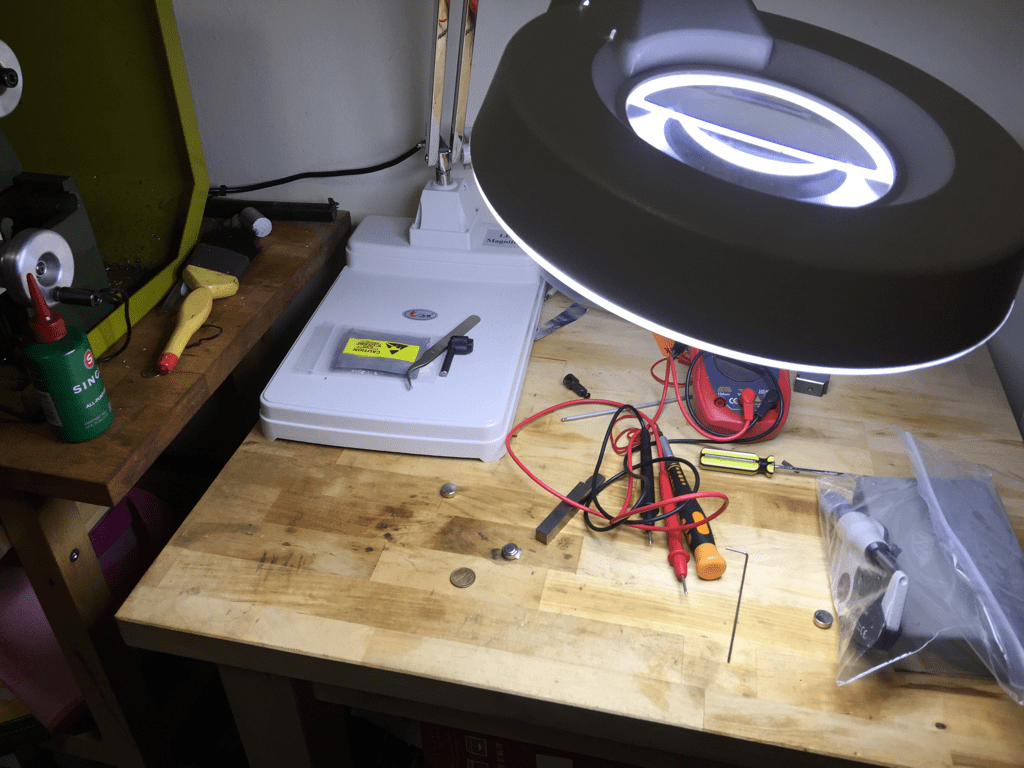 and this.... to assist my eagle eyesight when soldering the SMDs... |
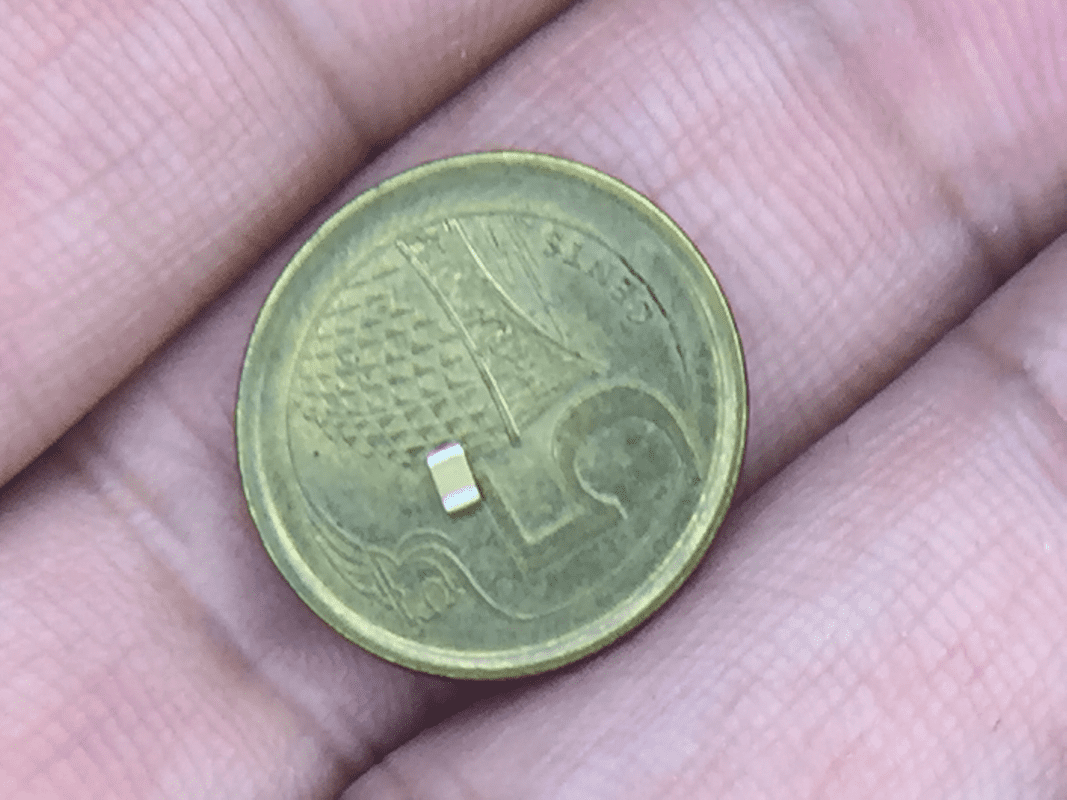
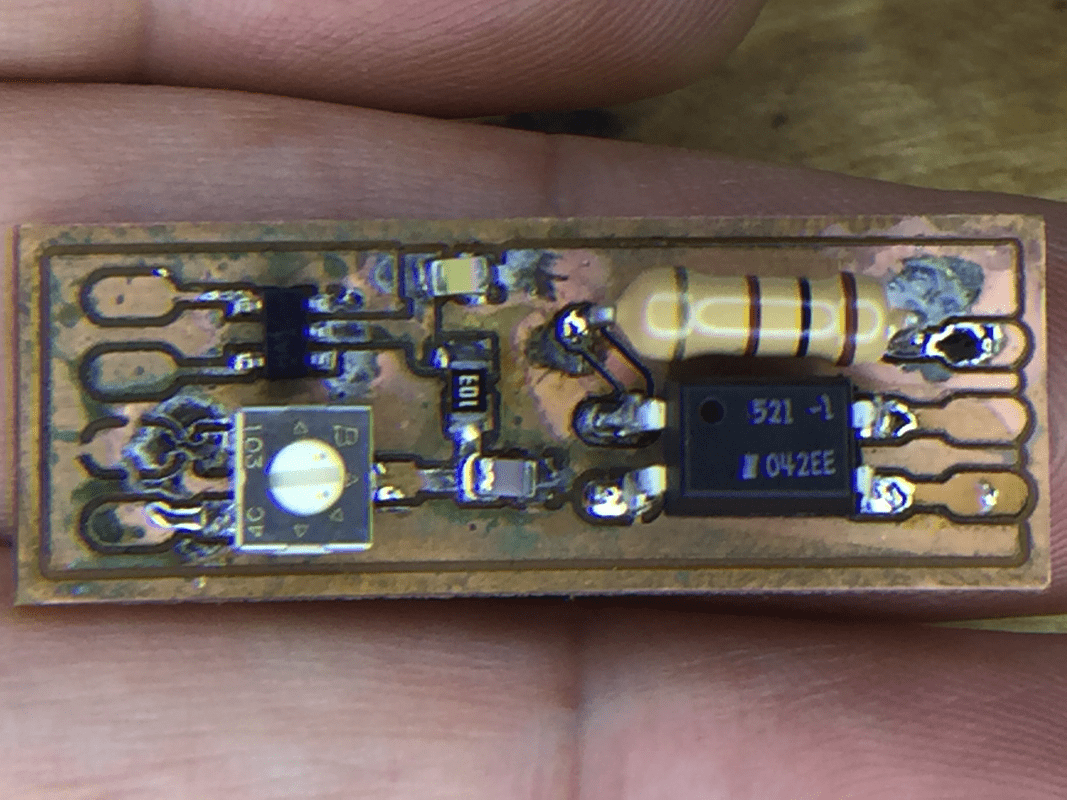
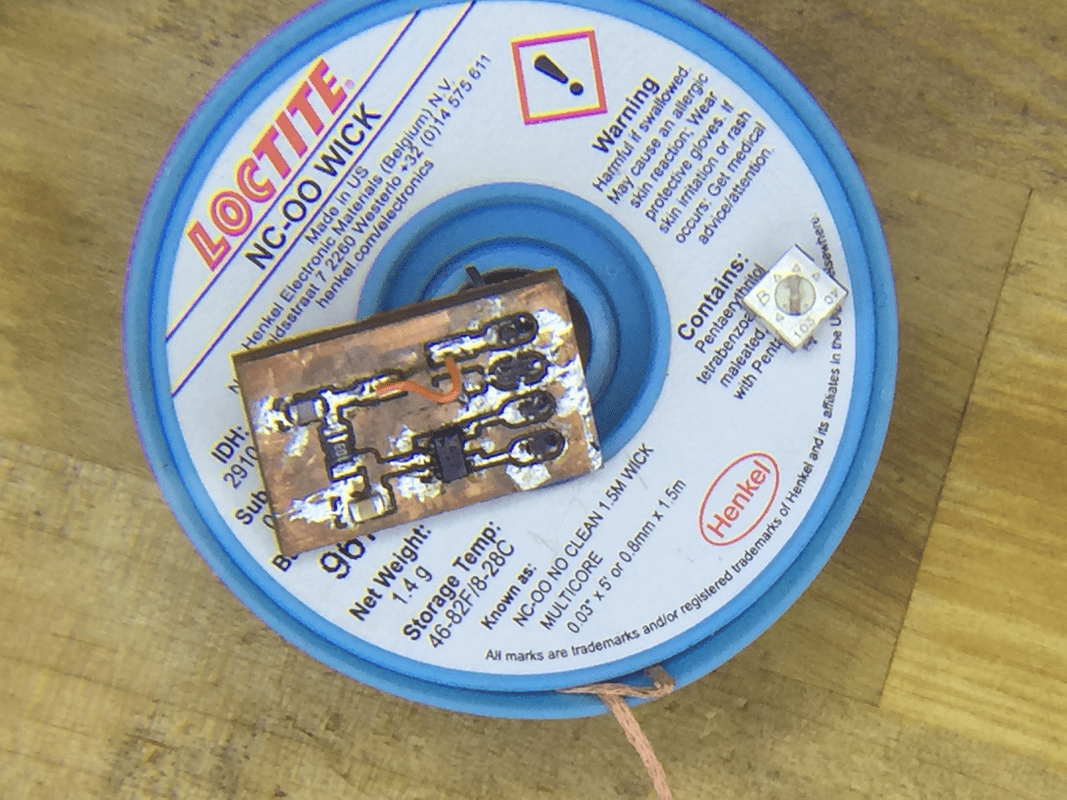
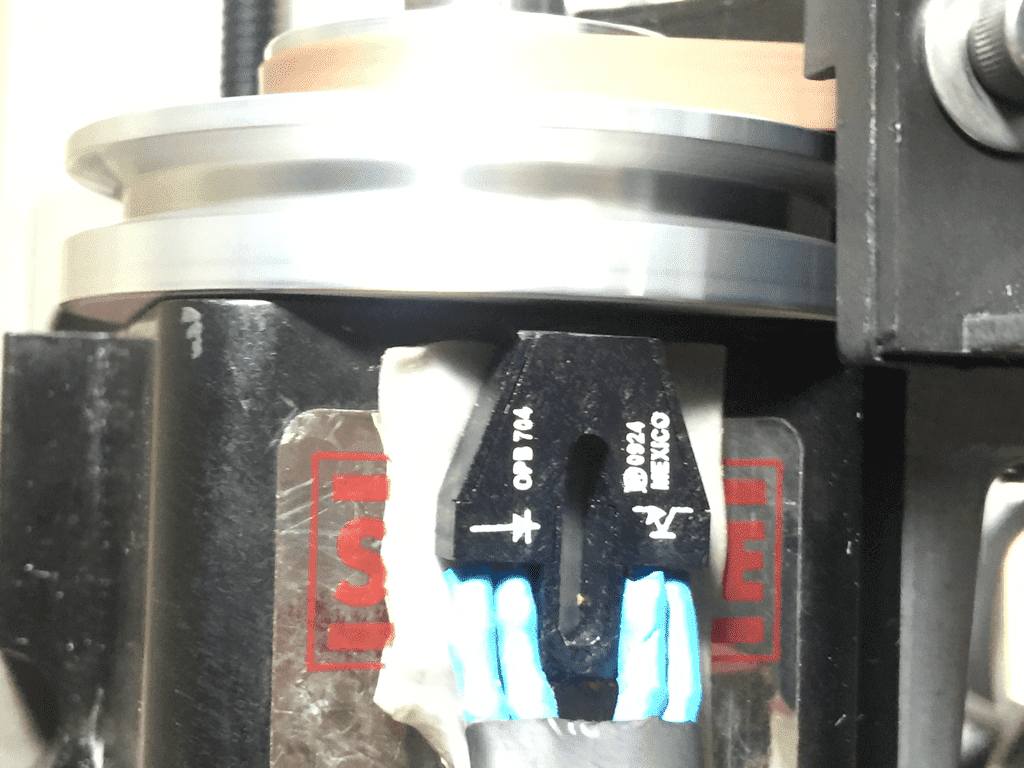
With the 2 bigger purchases and some little stuff like flux, I began filling up the board with components that are smaller than a grain of rice... Under magnification, I can see that my hands tremble quite a bit when position the components. The result, after several tries, is passable.
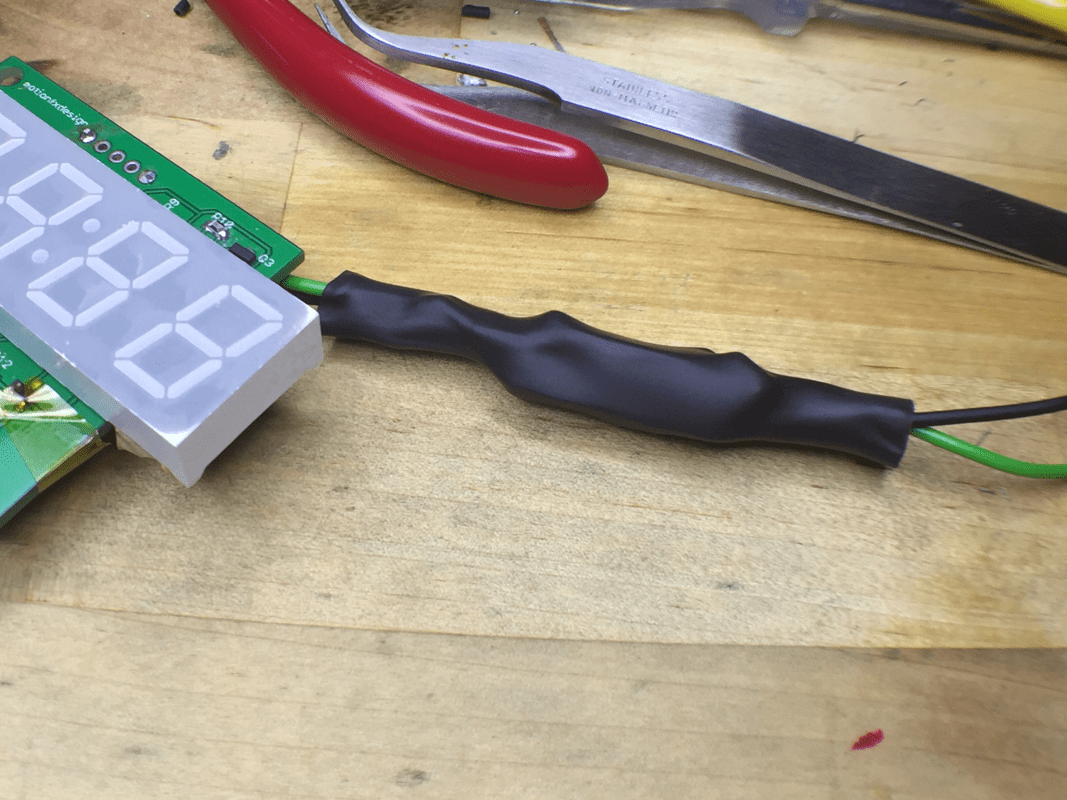
As the whole process was rather long, with lots of screw-ups mainly due to mistakes and stuff, I'll put the pics below and caption them as I go. Hoover your mouse cursor over the pic for the caption. Apologies for using this format to present the pics as I've problem selecting the many pics I've on my iphone and uploading it here.
As the whole process was rather long, with lots of screw-ups mainly due to mistakes and stuff, I'll put the pics below and caption them as I go. Hoover your mouse cursor over the pic for the caption. Apologies for using this format to present the pics as I've problem selecting the many pics I've on my iphone and uploading it here.
Finally, what I wanted few years ago came through, all because I've a good bro guiding and helping me along the way. He guided me through several nights and helped troubleshoot over Whatsapp till 3-4am, on things like how to solder SMD, figuring out what went wrong when things didn't happen as it should.
I'll be making another tachometer using arduino, as well as making the sensor Terence did with another type of sensor. All these will be for further learning and practicing.
I've just trammed up my wabeco mill today. Should be starting with one of the manual machining projects which I wanted to start several years back. This hobby kept my mind keen and not wander over negative things. A little selfish though as I occupy of of the 3 bedrooms in my flat for it. Both my teens are bulking together in the little room they have. Sense of guilt? Yes. I need a solution to this.
I'm praying for a place with 4 bedrooms so that each of the girls can have their own room while I can still have my little cave to indulge myself in. Lord, grant me my wish...
 RSS Feed
