Here are the pics and descriptions:
|
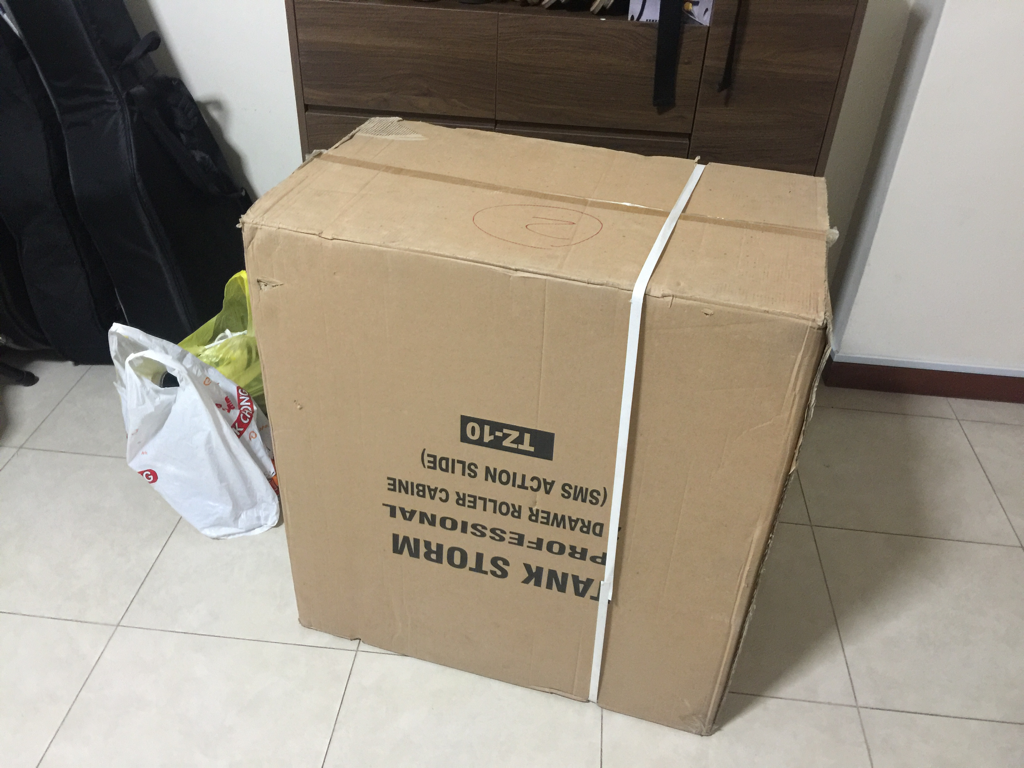
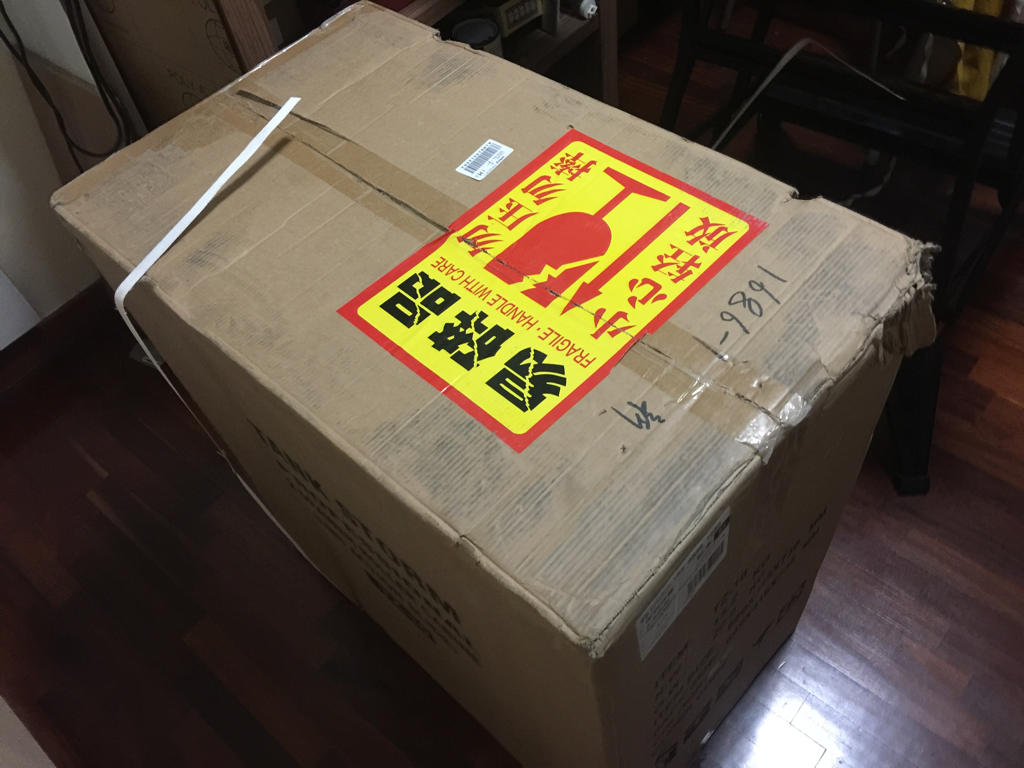
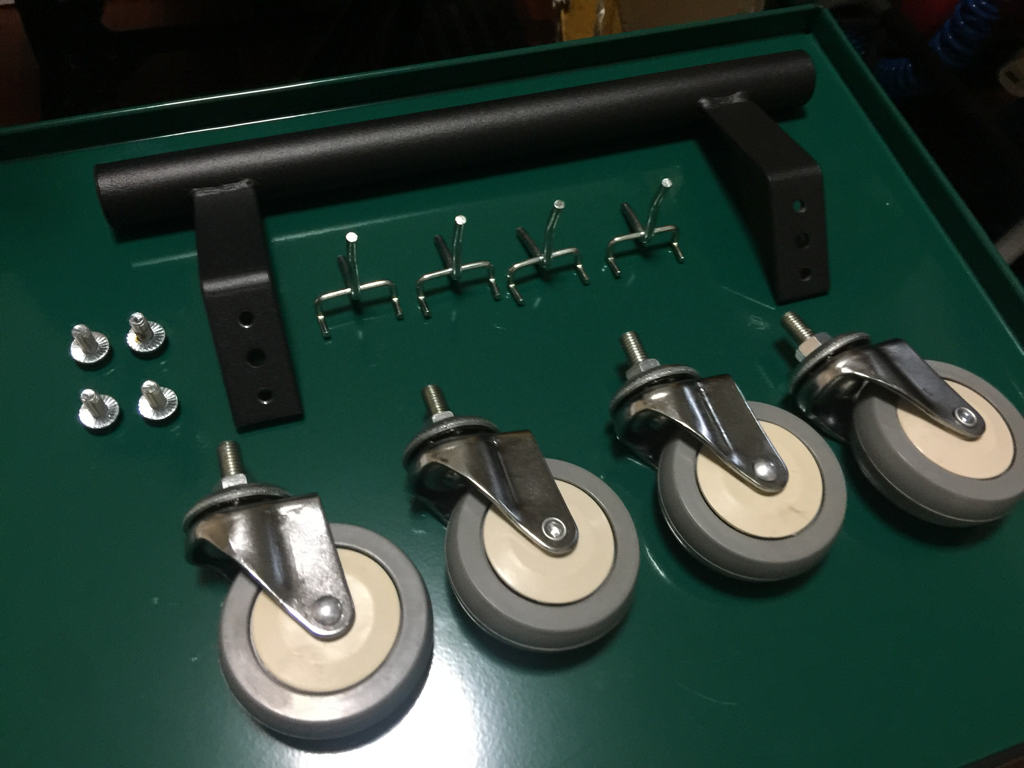
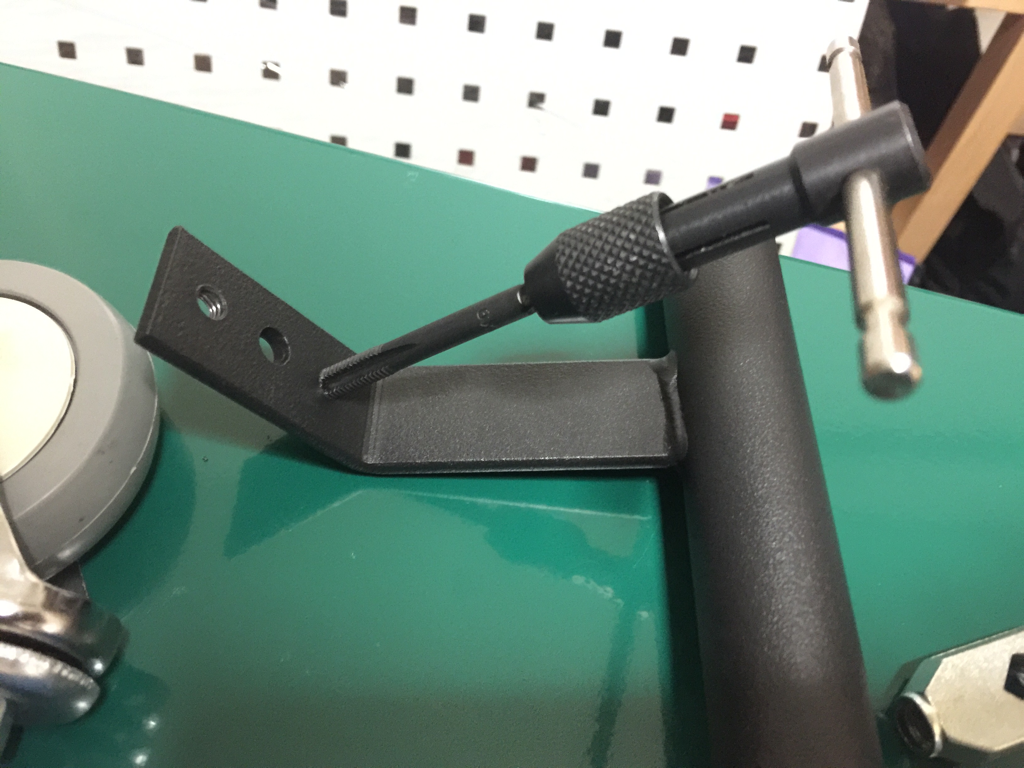
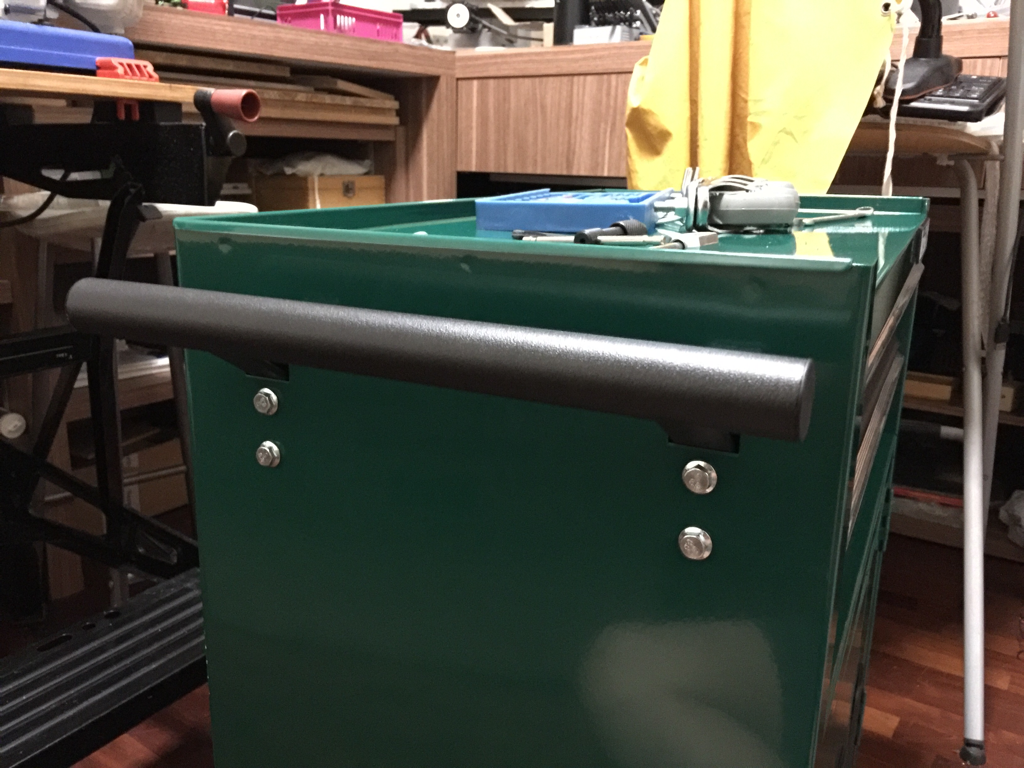
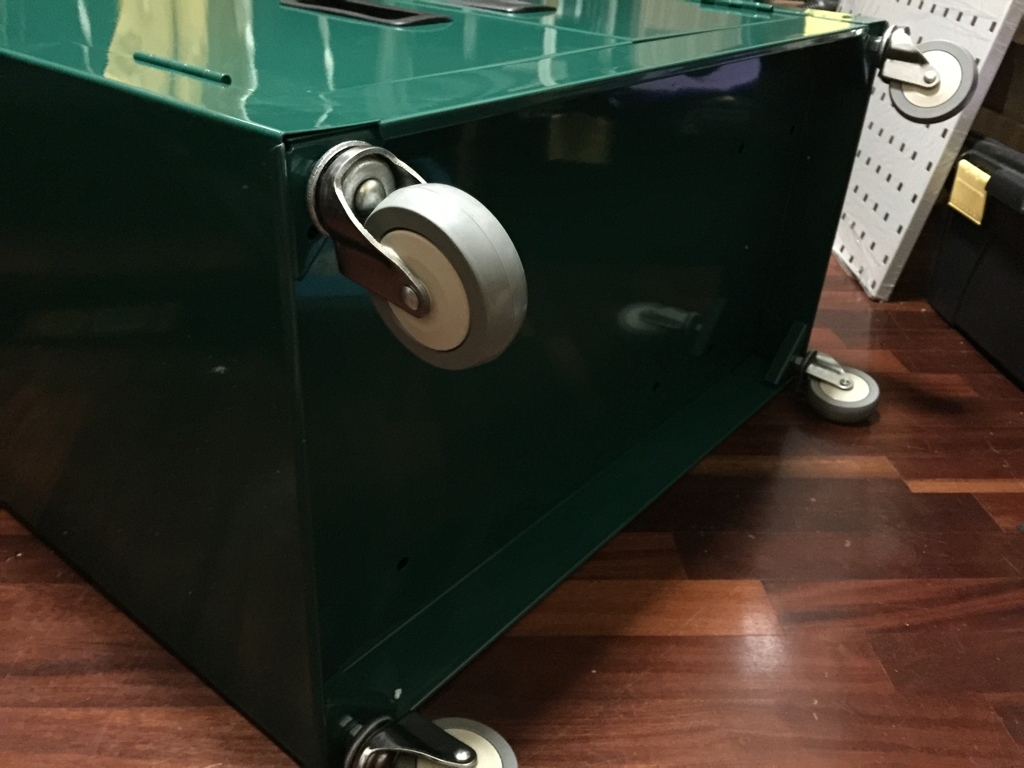
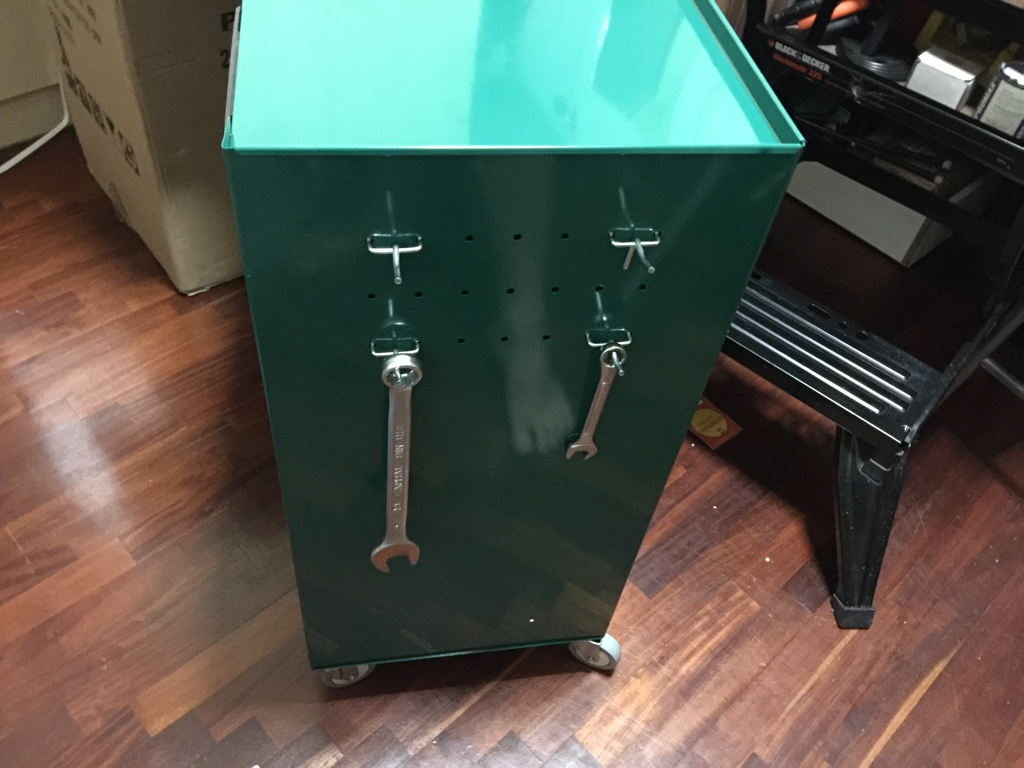
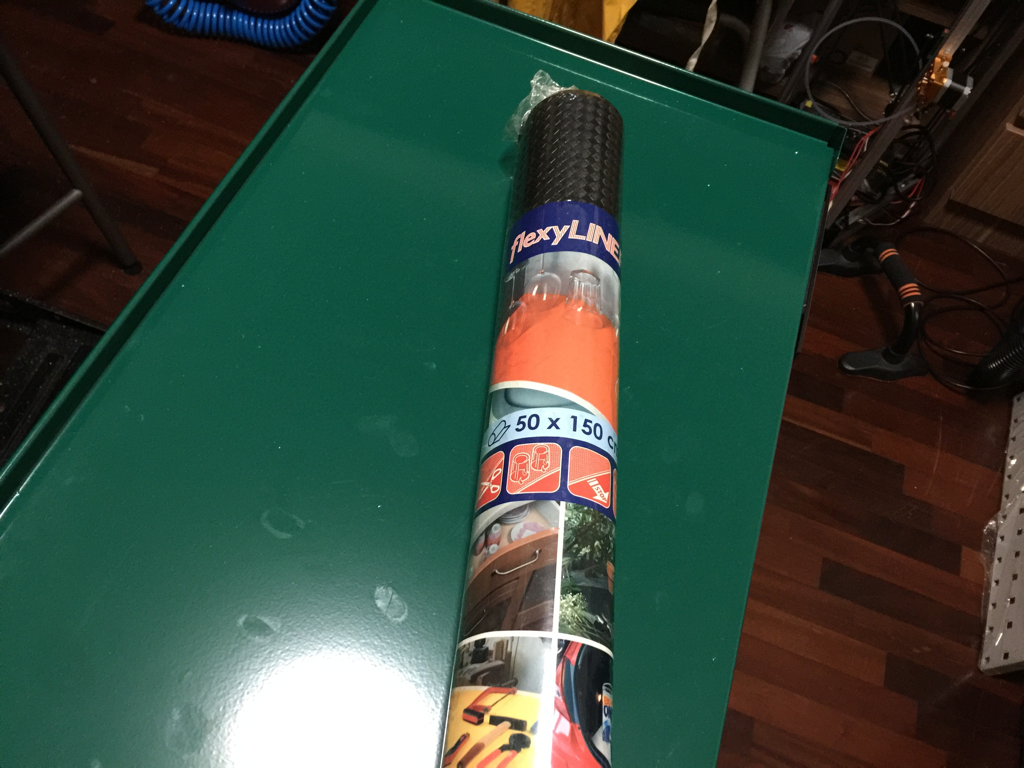
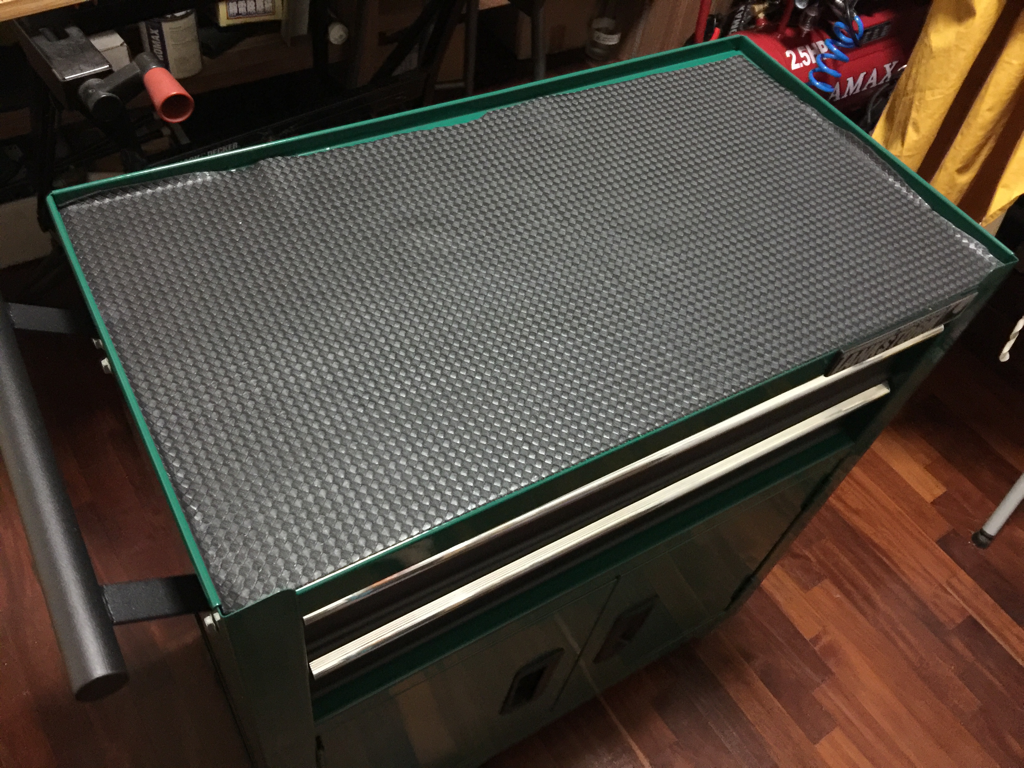
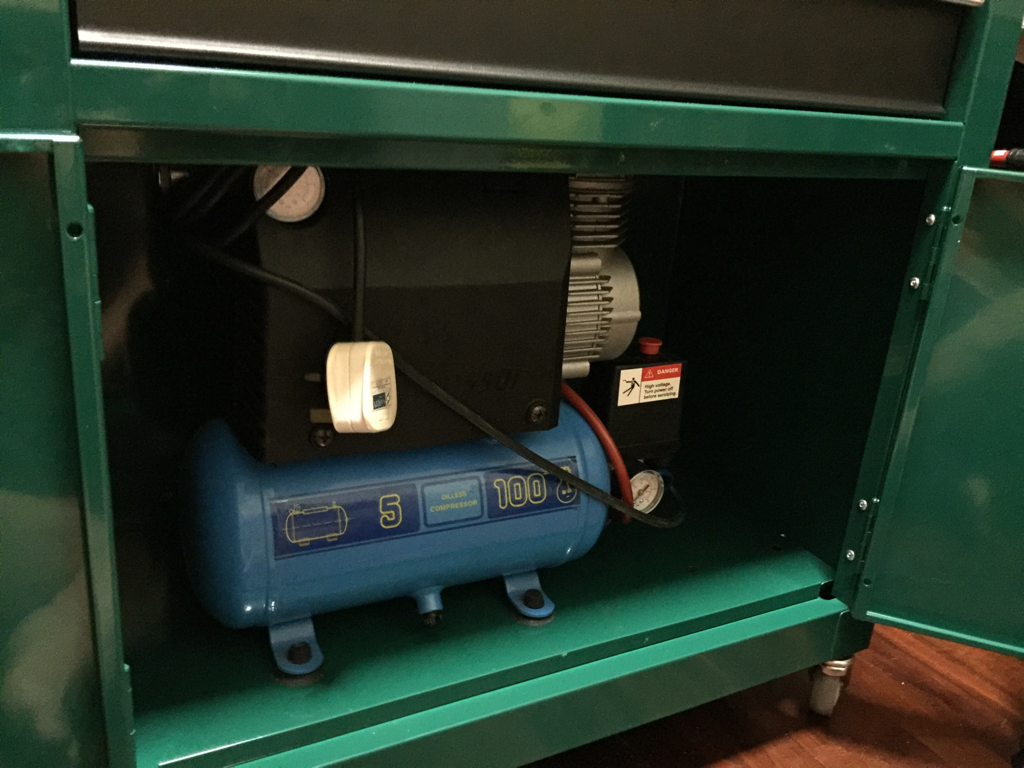
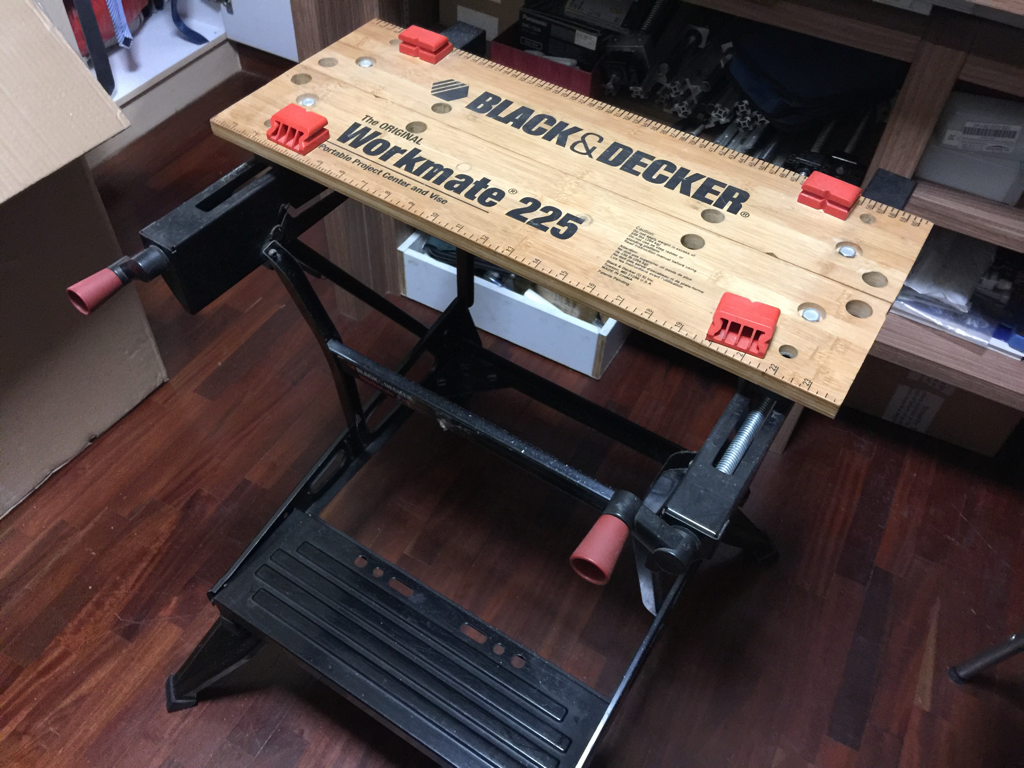
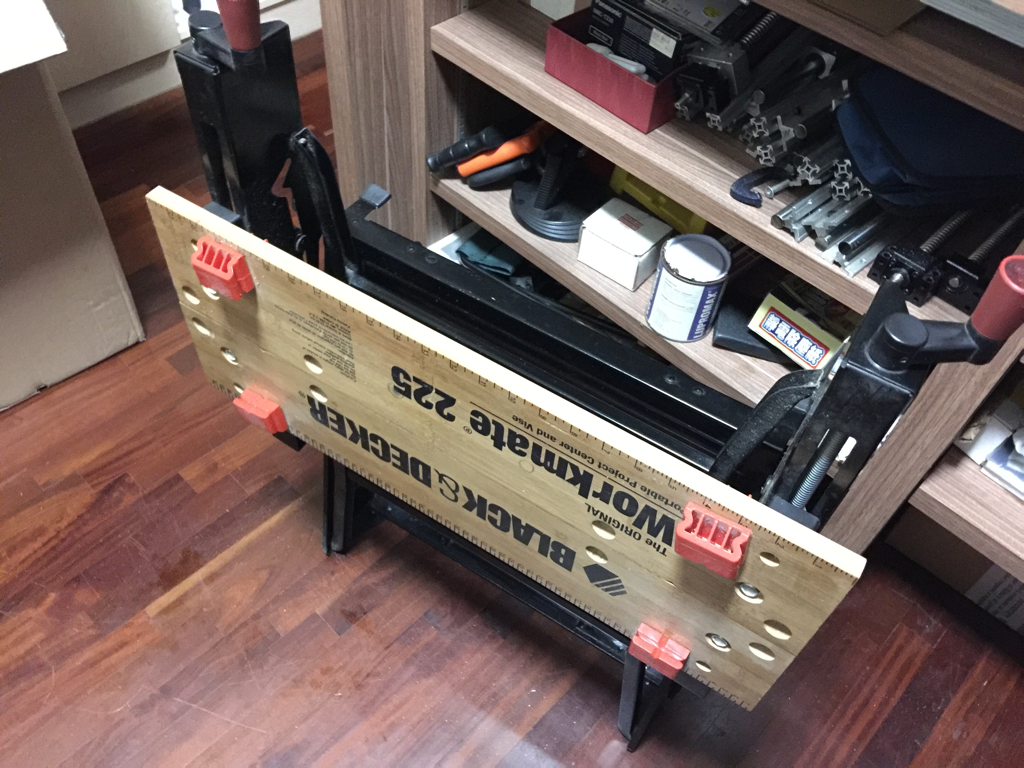
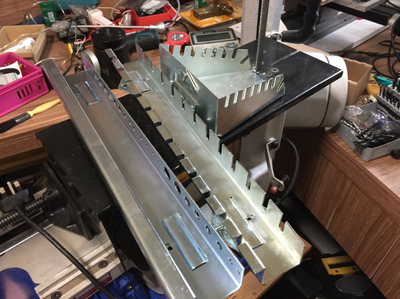
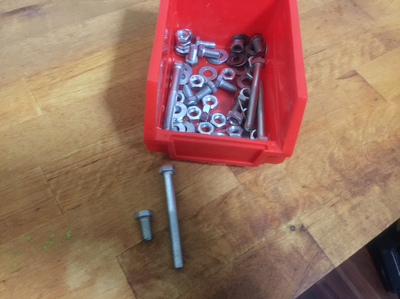
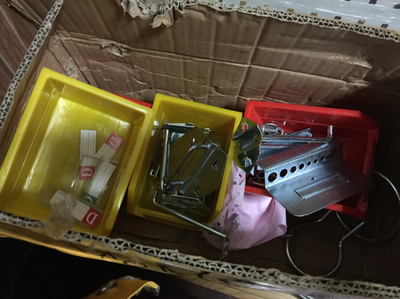
The much anticipated tool trolley has arrived! It took longer than my usual purchases from China through ezBuy as the purchase was done on ezBuy's Prime. I save quite a bit on shipping of this trolley, thanks to Terence and his sister! Otherwise, shipping should be in the $50-$100 range given its volumetric weight. Here are the pics and descriptions: Im very happy with the purchase. The trolley looks nice and is sturdy enough even as my bandsaw stand. I can push it around while I work at different part of the workbenches and provides me with additional storage space. Best of all, it's about $400 cheaper than the cheapest tool trolley I can find locally, shipping included. I know that it is not as rigid and likely to be inferior in quality as compared to those branded ones available locally, but for its intended use, it well surpassed my expectations!
2 Comments
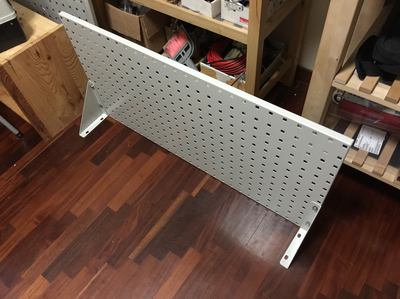
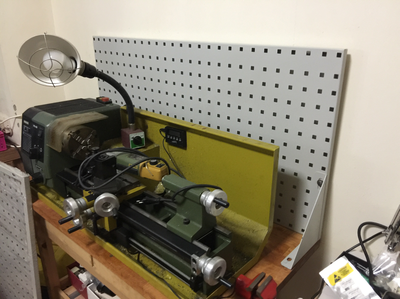
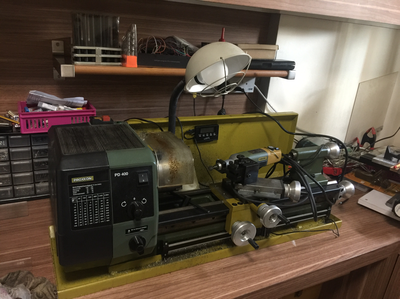
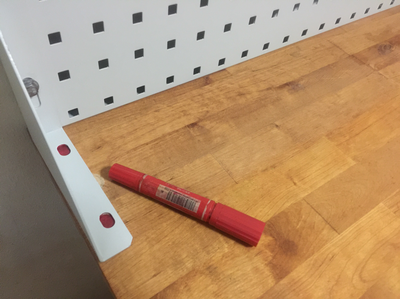
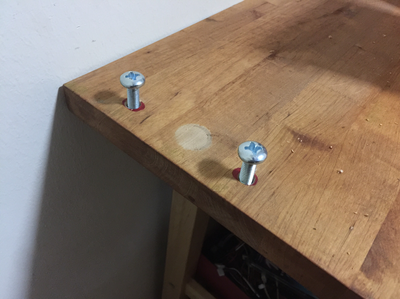
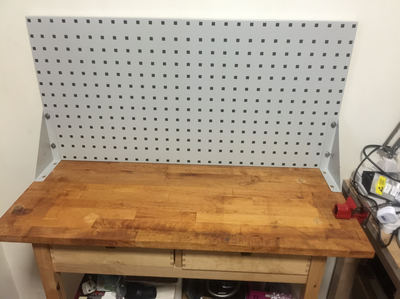
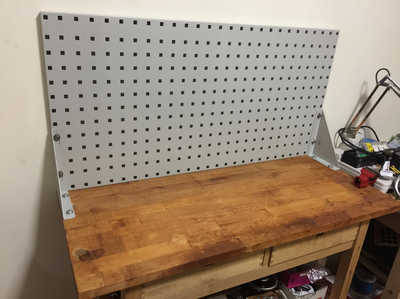
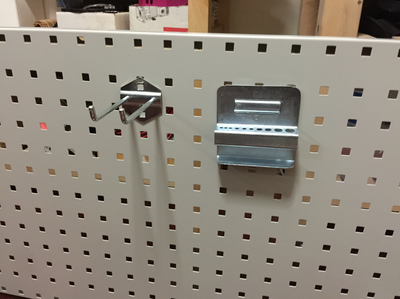
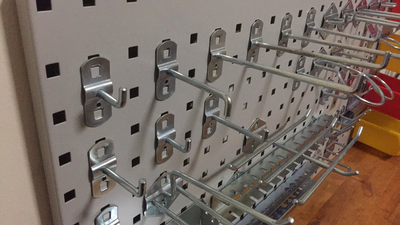
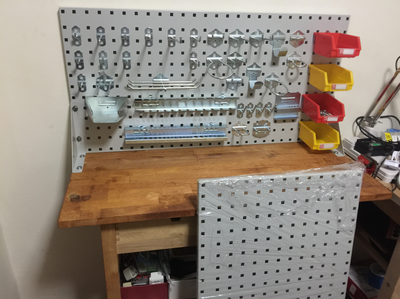
Just a short update on the pegboard I bought from TaoBao. The package arrived a week or 2 ago and I started shifting things in the shop around a bit to accommodate it.
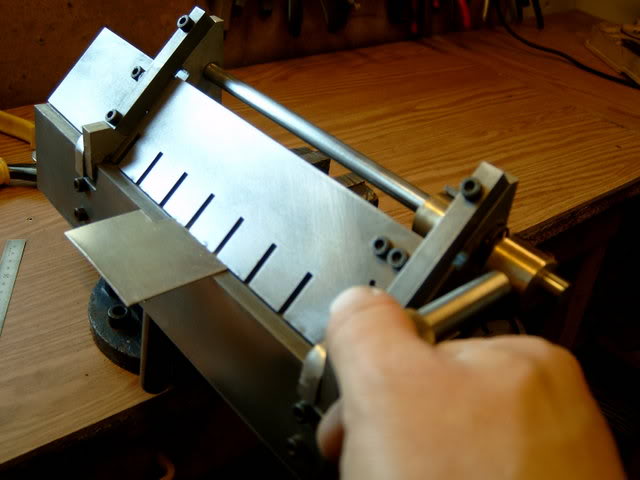
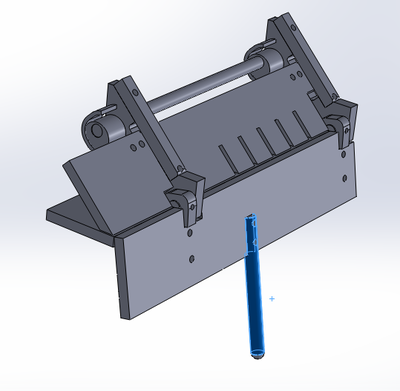
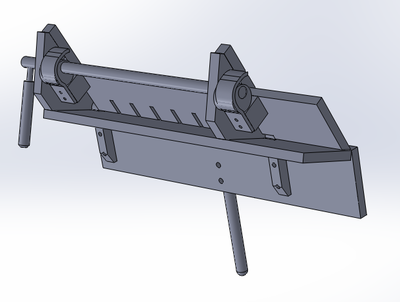
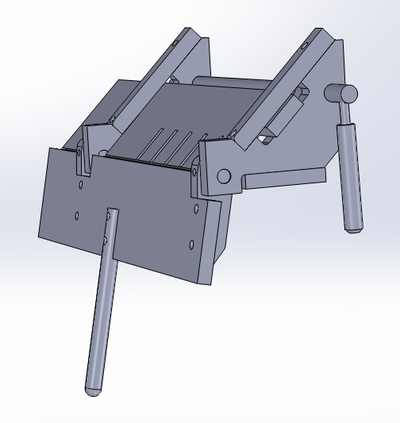
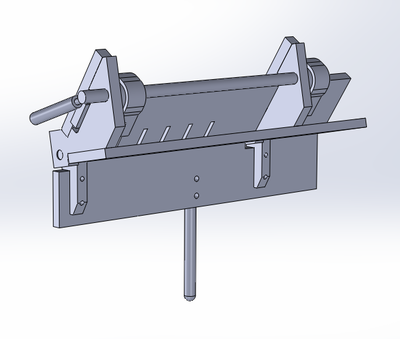
Some pics that I posted on Facebook: Ever since I started with mounting the iGaging scales on the Wabeco and Proxxon, I always wanted a better way to make steel brackets for the read heads. Of course I can use the vise and hammer steel sheets to shape but having a sheet bender or brake would make nicer looking brackets. Came across Mogens Kilde's website (which I believe is no longer in operation) in August of 2015. He has a pic of a completed sheet bender of a suitable size for my tiny shop. It measures only about 300mm across and it looks real good in the pic. So I went ahead and purchased the plan for USD4. The plan was emailed to me a couple of days later in the form of a PDF. But many things happened since then that I was drawn away from the shop. Few weeks ago, I started wondering if I should start a few projects. This will help in revising what I've learnt from the many generous folks whom had, one way or another, taught me about machining. Like all the projects I've done so far, I always like to model them in 3D CAD so that I've a visual of what I'm doing and plan my approach. This has been my habit given my little experience in the hobby and it is regardless of whether I'm going manual or CNC. I've not started work as my shop is still in a mess. But the CAD has just been completed. First, the pic from the man himself: I started modeling the components in Fusion 360, thinking that I can use this project to learn how to use this powerful yet free for hobbyist software. All components were done but I encountered difficulty in "assembling" them using the "Joint" command. I sought help from the official forum and got a very quick reply with a YouTube video on how to specify multiple joint of 2 components. I still find it difficult to use and redo all the components in Solidworks, my favorite software. This is the result after assembly: While modeling the parts, I took note of the challenges I'm likely to encounter when I start work. One would be the "fingers" of the sheet clamp. If the end of the slots has to be square for whatever purpose, I'll have to file them to shape by hand. Don't have any endmill that can cut 25mm deep, especially when each slot is only 4mm wide. The odd shaped hinges (the triangular looking ones) will likely to be done with the CNC mill, but I do have the desire to try my hand at machining the pair manually. The hook shaped brackets will be the ultimate pain in my behind. Let's see how things go.
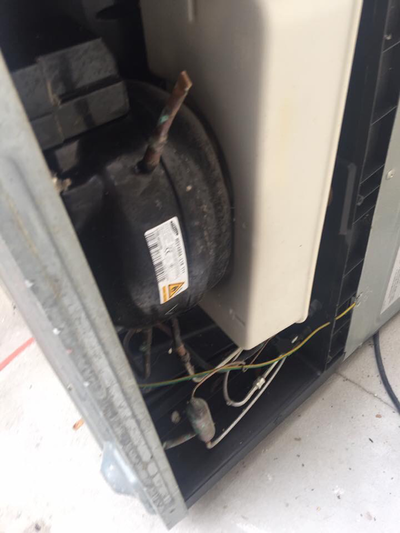
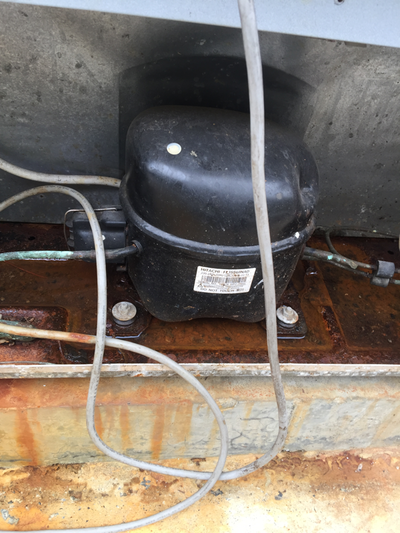
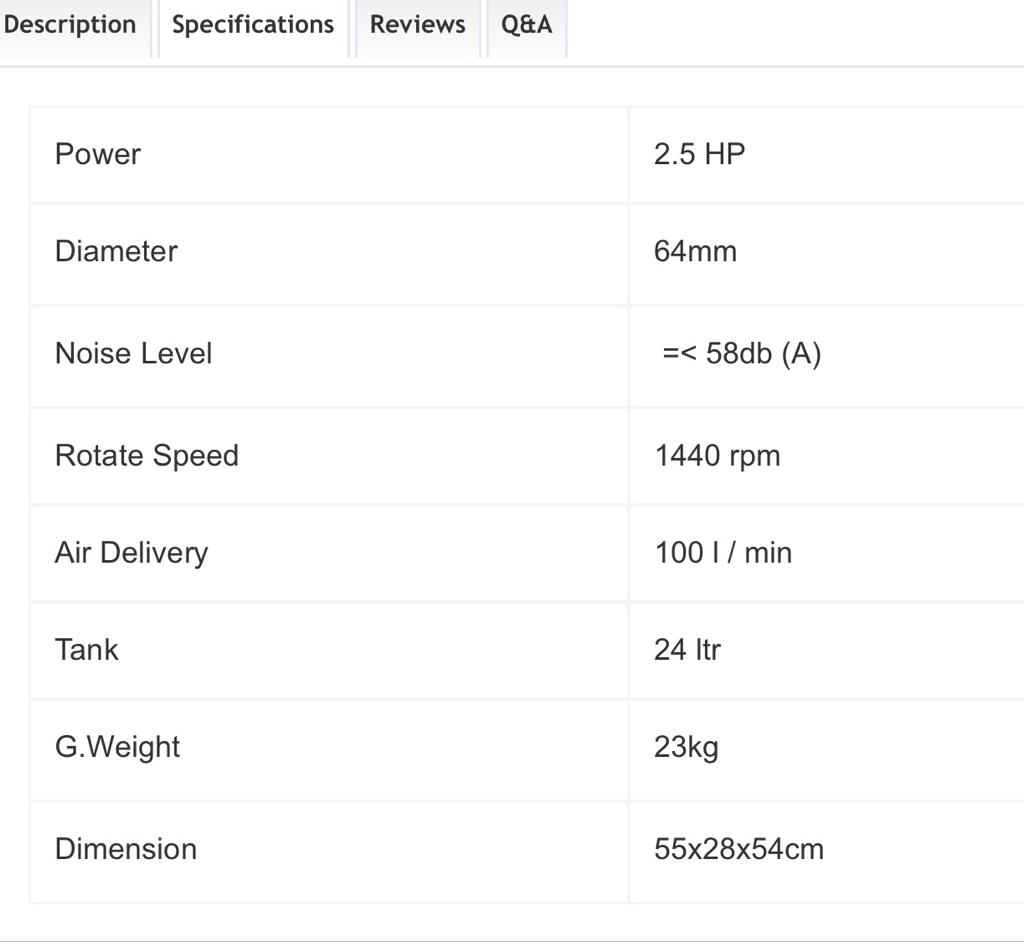
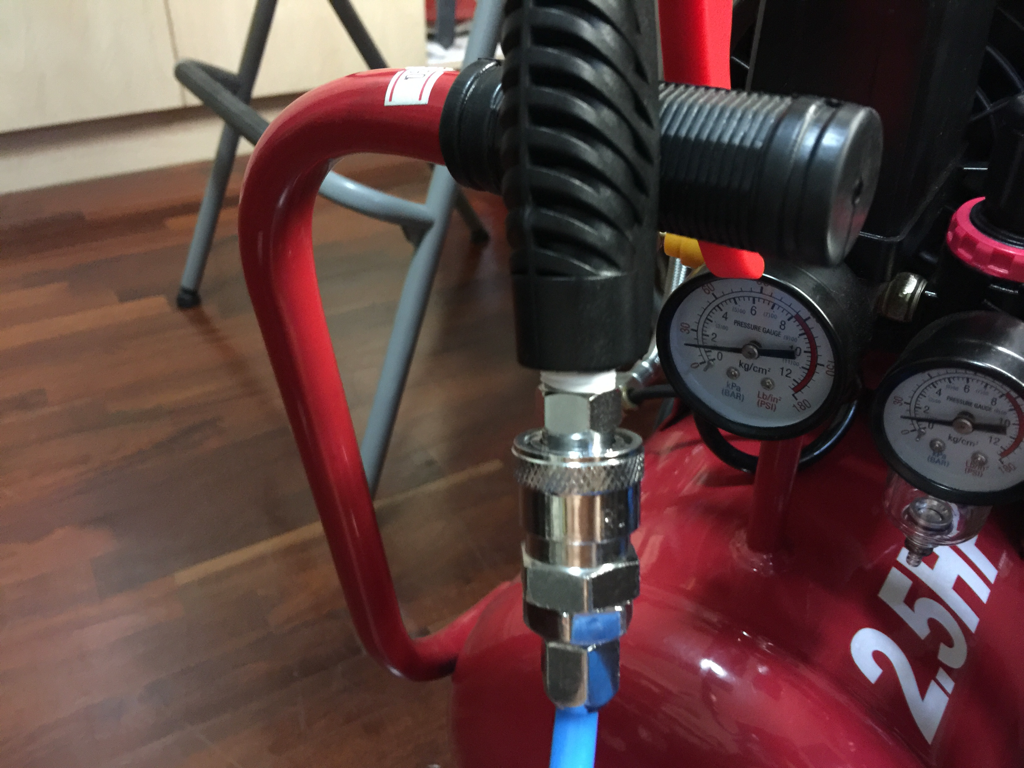
Most of the parts are to be made in steel, except the 2 types of hinges which are aluminium, and the eccentric cam part which is to be in brass. I'll start sourcing for material this week if time permits, otherwise, it will be after the Lunar New Year. Turning in early tonight as I'll be running a roadshow tomorrow. Till the next time... Be greatly blessed! I've been looking around for quite a while to replace my tiny Nardi Silverstone 2 Air Compressor. The Nardi works fine but it has only a 5L tank and the sound it gives out can be quite loud for usage at night when the compressor kicks in. For my work in the shop past 10pm, I've to switch to bottled air for chip clearing, which cost about $15 per bottle. I use up one bottle for each session in the shop, which make no sense as I've an air compressor sitting around. Those silent compressors are way beyond my budget (Mike got a Bambi at SGD 800+ shipped and a pre-owned Jun-air cost SGD 600). The solution then was to find a fridge compressor to replace the compressor on the Nardi. I did come across 2 discarded refrigerators within the last few weeks; one at my work place and one at the bin center next to my block. Knowing too little except from YouTube and being too embarrass to be dismantling something from the bin center, I didn't take any action other than pics. Pride... 🙄 Today, I took the plunge. Terence has this contact selling the Amax brand air compressor at, I think, the lowest price in SG. Best of all, the shop is just down the corner from my work place. After getting the address from Terence, I went over to take a look, hoping that I can test the compressors out. The shop uncle is a nice elderly man with great patience. He explained to me about the use of the 2 compressors he has in the shop and plugged them in to allow me to assess the noise level. I got excited with what I heard; much quieter than what I have with bigger tank. But what got me to jump in to bring one back is the price! The bigger of the 2 - 2.5HP with 24L tank, is almost SGD 100 cheaper than my Nardi! The sound level is given at "at most 58db", where my Nardi is at 73db. Capacity wise, it is almost 5 times bigger. From my search online, Horme is selling the same model at SGD 20 more and a shop at Kelantan Lane is selling it at SGD 90 more! So, in less than 10 mins from entering the shop, I tow it back... Comparing using the specs: When I got home, I quickly took out the new air gun and hose I bought a while ago tonpreoare them for installation. Some teflon tape were used and adjustments made to the spring within the compressor fittings to allow the hose coupling to fit in all the way. I'll be putting the Nardi Silverstone up for sale soon. Should be selling at less than 50% of my purchase price. If there is no taker or the offer price is too low for me to swallow, I'll just remove the compressor and connect the 5L tank to the Amax, expanding air storage to 29L. It will be a fun project.
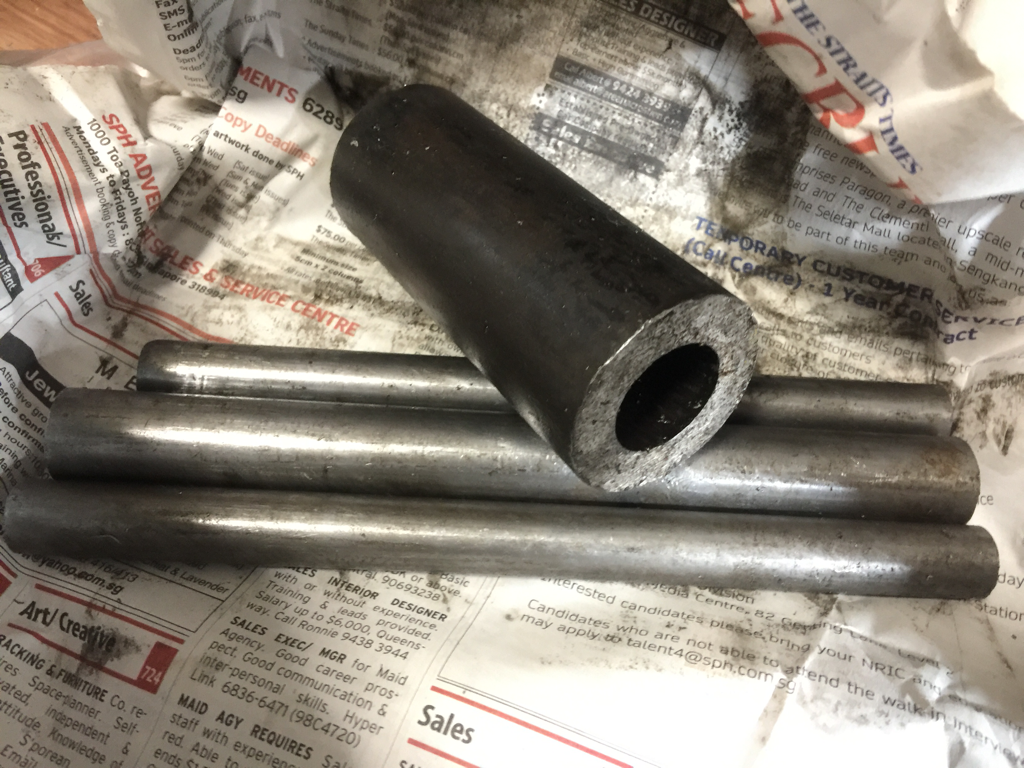
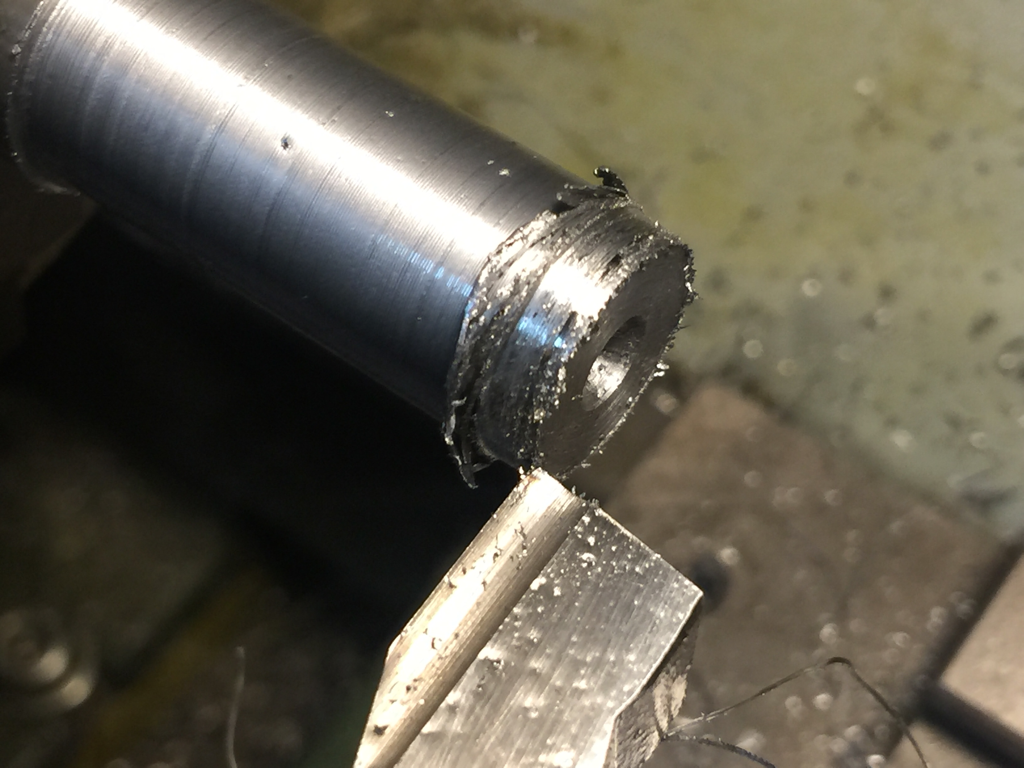
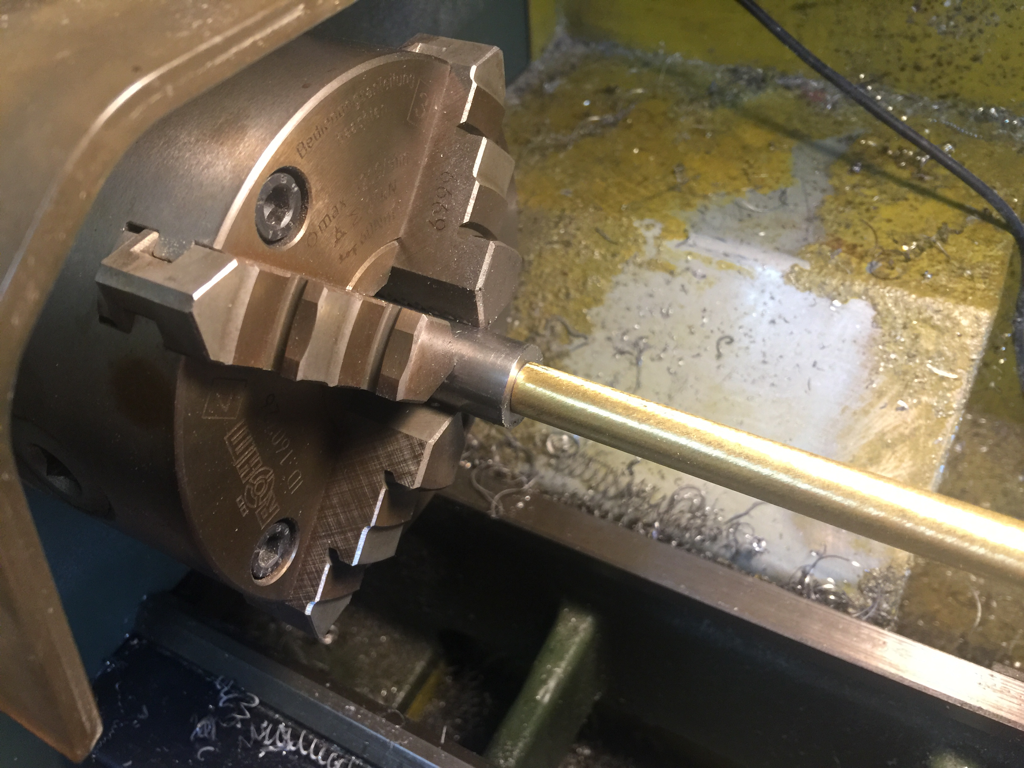
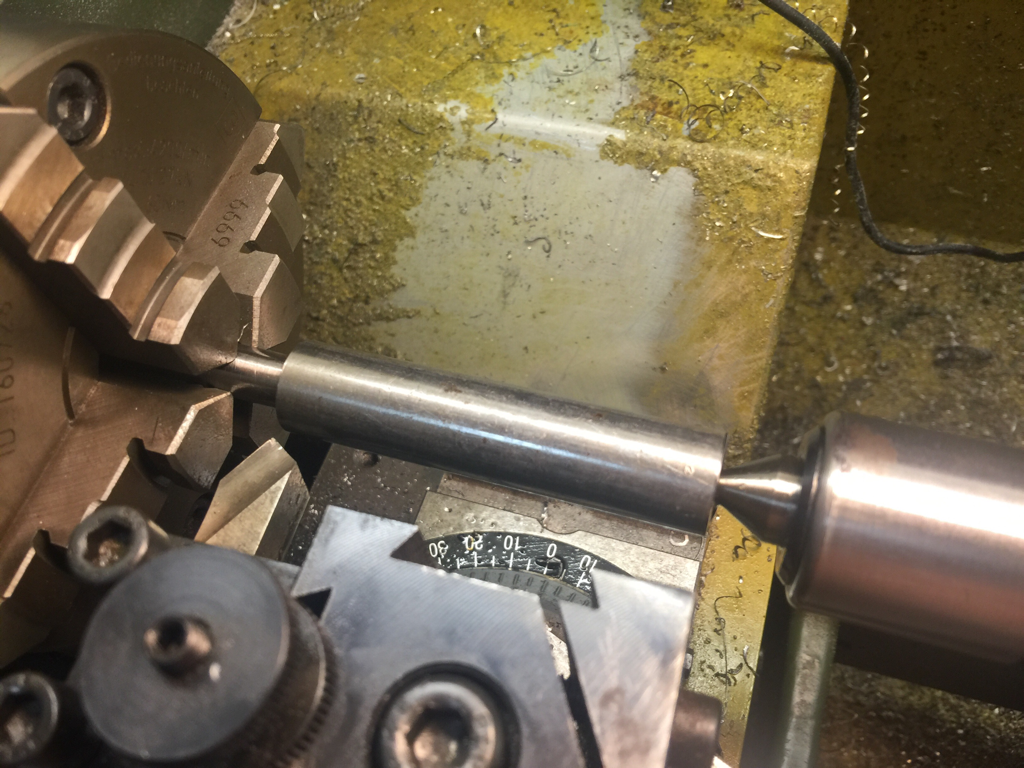
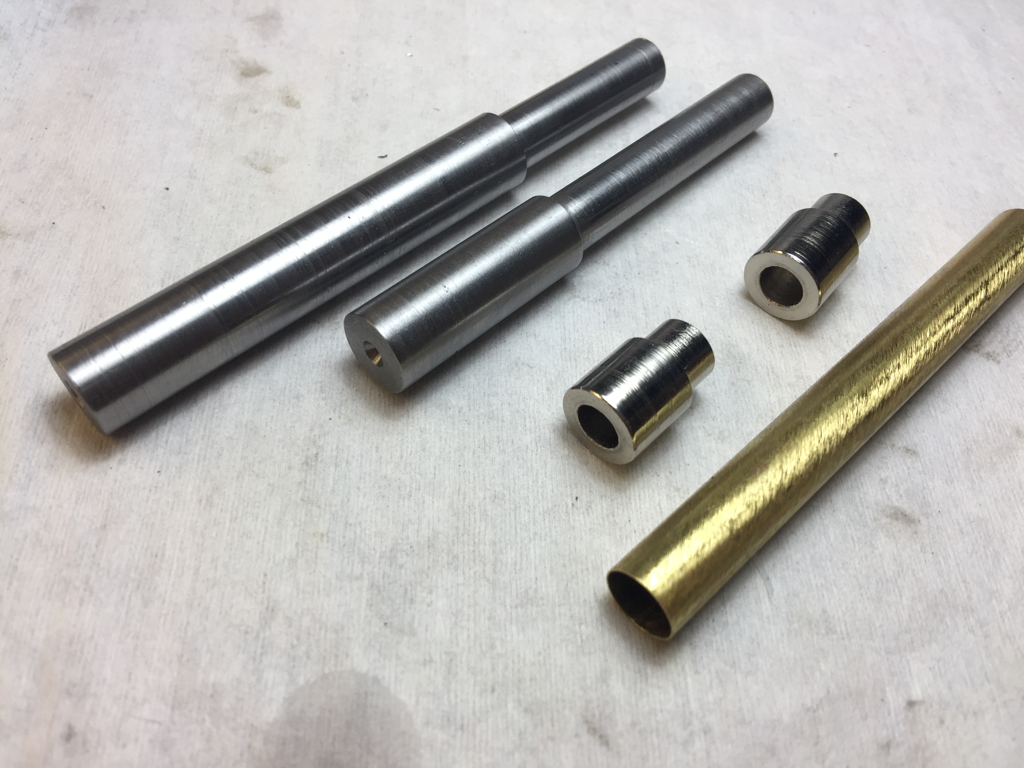
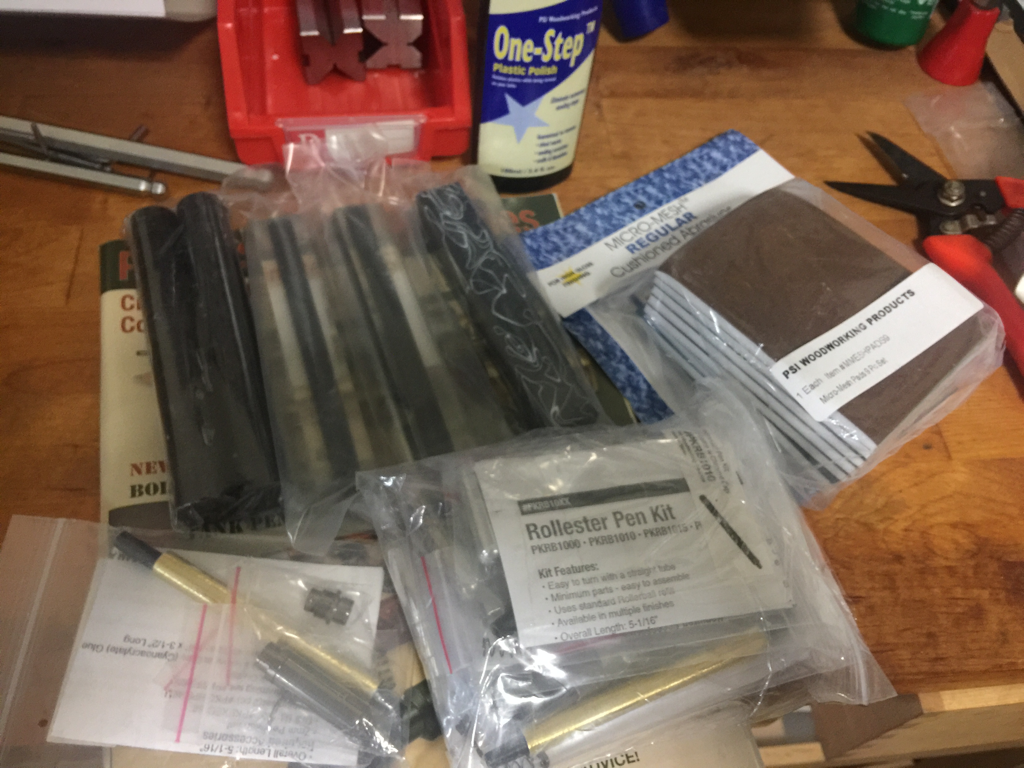
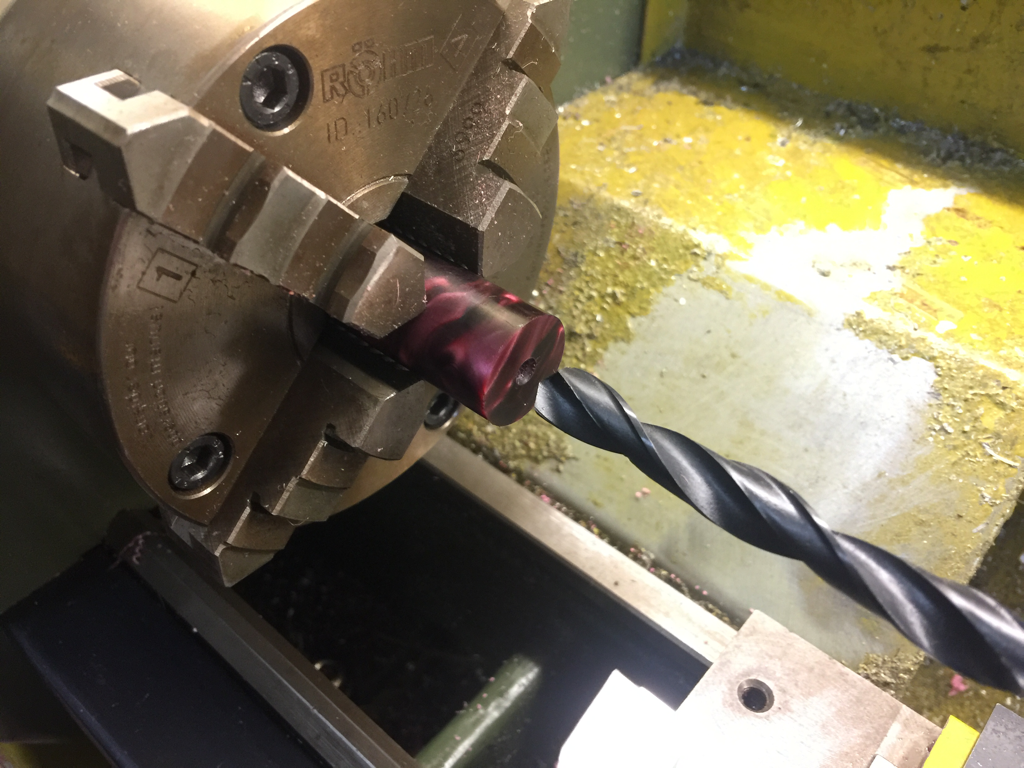
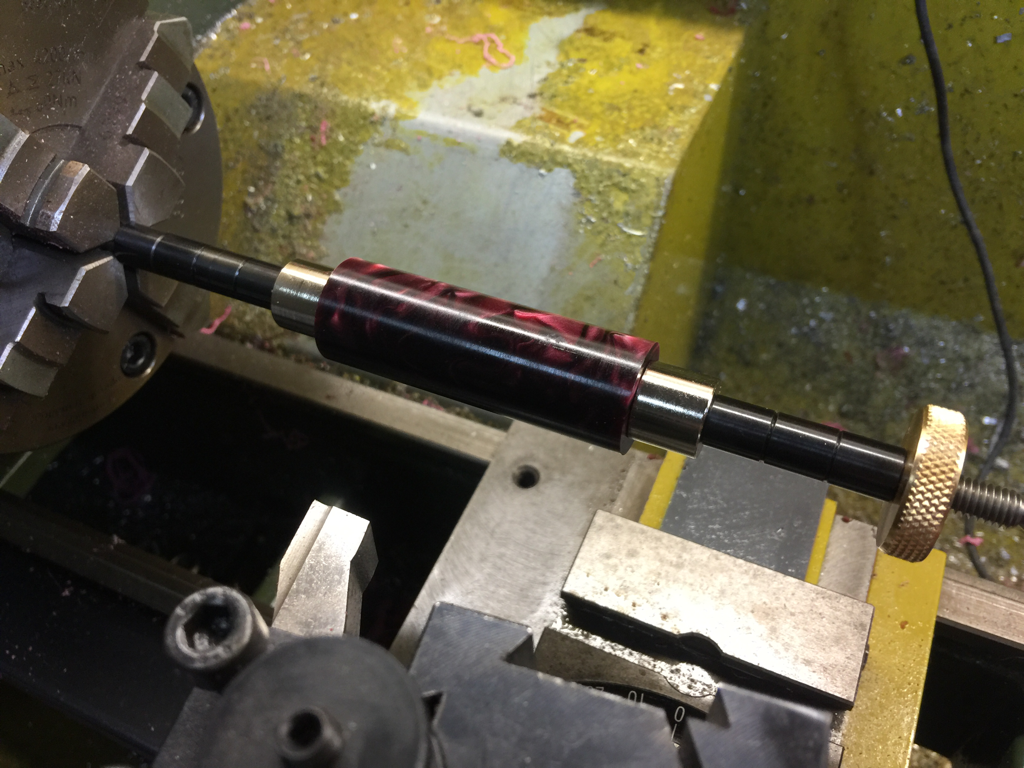
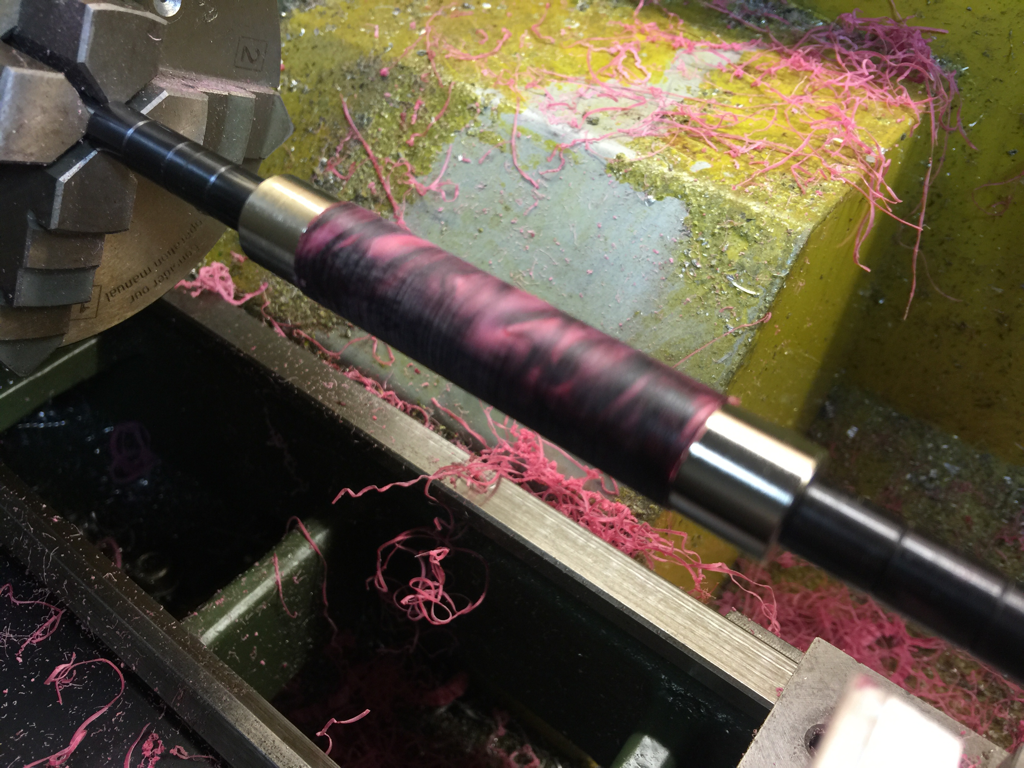
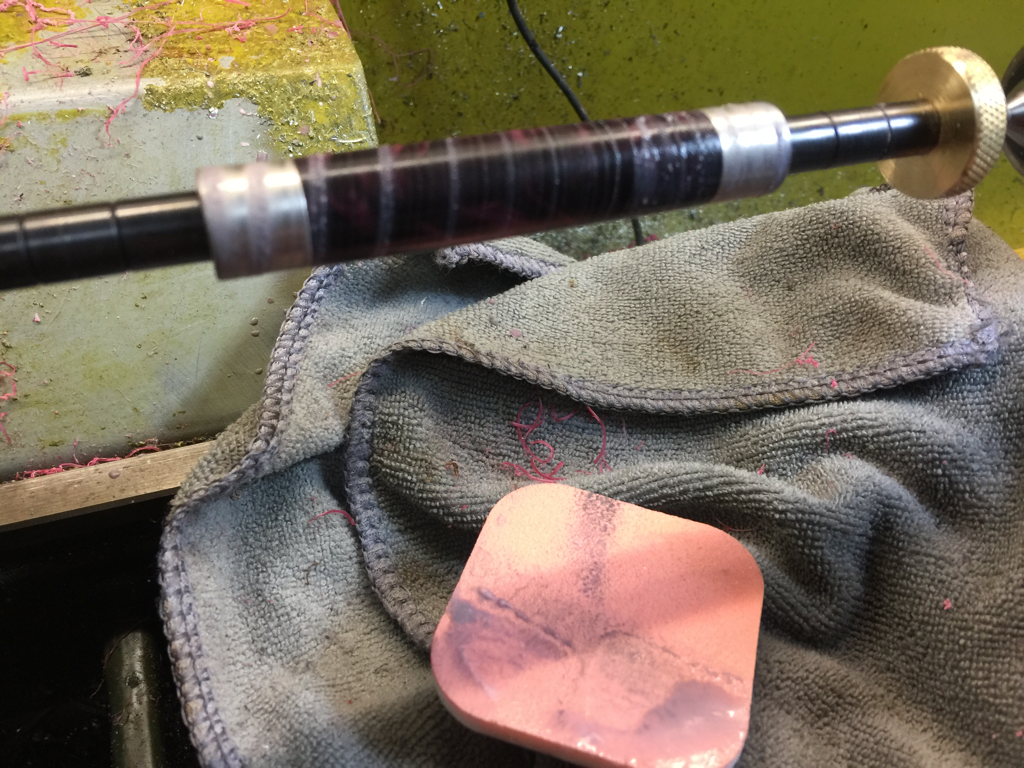
Spent some time in the shop after dinner to finish up the making of the mandrel/bushing for Rollester. Wanted to make it for the Executive pens instead as I didn't purchase the bushing for them. But ended up making them for the Rollesters for 2 reasons, though I bought the bushing for them: 1) while waiting for the Executive pen kits to arrive, I can test them with the Rollesters; 2) the Rollester is slightly thicker than the Executive, I can still turn the bushings down to match what's required later. Here are the pics: That's all I've for tonight. I hope to start on making the Rollester tomorrow night, if time permits. There are also some job requests I've to start working on, which I'm hesitating as I have not tried cutting internal NPT thread before. In fact, I've not tried even the external thread for this thread type. From my research so far, the tool seems to be of the same angle as an UNC. The fact that no taper is needed for the parts, it could jolly well be a UNC except maybe the pitch. Got to read up more about it. Please share if you know something about cutting NPT. Appreciate that.
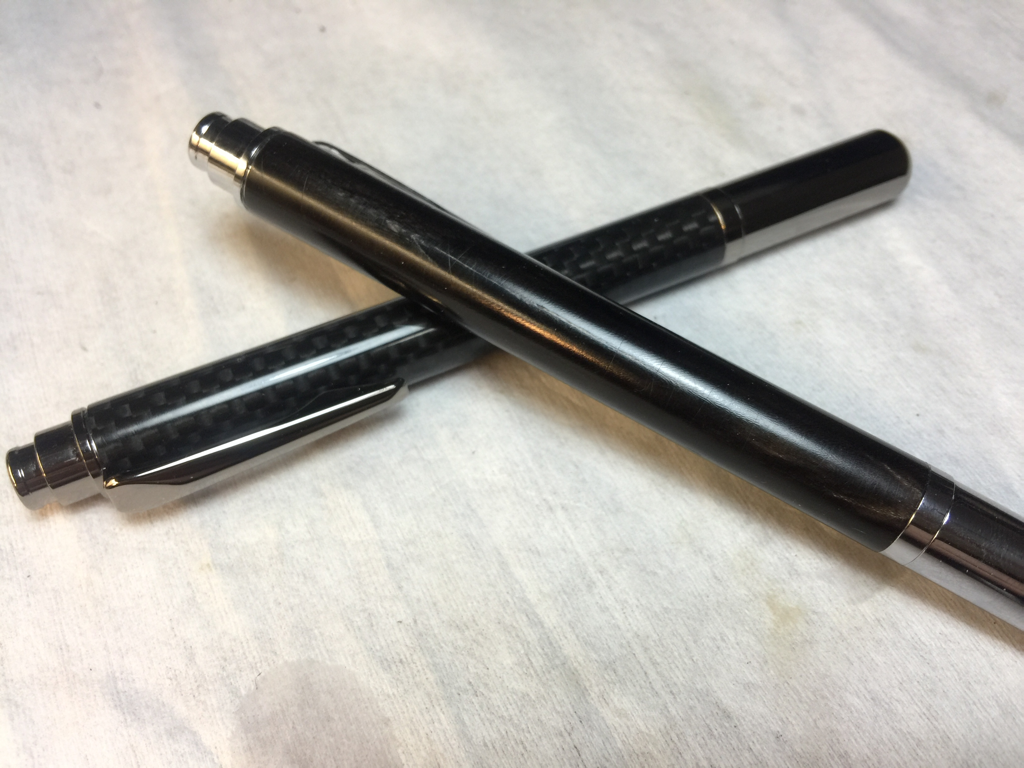
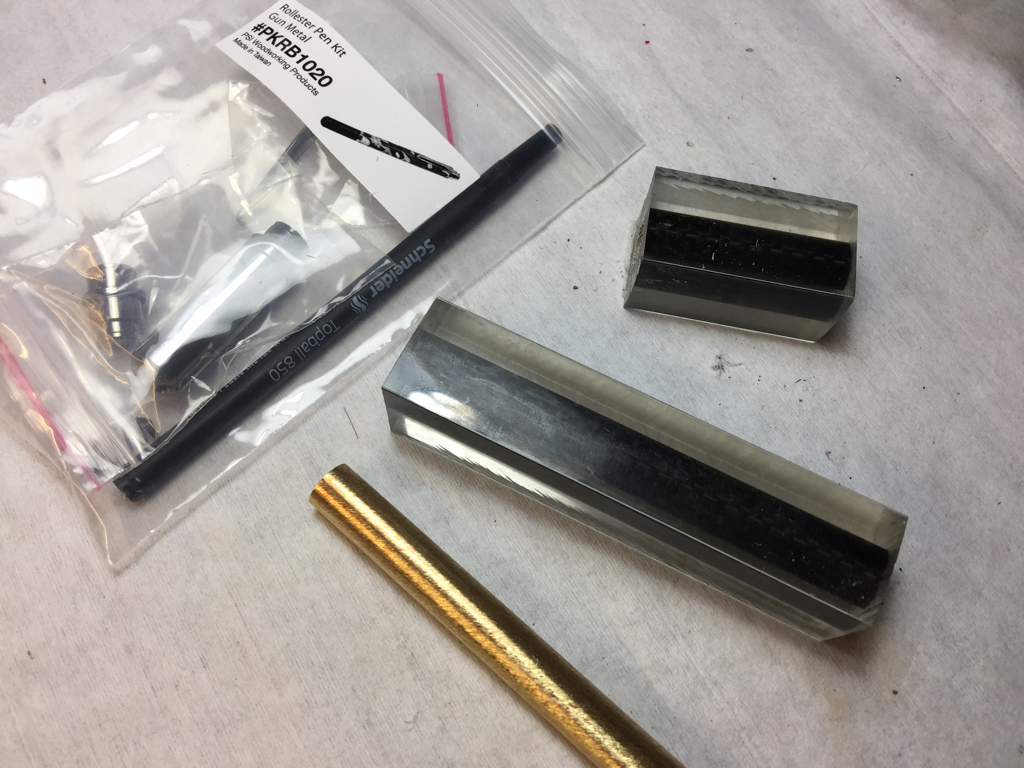
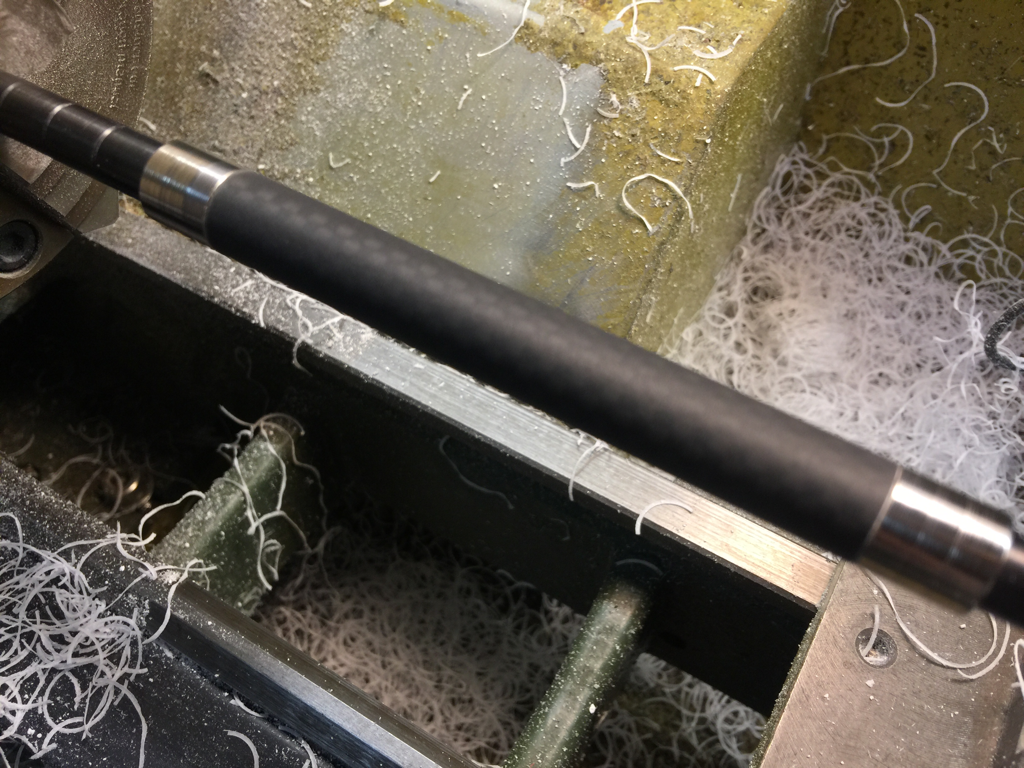
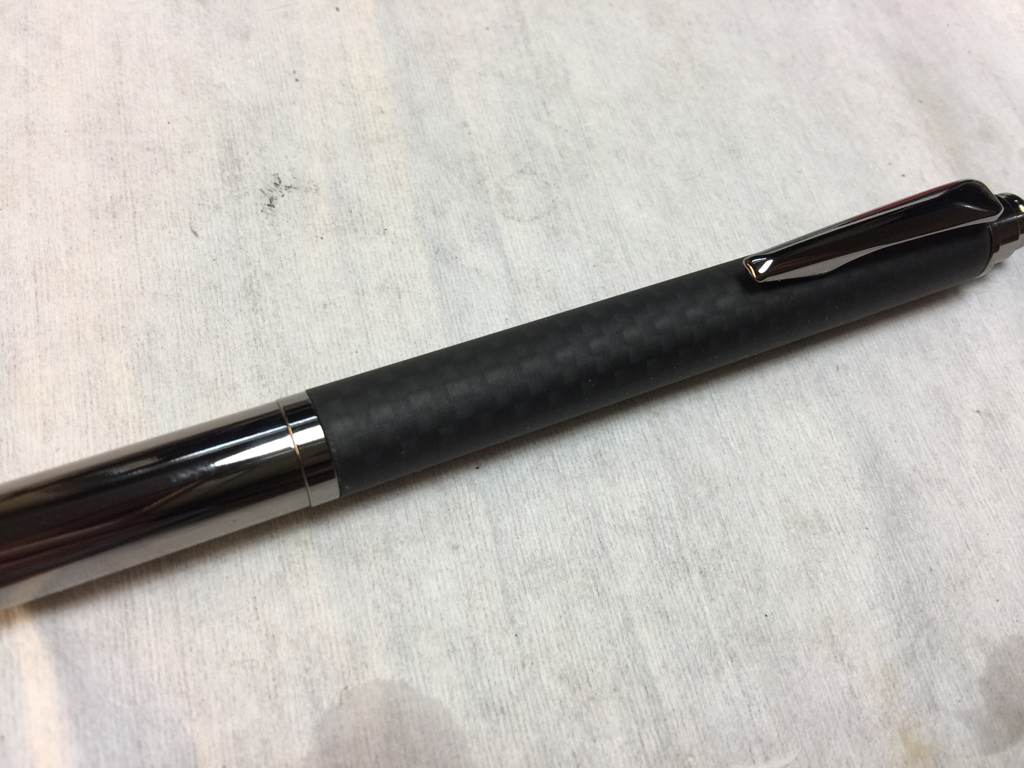
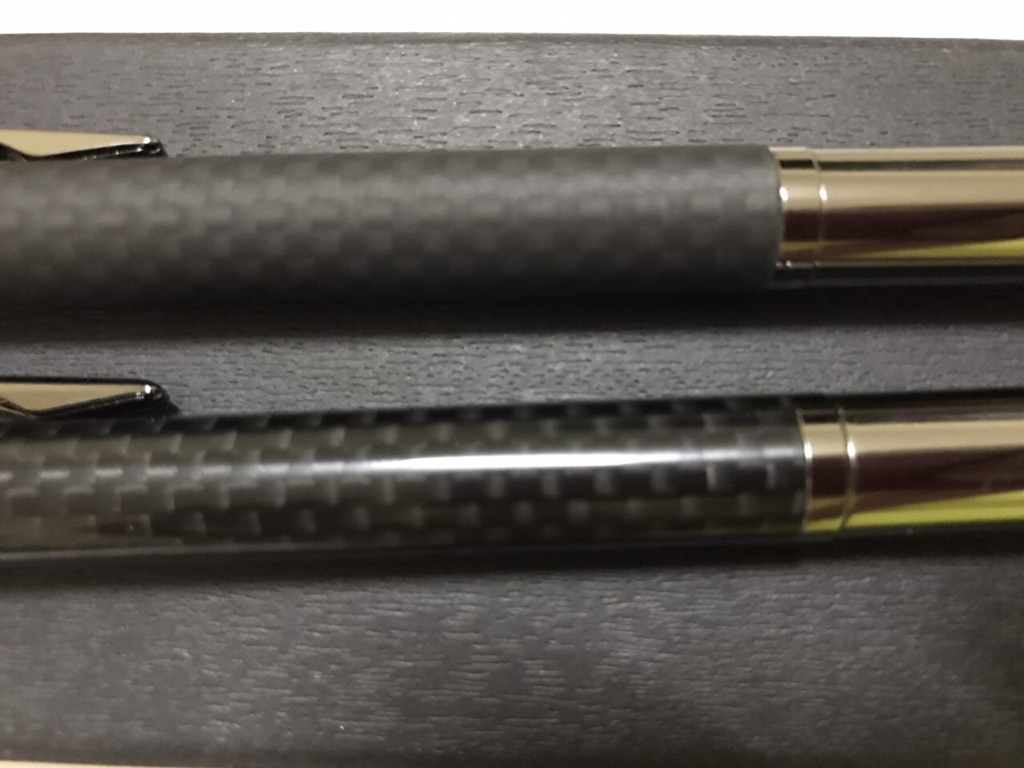
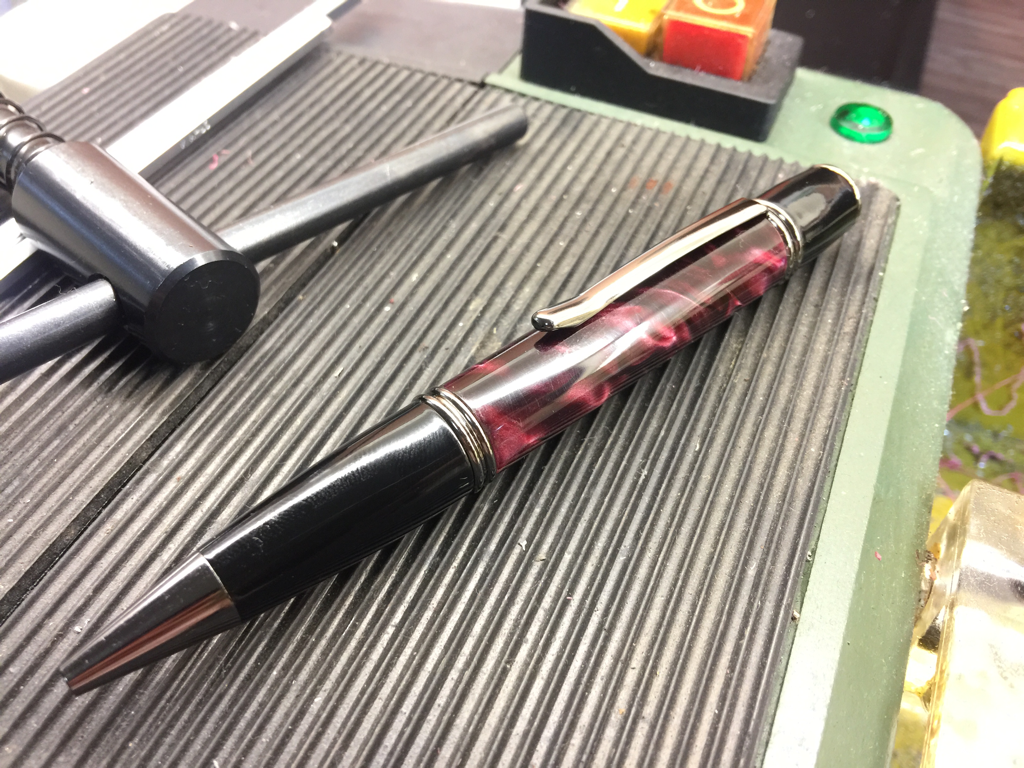
The request came from a buddy at work. He wanted something lighter, not as elaborated, and "modern looking". We went through the catalog together and he picked up the Rollester as the style of pen he would like to have. Selecting the blank tool a while. He was aiming for something with matte finished and black, but settled for a carbon fiber blank. The CF blank cost about 3 times more than a typical acrylic blanks I've used so far. Later, he spotted another blank which he would like to try out. It is not plastic or wood but River Buffalo Horn. Quick read of the reviews revealed that this thing stinks when machined and crack easily. Wanted to try out new material, I relented. The packaged arrived 2-3 weeks after placing of the order. This round, I opted to ship via ezBuy's US ship for me to reduce the cost of shipping. My first shipment of slightly lighter weight cost me 47% of the value of my purchase. Too expensive but the shipment arrived a week earlier and to my door step. I was extremely careful during drilling and turning of the 2 blanks because of what I read online, them being brittle, as they cost much more (the horn is 2 times more expensive than the regular blanks I used so far, even after promotional discount). Turned out, they are not as bad as the reviews. The CF is easier to work with. I only encountered some issues with the horn when drilling it. It gets hot easily. Some water was used when drilling to keep the temperature down. But i I love how this two turned out. Nice! Took some pics to show their new owner and he flew down at 4am in the morning to pick them up! The next morning, I decided to turn the other CF blank I'd left. When I was about to finished it with sanding and polishing, I notice the nice matte surface beneath the dust. Took a damp paper towel to clean things up a bit. It struck me, from what I saw, that this may be what my buddy wants. So I took some pics to show him. Immediately he said yes!!! He sent me this pic after picking up the pen and commented that the matte finish is much nicer to him. I still have 2 more kit left in the Rollester series to
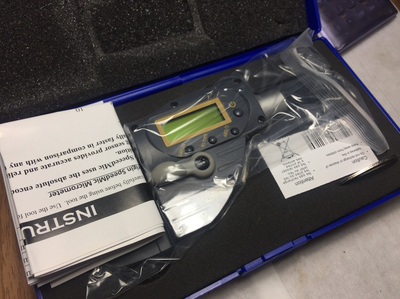
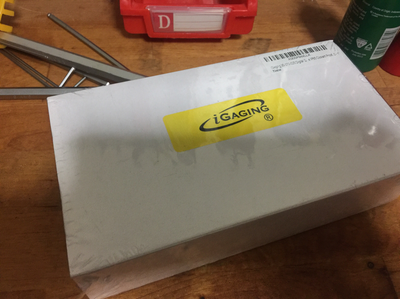
turn, but would likely to wait for the next shipment to test them out with other color blanks to see how it will look in brighter colors. Picked up the iGaging mic a moment ago. Bought on Amazon through ezBuy. Packaging was ok; a box within a box within a box... that really added to the volumetric weight when computing shipping.
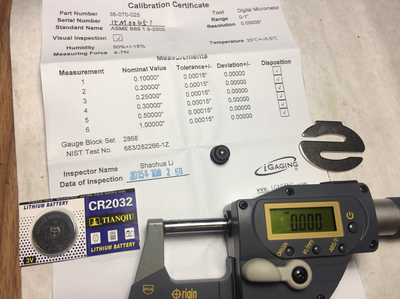
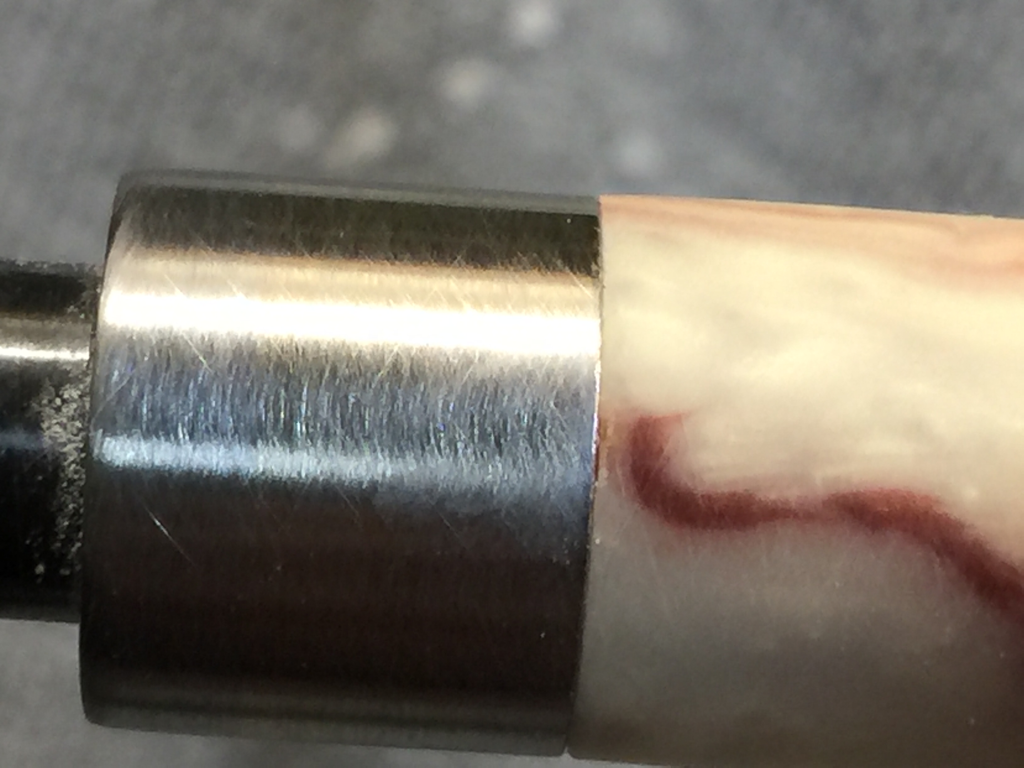
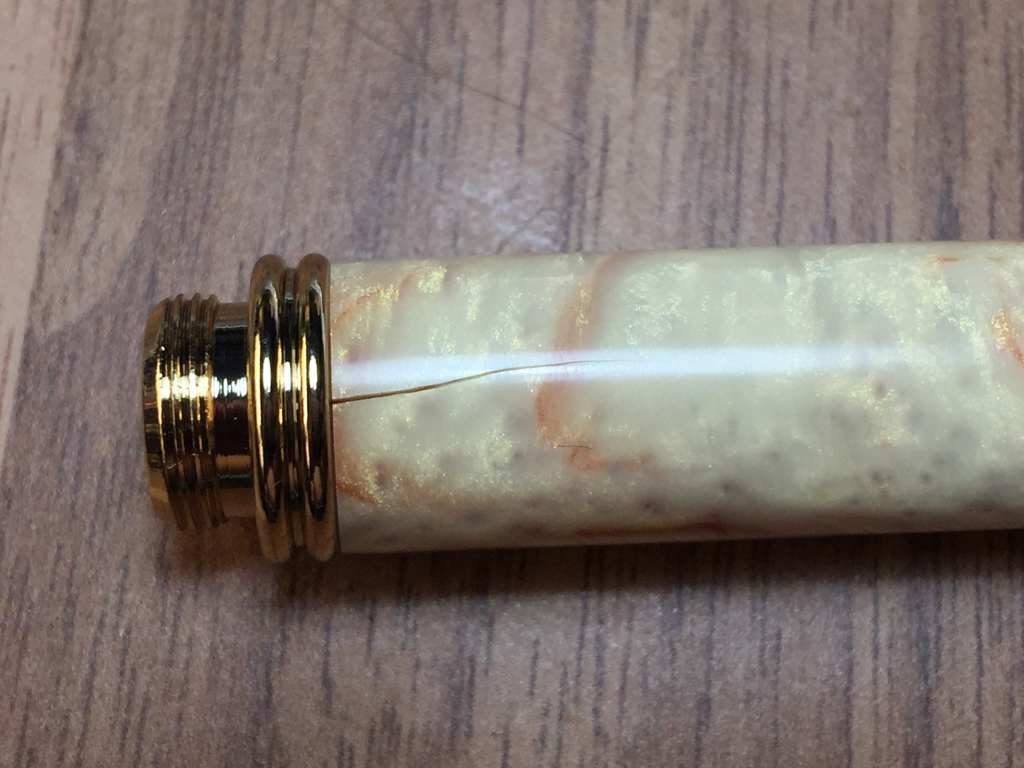
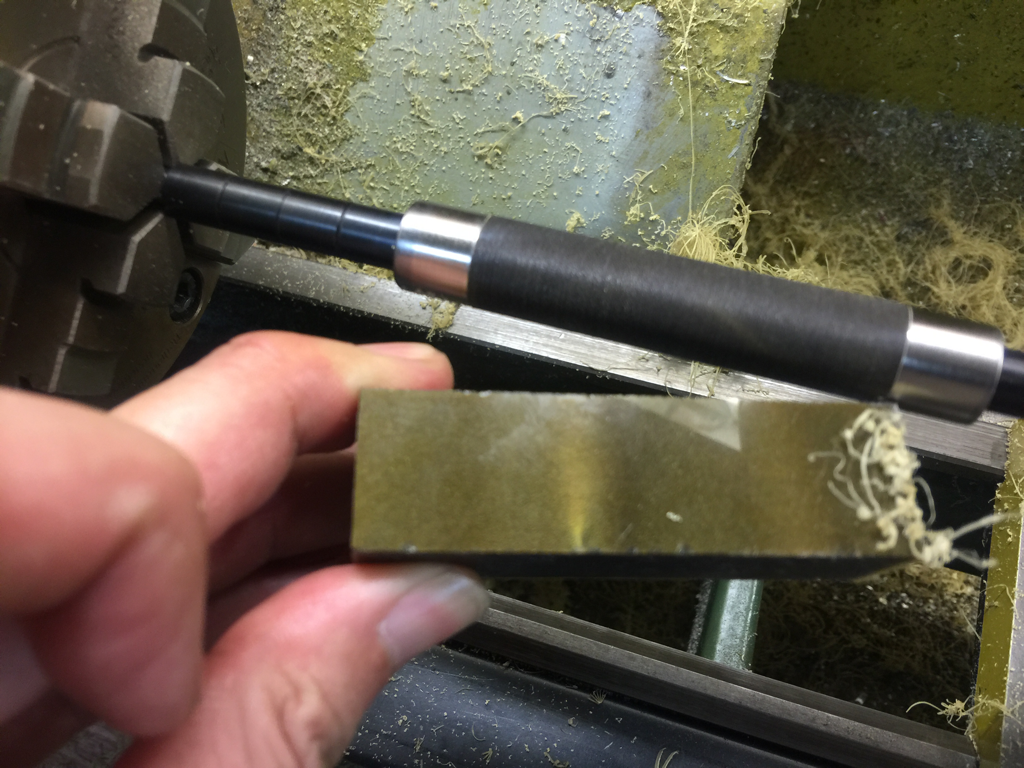
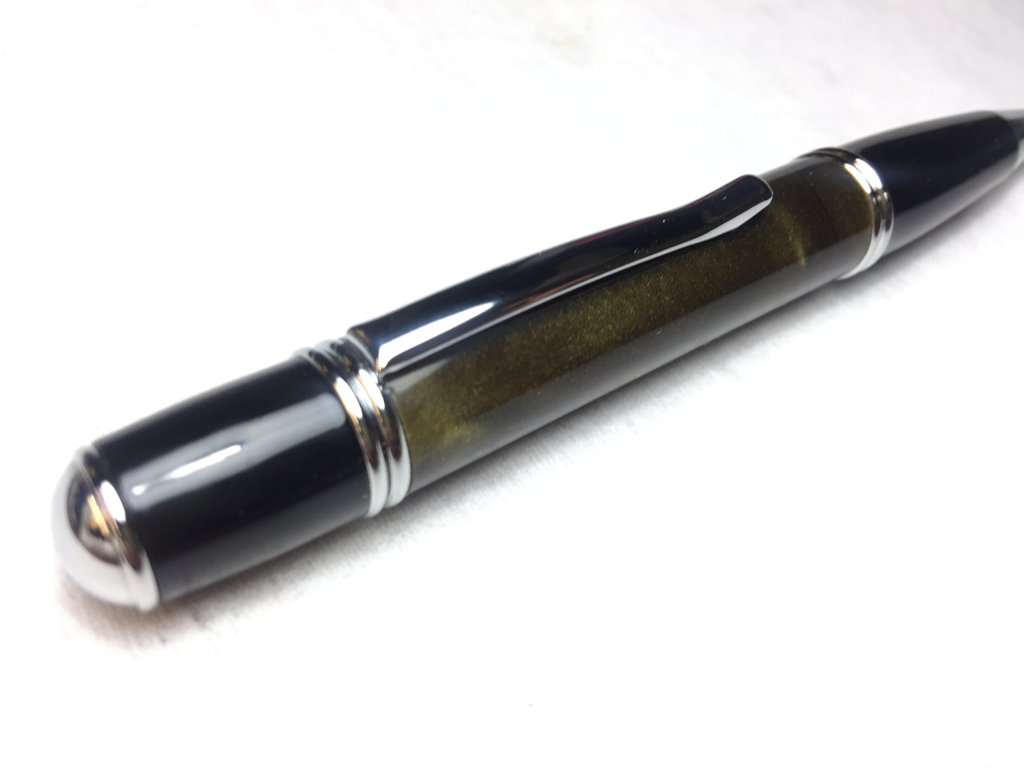
The mic came with a cert of inspection. The numbers look good. The mic is a tad heavier than my dead Mitutoyo, and a bit of boxy side with thick side profile. I've to get used to holding it to operate the lever. My feel about this mic? Frankly, I'm not as impressed as those who reviewed it on YouTube. Using it is faster than a normal mic but I didn't get the zero reading all the time when the anvils were closed, though I did get 8 out of 10 readings. The readings were within specs though, under 0.003mm. Unlike the Mits, the plastic parts feel rather... "plastic"... lol. China-made feel is the best way to describe this. There is no mention of where it was made, so I couldn't be sure. Came with 2 batteries (1 installed in the mic). Oh, did I mention that the LCD is a little dim? Included in the box is a rubber cup with ball bearing. It is to be placed on the anvil for measuring on irregular surfaces (I think...). Maybe it's the familiarity of feel of the Mitutoyo mic that I felt clumsy when using the IGaging. Gonna turn some pen bushings soon for 2 pen styles. It will be put to more use and hopefully, I'll get the hang of it. This is just going to be a quick update on the series. I've been reflecting on what I can do better for brittle materials that chip and or crack. The chipping can be minimized by slowing down the feed when I'm about to drill through the blank during drilling. When turning, same thing applies; slow down the feed when approaching the end of the blank. The Crushed Gold blank is so brittle (to me) that the care I exercised still resulted in some chipping at the left end of the blank when turning. Repair was made using superglue to fill the chipped portion and re-sanding the blank. Chipping also occurred when I was sanding/polishing the blank at the ends. i I believe this was due to the grit of the polishing pad catching the rough part of the end. I've to remind myself this. On the cracking of the completed barrel when pressing in the hardware, my reflection of what I did reminded me of a couple of videos I watched on YouTube. The videos showed them using a sanding disc of sort in the chuck of the lathe and a transfer punch about the size of the ID of the tube in the tailstock chuck. The blank is inserted into the transfer punch which acts as a guide. When the blank is presented to the sanding disc held in the headstock, will have to be square (or very close to square) to the sanding disc. This setup would produce a square face (on the blank) relative to the tube in the blank. My setuo, not wanting to dig out a piece of aluminum to make the sanding disc: Extreme caution was taken when I was pressing in the hardware. This time, it went without any mishap. A coupe of pics were taken of the pen. It seemed that I didn't have an eye for matching the hardware to the color of the blank. My wife and buddy didn't like how the whole thing look. I need to learn how to do the matching. Hopefully, there is a general guide as a starting point for me. Anyone can help? Using this blank as an example, would it match chrome or silver better?
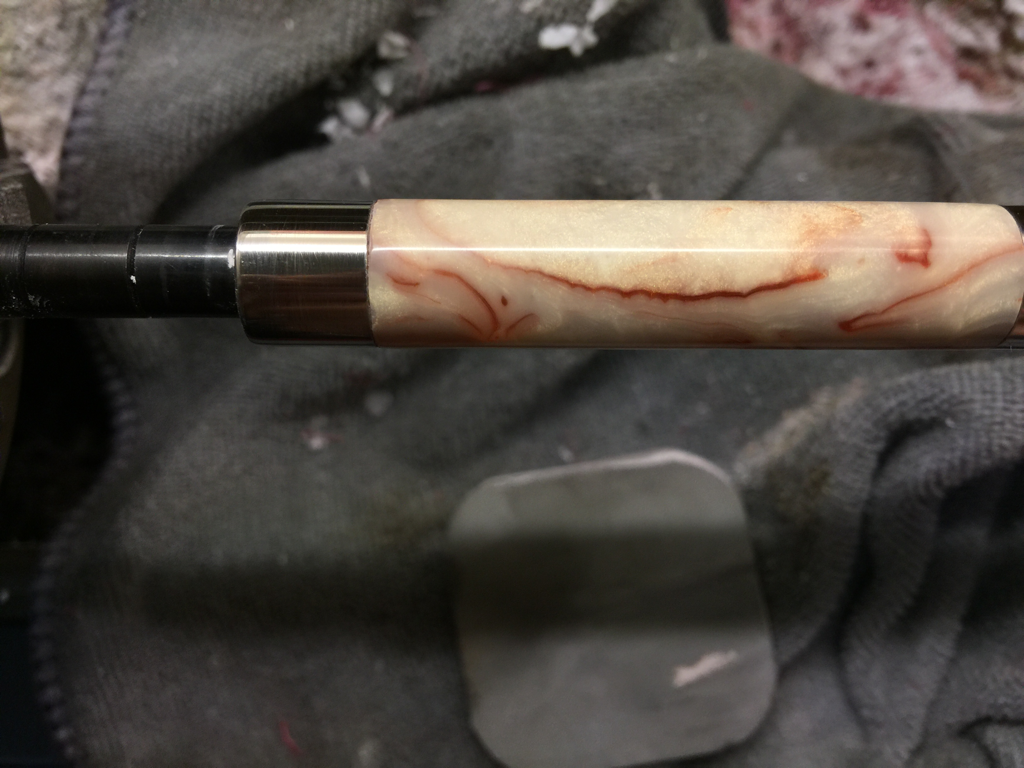
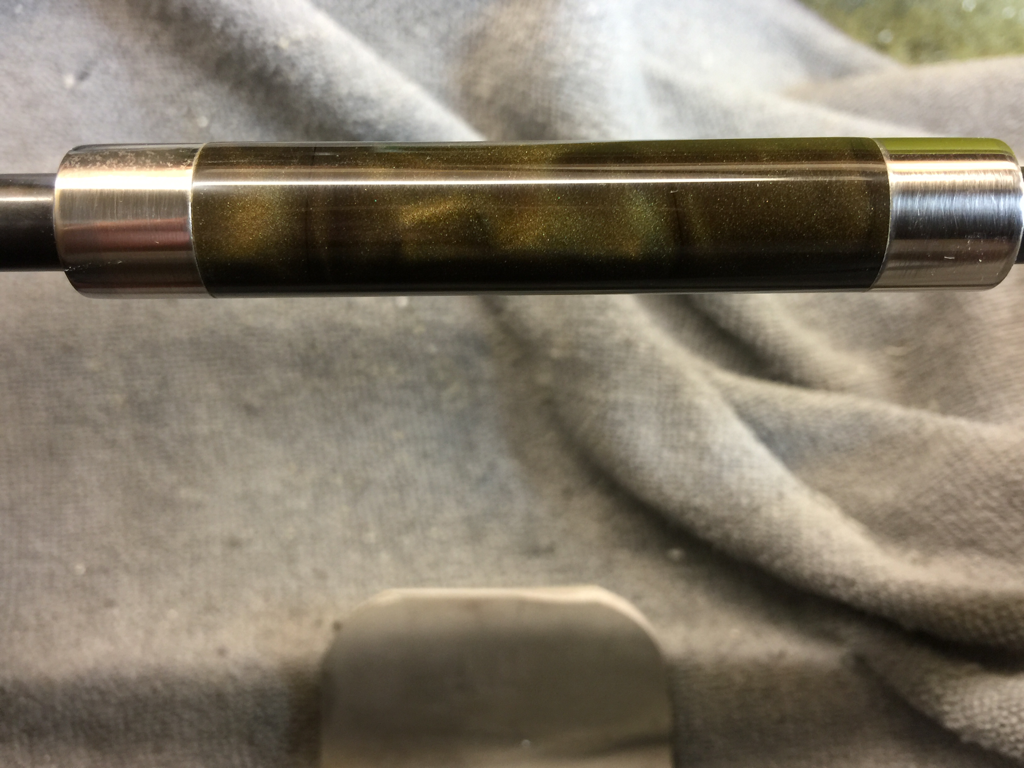
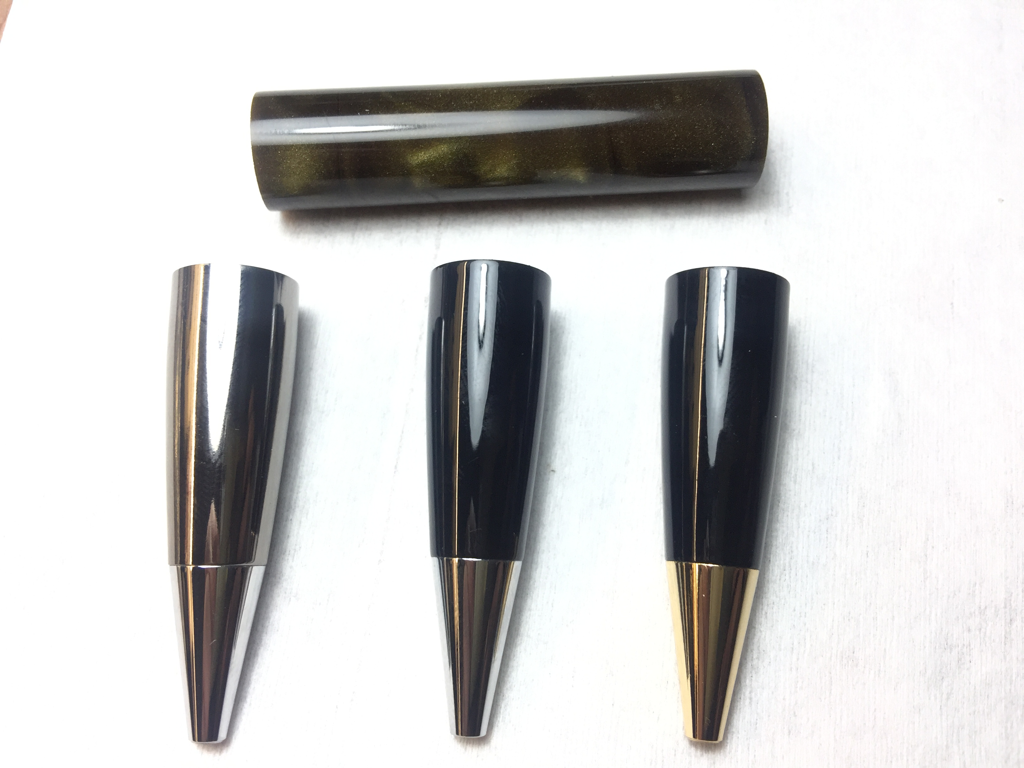
The 2nd Gatsby Grande was completed yesterday night. I started with the Acrylester Crushed Gold blank but made a mess out of it. It didn't drill right, getting heated up very quickly, and chipped every so often. Did some search online and found that for brittle blank, spindle speed has to be kept lower and feed slow. It took me very long to drill through the blank for the brass tube in the lathe, backing out often to clear the powdery substance that clinged into the drill. I think I took almost double the time to drill through this blank than the earlier Aquapearl blank. Sanding and polishing it was as per the first pen, but nice color and "pattern" popped right out. But.... it cracked when I was pressing in the tip coupler. What a waste.... in order not to waste time, I cut up a section of the Dark Cosmic Bronze blank to start over. This one, like the first pen made, was much easier to work with, and quicker too. The only thing that I didn't expect is the color after polishing; instead of bronze, I get some kind of greenish and black swirl. But it is still a very nice color that goes well with the style of the pen. Enough said, pics time!!! For the time being when buying more blanks to make more pens, I'll make sure to read the reviews from others and avoid harder to turn materials till I gain enough experience to have another go at it. I'm quite happy with how the 2 pens turn out, they are definitely pens that I would want to have in my shirt pocket. I'll be getting more pen kits and blanks from PSI to make a variety of pens with different styles. Once I see something I really like, I'll ditch my Mont Blanc and use what I made.
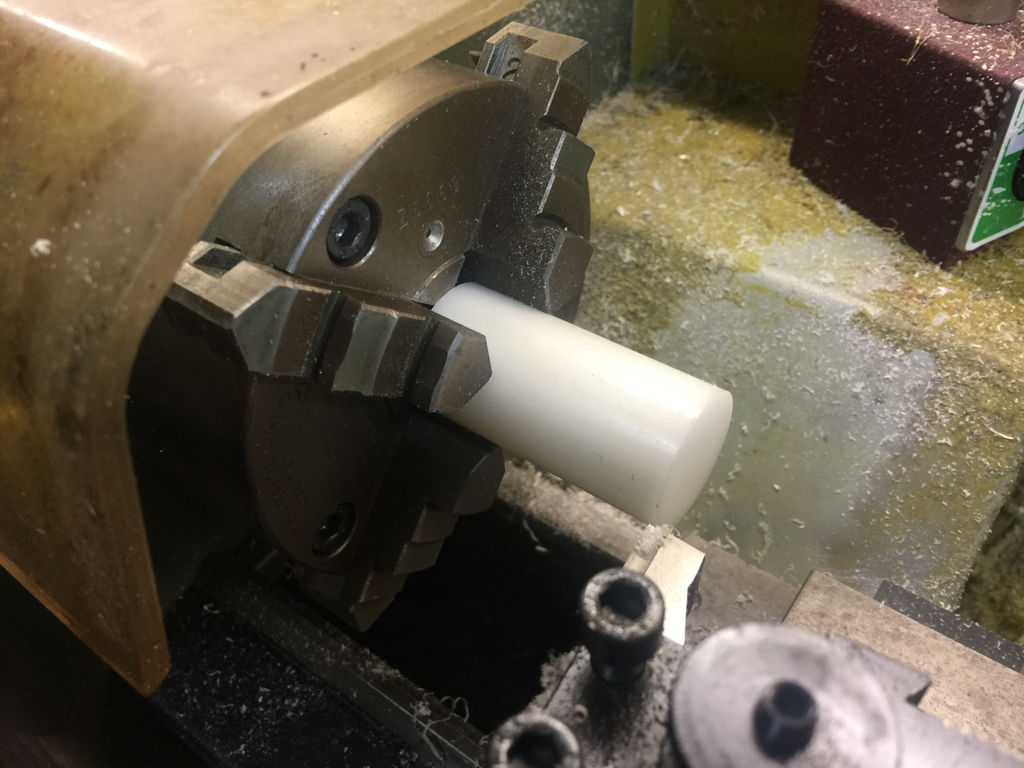
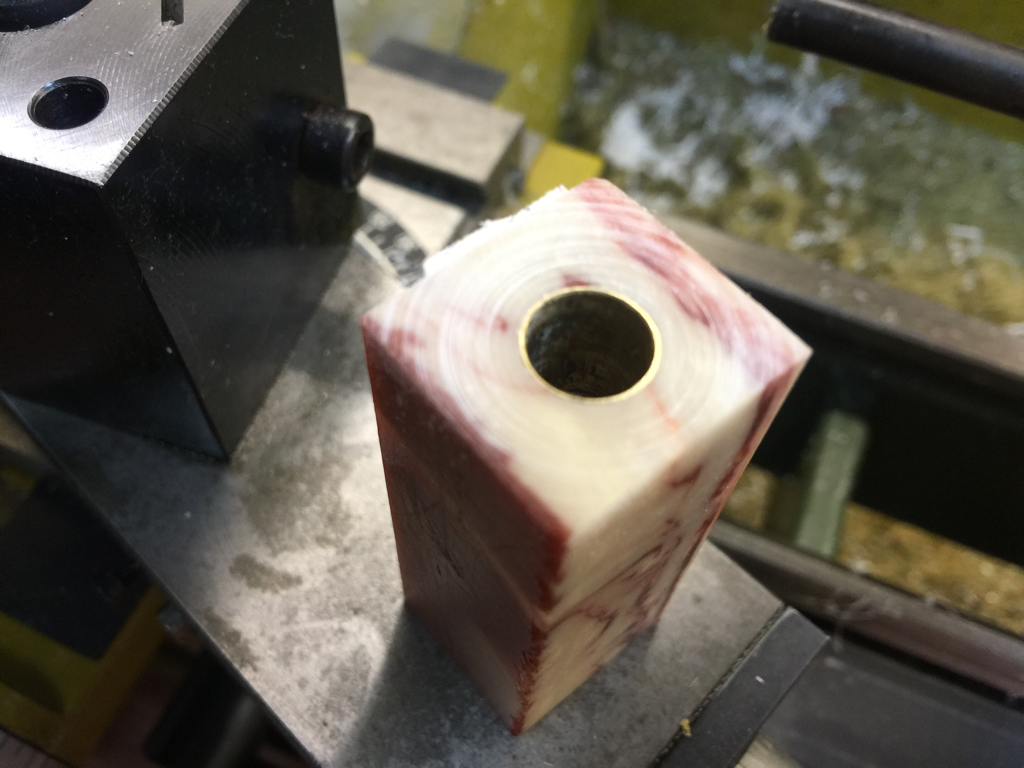
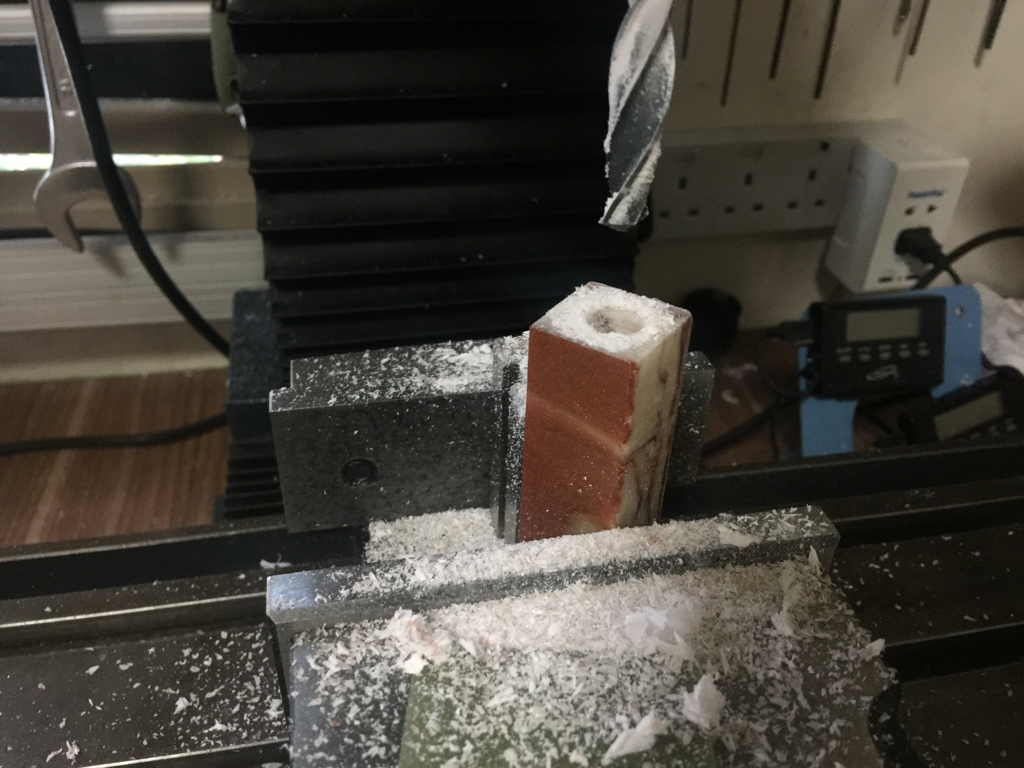
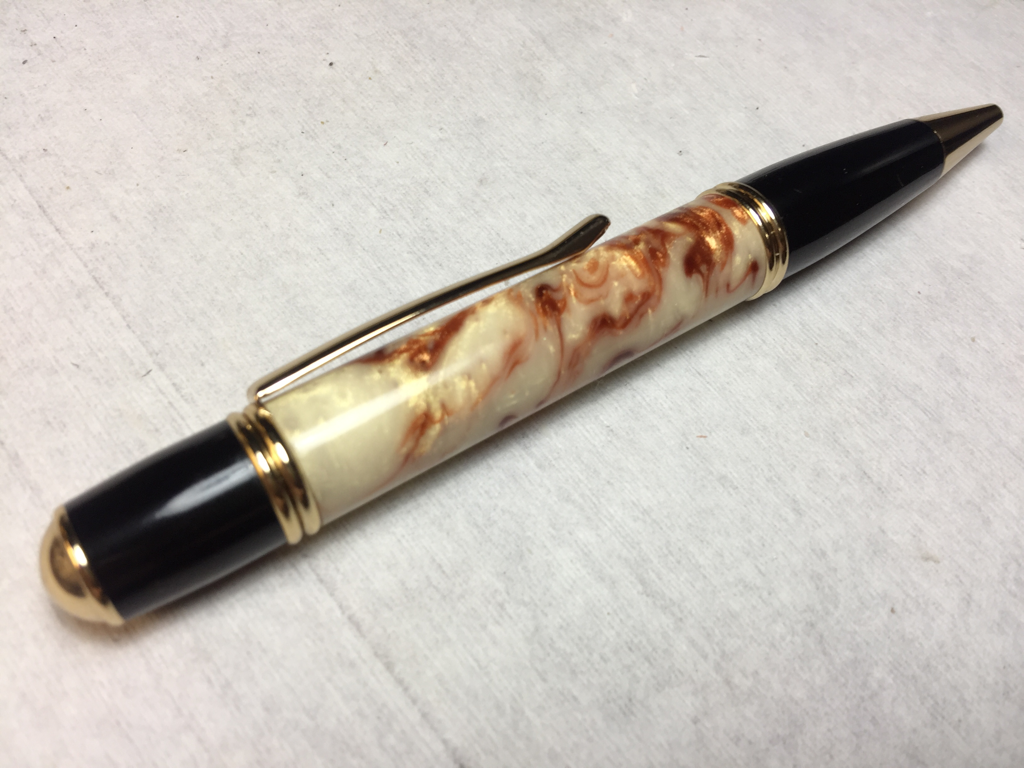
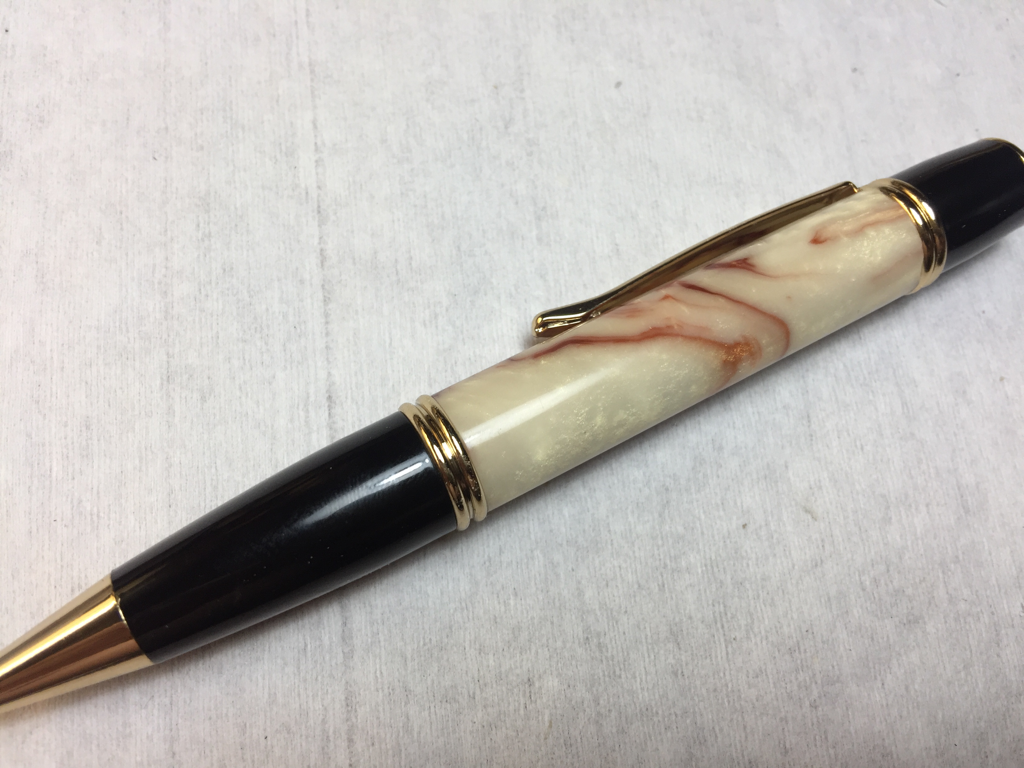
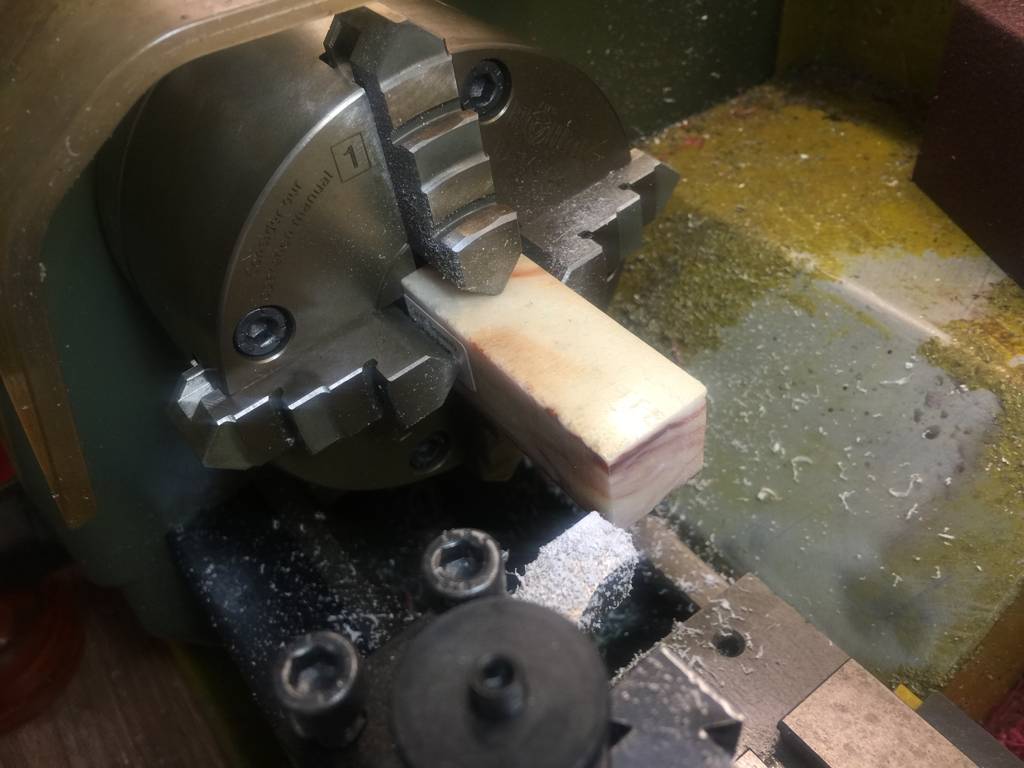
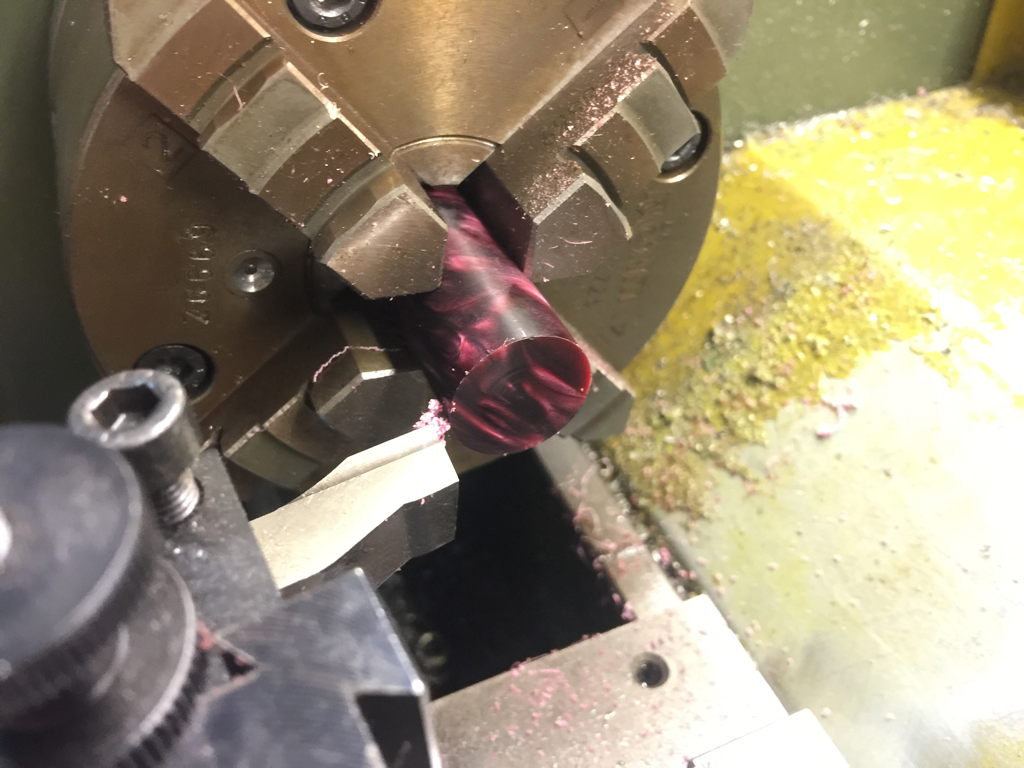
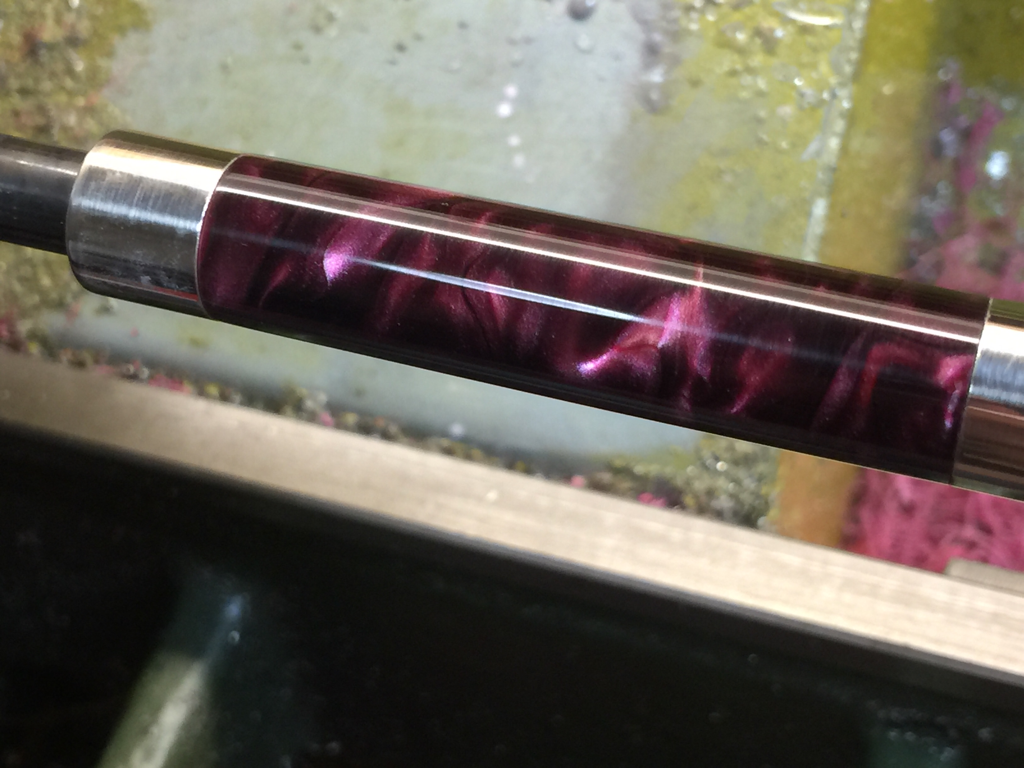
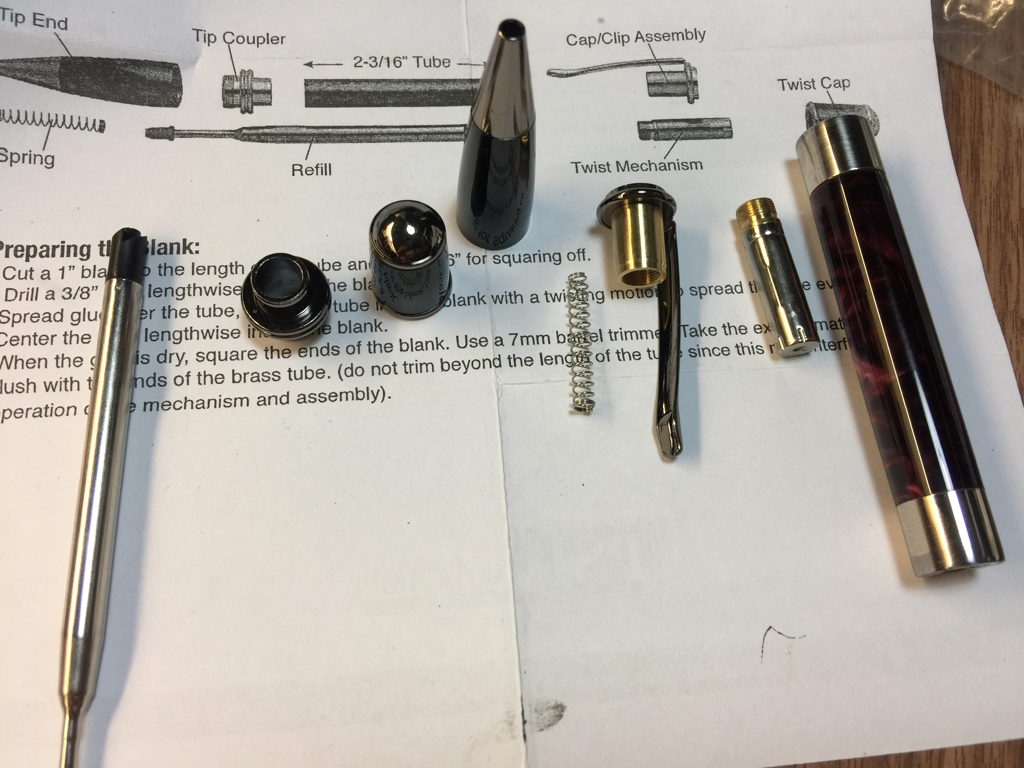
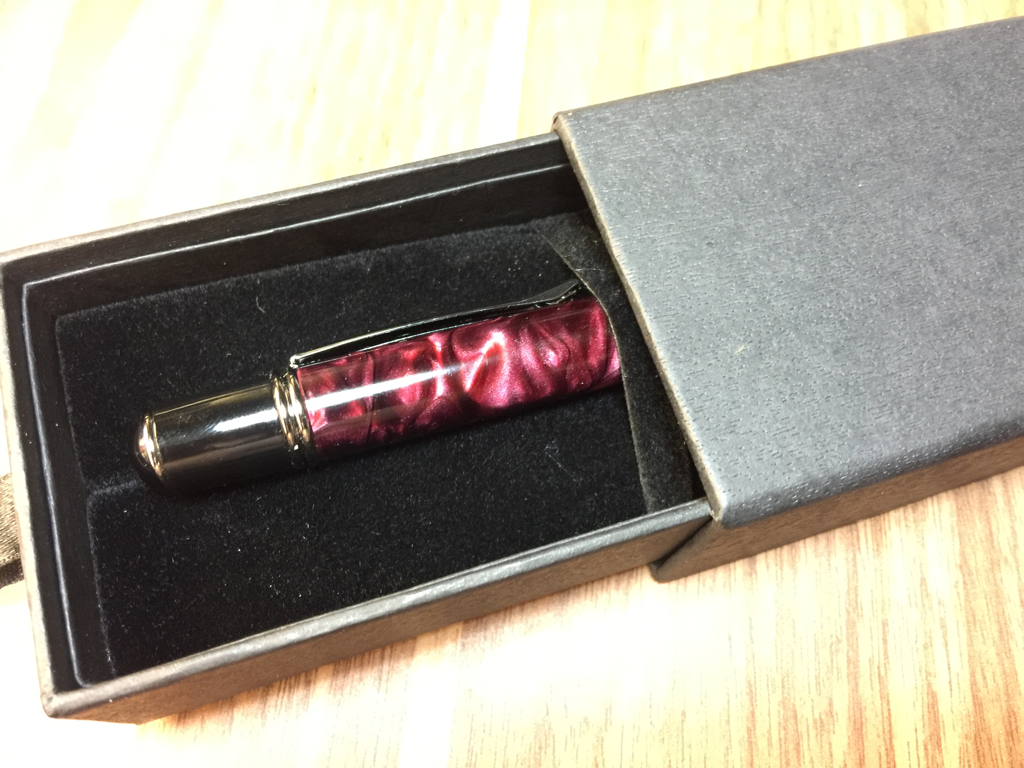
Anyone wants to buy a custom made pen which is one of a kind? lol... Till the next time, be greatly blessed, highly favored, and deeply loved! God bless! My very first self-made pen, a Gatsby Grande. Turning the pen barrel can be done in one session, but I did it in two; 10 minutes before going to work this morning and about an hour to an hour and a half at night. Some minor hiccups along the way but it all went well - I'm very pleased with the result. I'll let the pics do the talking on the what I did to get to the final stage.  I don't have CA glue or superglue at home, so I mixed up some JB Weld and applied it on the brass tube. The tube was then inserted into the drill hole in the blank with twisting motion to spread the glue. According to the instruction for JB Weld, it cures in about 4-5 hours. The blank with the brass tube inserted was set aside to dry while I head to Office to work. 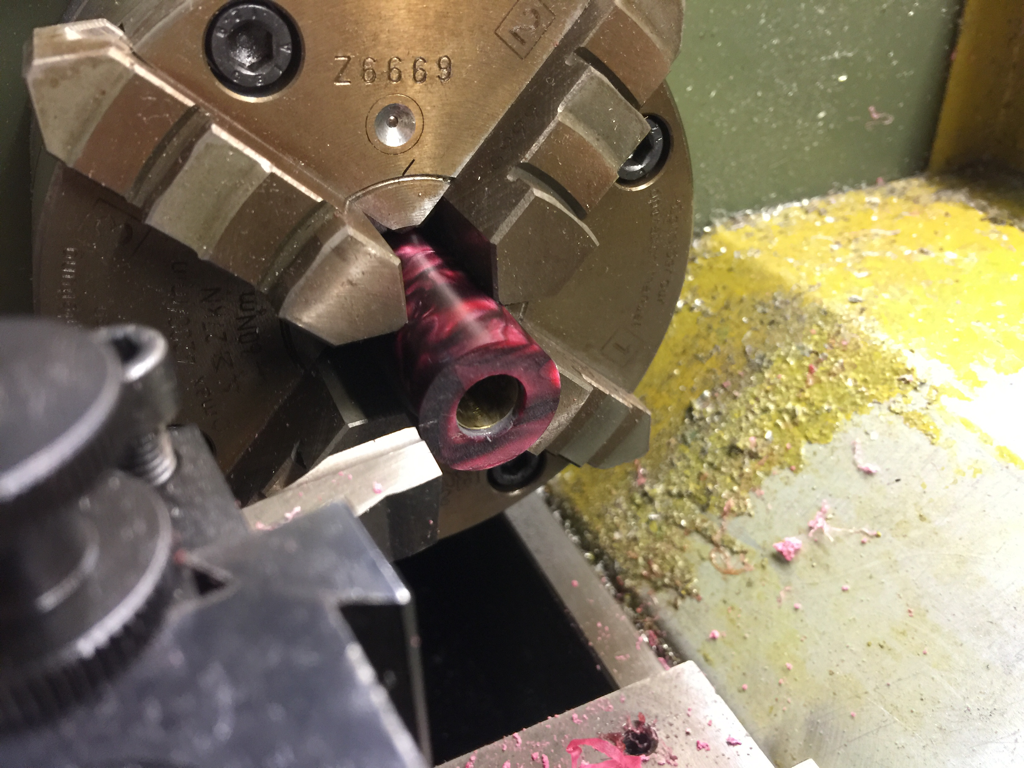 Later at night, I re-chuck the blank in the lathe and trim off the excess, right to the edge of the brass tube. This was done on both side. I believe the operation can be made quicker if I have the barrel trimmer. I'm on budget and have the necessary equipments anyway. Just exercise some patience and sneak up to the required amount of cut on the lathe. This is really a fun project. Something that people around can understand and appreciate what I do in my shop. Good as gifts too! Maybe I'll make some to sell to fund my hobby. Other than pens, there are also kits for cuff links. Let me see if there is any interest in one of a kind pens or cuff links in SG.
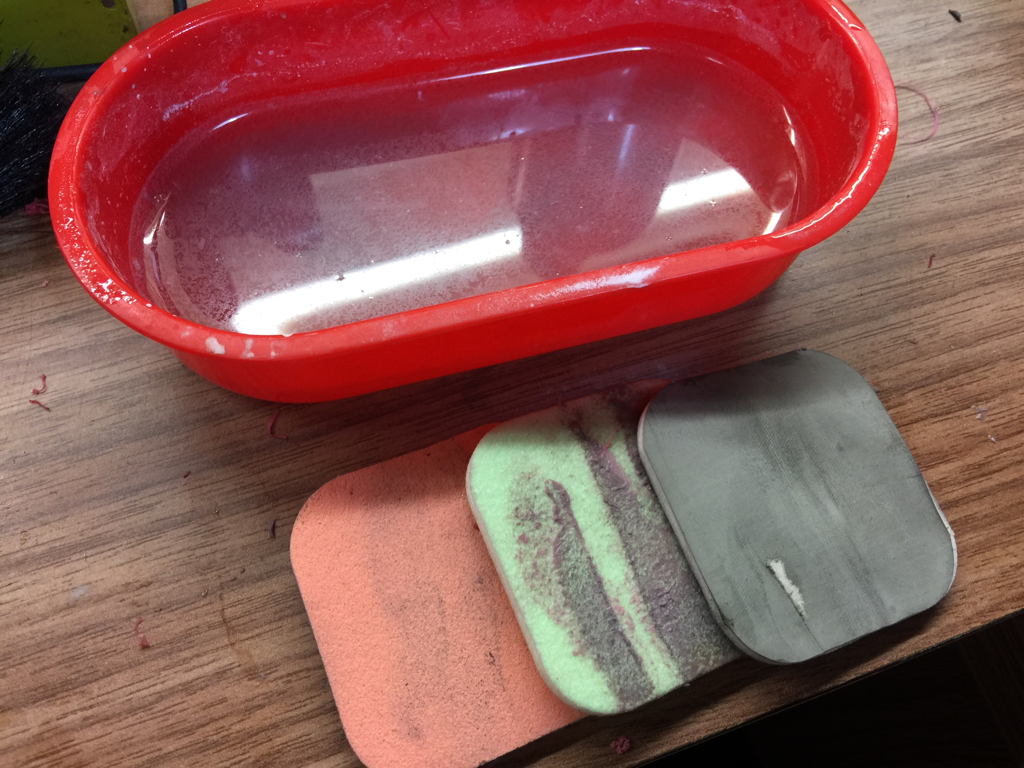
Thats all folks. Time to shower and hit the bed. Spent quite some time cleaning up and oiling the lathe. What a mess created by wet sanding.... |
Categories
All
Archives
June 2018
|





























 RSS Feed
